Transforming a barren patch of earth into a vibrant, green lawn can seem daunting, but laying sod is a manageable project for even novice gardeners. This beginner’s guide provides a step-by-step process, ensuring your sod installation is successful and leaves you with a lush, healthy lawn you can be proud of. We’ll cover everything from initial planning to long-term maintenance, helping you navigate each stage with confidence.
Contents
Planning Your Sod Installation
First, determine the size of the area you intend to sod. Accurate measurements are crucial for ordering the correct amount of sod. Consider using measuring tape and marking the area with stakes or string for clarity. Next, create a detailed plan outlining the layout of your sod. This plan should account for any existing features, such as trees, walkways, or flowerbeds, ensuring a seamless integration of your new sod lawn into your existing landscape. Think about the overall aesthetic you want to achieve – a uniform lawn, or perhaps incorporating curves or patterns.
Furthermore, choose the right type of sod for your climate and soil conditions. Different grass varieties thrive in different environments. Consult your local garden center or landscaping professional for recommendations on the best sod type for your area. Consider factors like sun exposure, soil drainage, and foot traffic when making your selection. Finally, schedule your sod installation for a time when the weather is favorable. Avoid extreme heat or cold, and aim for a period with consistent moderate temperatures and sufficient rainfall or irrigation capabilities.
Preparing the Soil for Success
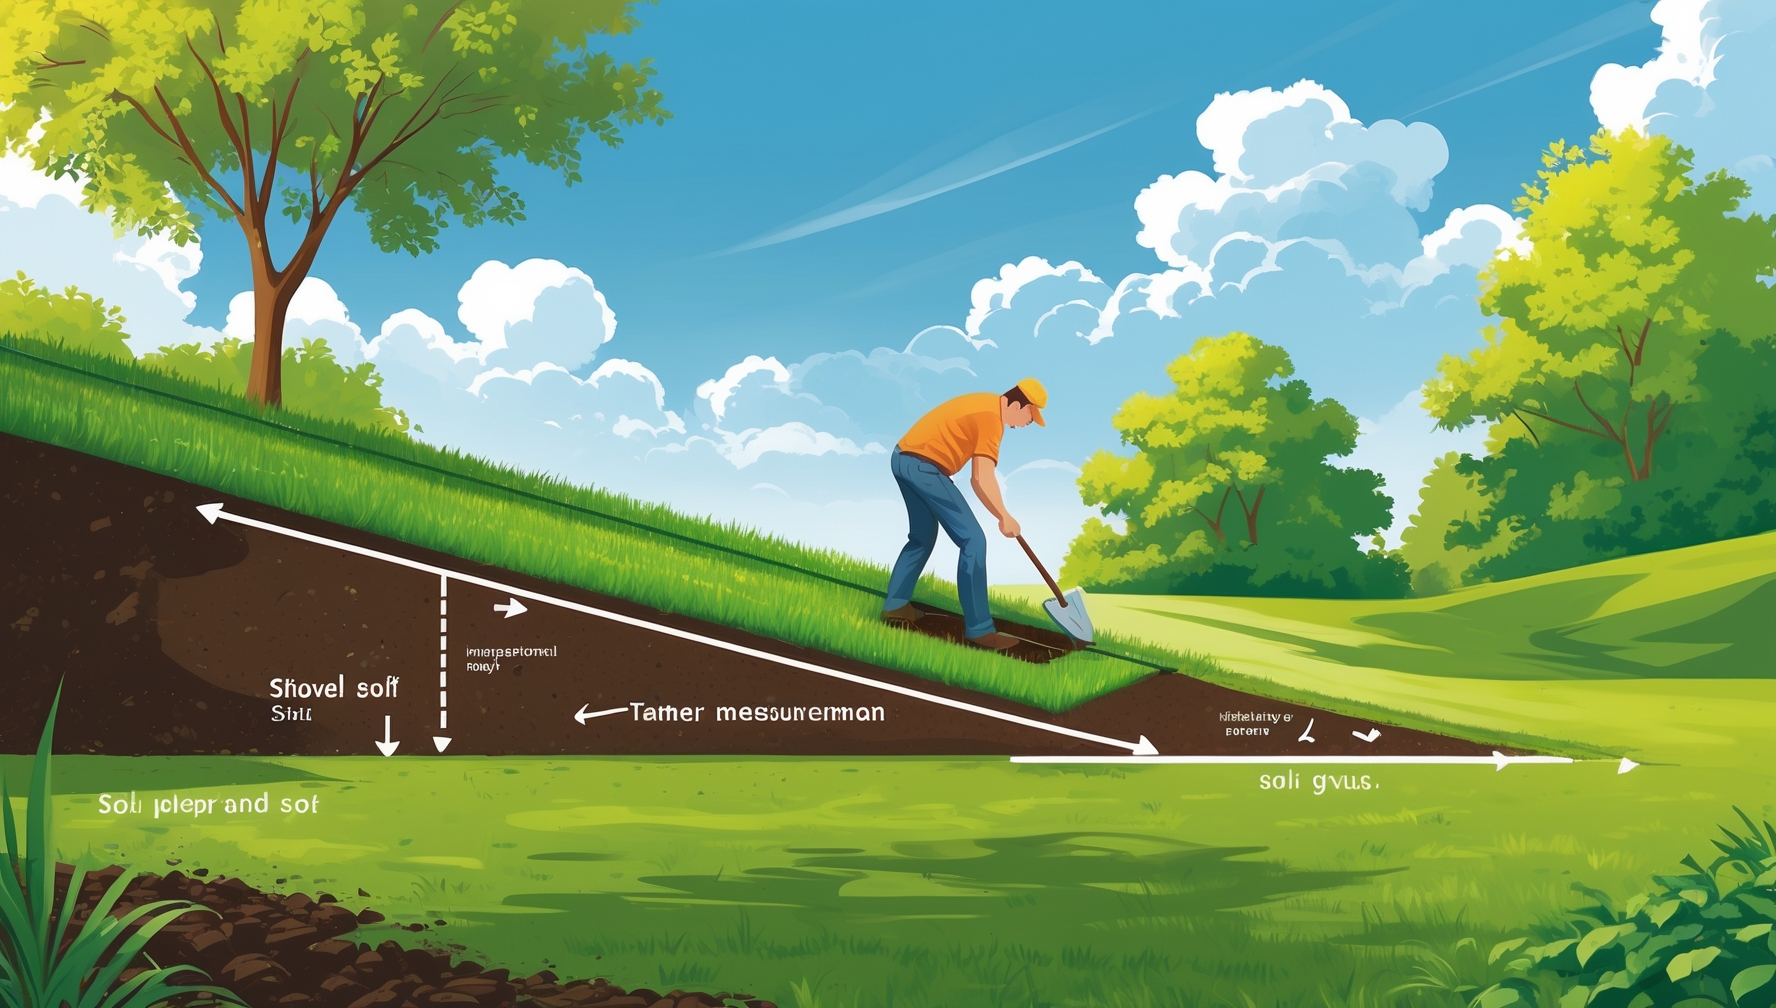
Before laying sod, preparing the soil is paramount. Begin by removing any existing vegetation, rocks, and debris from the area. A thorough clearing ensures a level and consistent surface for the sod. Use a shovel, rake, and possibly a sod cutter to achieve this. Next, till the soil to a depth of approximately 4-6 inches. This process loosens compacted soil, improving drainage and aeration. This allows for better root penetration and establishment of your new sod.
Subsequently, level the soil using a rake and a long, straight board or landscape rake. Aim for a relatively smooth and even surface. Any significant dips or bumps will create unevenness in your lawn. Finally, amend the soil with organic matter, such as compost or peat moss. This improves soil structure, fertility, and water retention, providing the ideal environment for your new sod to thrive. A soil test can help determine any specific nutrient deficiencies that need addressing.
Ordering and Receiving Your Sod
Once you have your plan and soil prepared, it’s time to order your sod. Contact a reputable sod farm or landscaping supplier well in advance of your planned installation date. Many suppliers require a lead time for sod production and delivery. Clearly communicate the area you need to cover, the type of sod you’ve chosen, and your desired delivery date. Discuss delivery options and any potential logistical challenges, such as access to your property.
Upon delivery, inspect the sod pallets carefully. Ensure the sod is fresh, green, and free from excessive weeds or diseases. Immediately begin the installation process after delivery to prevent the sod from drying out. If you can’t install it right away, consider temporarily storing the pallets in a shaded area to keep the sod moist. If any sod appears damaged, contact the supplier immediately to arrange a replacement.
Essential Tools for the Job
Gathering the right tools before you begin is crucial for a smooth and efficient sod installation. You’ll need a measuring tape for accurate measurements and marking the area. A shovel and rake will be essential for soil preparation. A sod cutter can be helpful for removing existing turf, but a sharp spade will suffice for smaller areas. A garden hose with a sprinkler attachment is necessary for watering.
In addition, you’ll need a wheelbarrow or other means of transporting the sod from the delivery point to the installation area. A long, straight board or landscape rake will help to level the soil. A sharp knife or utility knife may be needed to trim sod to fit around obstacles. Finally, a heavy-duty garden roller can help ensure good soil-to-sod contact, though this is optional.
Laying the Sod: A Step-by-Step Guide
Start by laying the first row of sod along a straight edge, such as a sidewalk or a string line. This ensures a straight and neat installation. Place the sod pieces tightly together, minimizing gaps. Stagger the seams, like bricks, to create a stronger, more uniform lawn. Avoid stretching or compressing the sod, as this can damage the grass and prevent proper rooting.
Continue laying the sod in rows, working your way across the area. Ensure each piece is firmly in contact with the adjacent pieces. Use a sharp knife to trim sod around obstacles such as trees, flowerbeds, or walkways. For uneven areas, you may need to cut the sod to fit. Remember to work methodically and maintain a consistent pace to ensure a continuous and uniform lawn.
Ensuring Proper Sod Placement
Proper sod placement is critical for a successful installation. Pay close attention to ensuring the sod is laid tightly together, minimizing gaps between pieces. These gaps can lead to weed growth and uneven watering. Use a garden roller, if you have one, to firmly press the sod into the soil. This ensures good contact between the soil and the sod roots, promoting faster rooting and establishment.
Moreover, check for any significant dips or bumps in the soil after laying the sod. Address these immediately by adding or removing soil as needed. This will prevent uneven settling and create a more uniform lawn. Regularly inspect your work to ensure the sod is correctly positioned and that no gaps are developing. Immediate attention to any issues will prevent larger problems later.
Watering Your Newly Laid Sod
Immediately after laying the sod, water it thoroughly. This helps to settle the sod and promote root growth. Use a gentle spray to avoid washing away the soil. Water deeply and evenly, ensuring the water penetrates the soil to a depth of several inches. The frequency of watering will depend on weather conditions and soil type, but aim for consistent moisture without overwatering.
For the first few weeks, water your new sod frequently, especially during dry periods. The soil should remain consistently moist but not waterlogged. Overwatering can lead to root rot, while underwatering can cause the sod to dry out and die. Gradually reduce watering frequency as the sod becomes established. Monitor the soil moisture regularly to determine the appropriate watering schedule.
Maintaining Your New Lawn
Once your sod is established, maintaining your new lawn requires regular care. Mow your lawn at the appropriate height for your chosen grass type. Avoid cutting the grass too short, as this can stress the plants. Regular mowing promotes healthy growth and prevents weeds. Fertilize your lawn according to the recommendations for your grass type. This provides essential nutrients for healthy growth and a lush green lawn.
Furthermore, regularly inspect your lawn for signs of pests, diseases, or weeds. Address any problems promptly to prevent them from spreading. Aeration can improve soil drainage and aeration, particularly in compacted soils. Overseeding can help to fill in bare patches and thicken your lawn. Regular maintenance ensures your lawn remains healthy and beautiful for years to come.
Addressing Common Sod Problems
Several common problems can occur during or after sod installation. Uneven settling can result from improper soil preparation or inadequate watering. Address this by adding or removing soil as needed. Weed growth can be a problem if gaps are left between sod pieces. Regular weeding and proper sod placement are crucial to prevent this. Brown patches may indicate underwatering or disease. Adjust your watering schedule and address any potential disease issues.
In addition, pests such as grubs or chinch bugs can damage your lawn. Identify and treat any pest infestations promptly. Disease can also affect your sod, causing discoloration or wilting. Consult a local garden center or landscaping professional for diagnosis and treatment. Regular monitoring and prompt action are essential to address any problems before they become widespread.
Enjoying Your Lush New Lawn
With proper planning, preparation, and maintenance, you can enjoy a beautiful and lush new lawn for years to come. The satisfaction of transforming a bare patch of earth into a vibrant green space is immense. Your new lawn will provide a beautiful backdrop for outdoor activities, enhancing the aesthetic appeal of your property. Remember to celebrate your accomplishment and appreciate the beauty of your handiwork.
Your new lawn will become a source of pride and enjoyment, providing a relaxing space for outdoor recreation and family gatherings. Regular maintenance will ensure its longevity and beauty. Enjoy the fruits of your labor and the many benefits of a healthy, well-maintained lawn. Congratulations on your successful sod installation!
Laying sod may seem like a large undertaking, but by following this step-by-step guide and paying attention to detail, you can achieve a beautiful, healthy lawn. Remember that patience and consistent care are key to long-term success. Enjoy your new green space!


