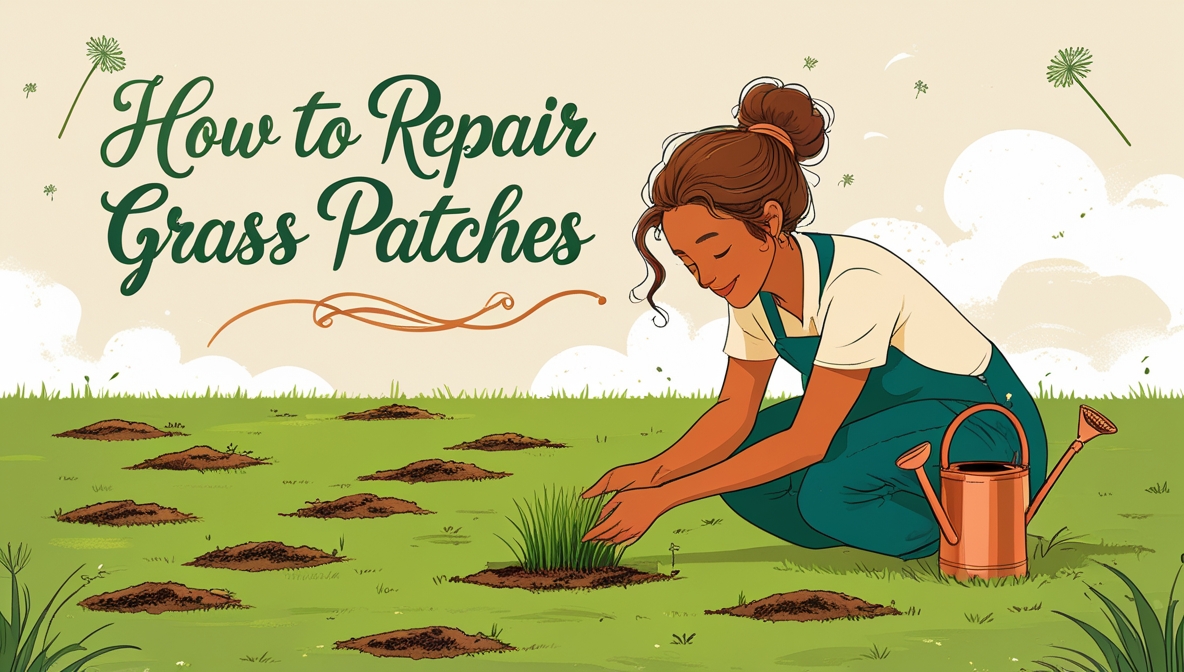
A patchy lawn can detract from the overall beauty of your garden. Fortunately, repairing damaged grass areas is a manageable task, even for beginners. This guide provides a step-by-step approach to restoring those unsightly patches, transforming your lawn from dull to delightful. Follow these simple instructions, and you’ll soon be enjoying a lush, green expanse once more.
Contents
- Assessing the Damage: Identifying the Problem
- Gathering Your Supplies: Tools and Materials
- Preparing the Ground: Clearing the Area
- Removing Dead Grass: A Clean Slate
- Soil Improvement: Enriching the Patch
- Choosing the Right Seed: Variety Selection
- Sowing the Seed: Even Distribution is Key
- Watering the New Seed: Consistent Moisture
- Protecting Your Patch: Shielding from Elements
- Maintaining Your Repair: Long-Term Care
Assessing the Damage: Identifying the Problem
First, take a close look at the affected areas. Determine the size and extent of the damage. Are we talking about small, isolated spots, or larger, more widespread patches? The size of the damaged area will influence the materials and techniques you’ll need. Furthermore, consider the cause of the damage. Is it due to disease, pet traffic, drought, or simply wear and tear? Understanding the root cause will help you prevent future problems. For example, if pet urine is the culprit, you’ll need to address that issue in addition to repairing the grass. Knowing the cause allows for a more targeted and effective repair strategy.
Next, examine the condition of the remaining grass. Is it healthy and actively growing, or is it also stressed and weak? If the surrounding grass is unhealthy, you’ll need to address those issues as well before attempting a repair. This might involve soil testing, fertilization, or weed control. A holistic approach ensures the success of your patch repair and prevents the problem from recurring. Think of it as giving your lawn the best possible chance to thrive.
Gathering Your Supplies: Tools and Materials
Before you begin, gather all the necessary tools and materials. You’ll need a garden rake to loosen the soil and remove debris. A sturdy trowel or spade will be useful for digging and preparing the patch. A lawn roller, while not strictly essential for smaller patches, can help to ensure good seed-to-soil contact. Don’t forget a watering can or hose with a gentle rose attachment for consistent watering. Finally, you will need a wheelbarrow to transport soil and other materials. Having everything ready beforehand will make the process much smoother and more efficient.
In addition to tools, you’ll need the right materials. This includes grass seed appropriate for your climate and soil type. Consider purchasing a high-quality seed blend specifically designed for patching. You’ll also need topsoil or a soil amendment to improve the soil’s structure and fertility. Finally, you might want to consider using a starter fertilizer to give the new seedlings a boost. Choose a fertilizer that is specifically formulated for new grass seed. Remember to check the packaging for application rates and follow the instructions carefully.
Preparing the Ground: Clearing the Area
Begin by clearing the area of any debris, such as leaves, twigs, or rocks. Use your rake to remove any loose material and level the surface. This ensures that the new seed will have good contact with the soil. Removing any obstacles will also prevent uneven growth and create a more uniform appearance. A clean, level surface is crucial for successful grass patch repair. Take your time with this step; it’s a foundation for a healthy patch.
Subsequently, you may need to loosen the compacted soil. Use your rake or trowel to lightly break up the top layer of soil. This improves drainage and allows the grass roots to penetrate more easily. Avoid digging too deeply, as this could damage the surrounding healthy grass. Aim for a loose, crumbly texture that is easy for the seed to penetrate. Gentle tilling is key; don’t overwork the soil.
Removing Dead Grass: A Clean Slate
Carefully remove any dead or dying grass from the patch. Use your trowel or spade to gently lift away the dead material, exposing the bare soil beneath. This ensures that the new seed has a clean surface to germinate on. Removing dead grass prevents competition for nutrients and resources, allowing the new seedlings to establish themselves more effectively. Think of it as clearing the way for new growth.
Moreover, ensure you remove any weeds or unwanted vegetation. Weeds compete with the new grass seed for water and nutrients, hindering their growth. Thorough removal of weeds helps to create a healthier environment for the new grass to thrive. A weed-free patch will significantly increase the chances of success. Remember, attention to detail in this stage significantly impacts the final outcome.
Soil Improvement: Enriching the Patch
Once the area is clear, it’s time to improve the soil. Add a layer of topsoil or a soil amendment to enrich the patch. This improves drainage, aeration, and provides essential nutrients for healthy growth. The amount of soil you need will depend on the depth of the damaged area. Aim for a layer that’s at least a couple of inches deep. Improving soil quality is a crucial step in achieving a thriving lawn.
Furthermore, consider adding a starter fertilizer. This provides the young seedlings with the nutrients they need to get off to a strong start. Follow the instructions on the fertilizer packaging carefully, ensuring you don’t over-fertilize. Over-fertilization can damage the delicate seedlings. A balanced approach is key to promoting healthy growth.
Choosing the Right Seed: Variety Selection
Selecting the appropriate grass seed is crucial for a successful repair. Choose a variety that’s well-suited to your climate, soil type, and sun exposure. Consider using a blend specifically designed for patching, as these often contain fast-germinating varieties. Research different grass types to find one that best suits your needs. This will ensure the new grass thrives in your specific environment. The right seed is the foundation for a beautiful, healthy patch.
Additionally, consider the traffic your lawn receives. If the area is frequently walked on, choose a more durable, wear-tolerant variety. For sunny areas, select a sun-loving grass; for shady areas, choose a shade-tolerant variety. Understanding your lawn’s conditions is key to selecting the best grass seed for long-term success. The right seed choice will determine the longevity and beauty of your repaired patch.
Sowing the Seed: Even Distribution is Key
Once the soil is prepared, it’s time to sow the seed. Spread the seed evenly over the patch, ensuring a consistent distribution. You can use your hand to broadcast the seed, or you can use a seed spreader for larger areas. Avoid clumping the seed, as this can lead to uneven growth. A consistent seed distribution promotes a uniform, healthy lawn. Even distribution is essential for a visually appealing and healthy patch.
After sowing, lightly rake the seed into the soil. This ensures good seed-to-soil contact, improving germination rates. Don’t bury the seed too deeply; a light covering of soil is sufficient. Avoid compacting the soil after sowing, as this can hinder germination. Gently working the seed into the soil ensures optimal conditions for germination and growth.
Watering the New Seed: Consistent Moisture
After sowing, water the new seed gently but thoroughly. Consistent moisture is crucial for germination and early growth. Water frequently, but avoid overwatering, which can lead to waterlogging and seed rot. Aim for a light, consistent moisture level. Regular watering is essential for the successful establishment of your new grass. Maintain a consistent watering schedule to promote healthy growth.
Furthermore, use a gentle spray nozzle to avoid washing away the seed. Water early in the morning to minimize evaporation. Monitor the moisture levels regularly and adjust your watering schedule accordingly. Consistent moisture is key to the successful establishment of the new grass. Proper watering is crucial for healthy growth and a lush lawn.
Protecting Your Patch: Shielding from Elements
Once the seed has been sown and watered, protect the patch from the elements. This might involve covering the area with a thin layer of straw mulch or a seed starting blanket. This helps to retain moisture, protect the seedlings from birds and other animals, and shield them from harsh weather conditions. Protecting the seedlings from the elements will significantly increase the chances of successful germination and growth. This added layer of protection safeguards the new grass during its most vulnerable stage.
Moreover, keep children and pets off the newly sown area until the grass is established. Foot traffic can damage the delicate seedlings, hindering their growth. Patience is key during this stage, allowing the new grass to establish a strong root system before any significant traffic. Protecting the patch allows for undisturbed growth and a successful repair.
Maintaining Your Repair: Long-Term Care
Once the grass has established itself, continue to maintain the repaired area. This includes regular watering, mowing, and fertilization. Adjust your mowing height to suit the type of grass you’ve planted. Avoid mowing too short, as this can stress the plants. Regular maintenance is crucial for the long-term health and beauty of your lawn. Consistent care will ensure the repaired patch blends seamlessly with the rest of your lawn.
In addition, monitor the patch for weeds and pests. Address any problems promptly to prevent them from spreading. Regular inspection and timely intervention are key to maintaining a healthy and vibrant lawn. With consistent care, your repaired patch will flourish and enhance the overall beauty of your garden.
Repairing grass patches is a straightforward process that yields significant aesthetic improvements to your lawn. By following these steps carefully and paying attention to the details, you can effectively restore damaged areas and enjoy a lush, green lawn for years to come. Remember that patience and consistent care are key to achieving a successful and long-lasting repair.


