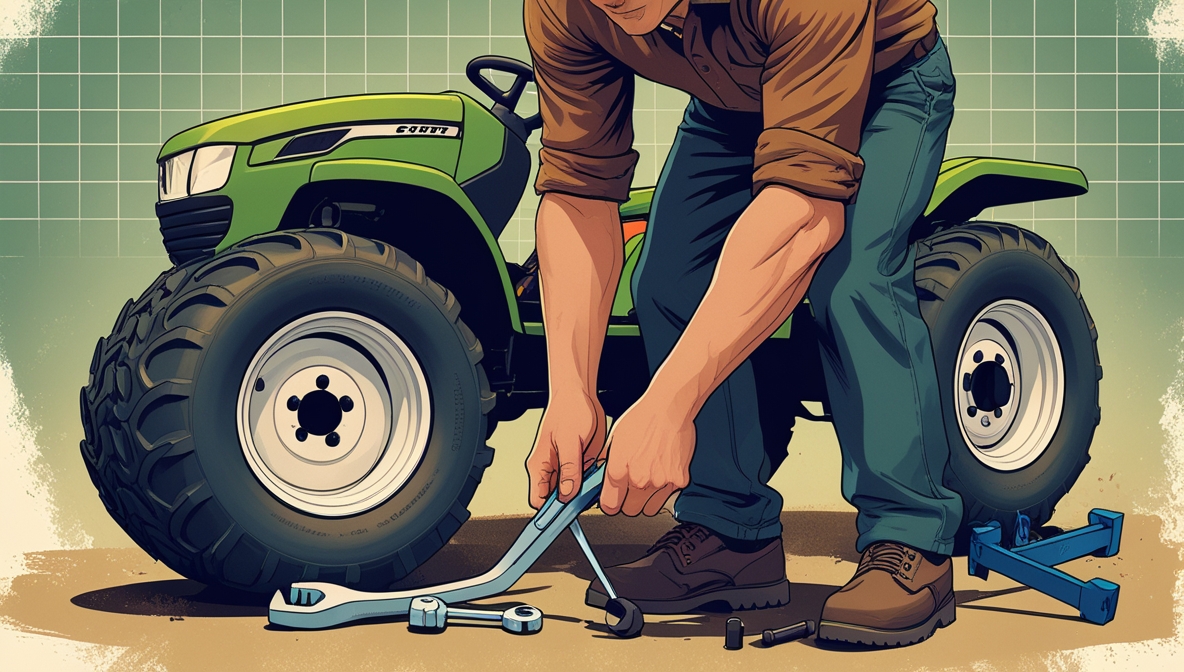
Replacing a lawn tractor tire might seem daunting, but with the right approach and tools, it’s a manageable DIY project. This beginner’s guide will walk you through each step, ensuring a smooth and safe tire replacement. This guide assumes you have a basic understanding of mechanical tasks and are comfortable working with tools. If you’re unsure about any step, it’s always best to consult a professional mechanic.
Contents
- Assessing Tire Damage and Needs
- Gathering Necessary Tools and Supplies
- Safely Jacking Up the Lawn Tractor
- Removing the Old Tire and Wheel
- Inspecting the Wheel for Damage
- Mounting the New Tire on the Wheel
- Balancing the Newly Mounted Tire
- Lowering the Lawn Tractor to the Ground
- Re-attaching the Wheel and Components
Assessing Tire Damage and Needs
First, carefully examine the damaged tire. Determine the extent of the damage. Is it a simple puncture, a significant sidewall tear, or is the entire tire worn down? A simple puncture might be repairable with a patch kit, saving you the cost of a new tire. However, sidewall damage or significant tread wear necessitates a complete tire replacement. Note the tire’s size and type, usually found on the sidewall itself. This information is crucial for purchasing the correct replacement tire. Take a picture of the tire’s sidewall with the information clearly visible. This will help when you go to buy a new one.
Next, consider the overall condition of your lawn tractor’s tires. Are other tires showing significant wear? Replacing multiple tires simultaneously might be more cost-effective than replacing them one at a time. Furthermore, consider the type of terrain you typically mow. If you frequently navigate uneven ground, a more rugged tire might be a worthwhile investment. Remember to choose a tire that matches the original specifications or a recommended alternative for optimal performance and safety.
Gathering Necessary Tools and Supplies
Before you begin, gather all the necessary tools and supplies. You’ll need a jack specifically designed for lawn tractors, ensuring stability and preventing damage to the machine. This is crucial for safely lifting the tractor. Obtain a jack stand as well, providing extra support and safety while you work. A lug wrench, appropriate for your tractor’s wheel nuts, is essential for removing and reattaching the wheel. You will also need a tire iron or a suitable tool to break the tire bead loose from the rim.
In addition to these, you’ll need the new tire, of course. Make sure it’s the correct size and type for your lawn tractor. Gloves are essential for protecting your hands. Wheel chocks are vital for preventing the tractor from rolling. And finally, consider having a bucket of soapy water handy – this can help lubricate the tire bead during mounting and removal, making the process easier. Having all your tools and supplies readily available will make the job significantly smoother and more efficient.
Safely Jacking Up the Lawn Tractor
Begin by engaging the parking brake firmly to prevent accidental movement. Next, firmly wedge wheel chocks behind the wheels opposite the one you’re replacing to ensure the tractor remains securely in place. Locate the jacking point on your lawn tractor; consult your owner’s manual if you’re unsure. This is usually a reinforced area of the frame designed to support the weight of the tractor. Never attempt to jack up the tractor from any other point.
Carefully position the jack under the designated jacking point. Begin to slowly and steadily raise the tractor. Once the tire is a few inches off the ground, position the jack stand securely under the frame, close to the jacking point. This provides a stable secondary support, ensuring the safety of both you and the tractor. Slowly lower the tractor onto the jack stand, removing the weight from the jack. This two-point support system is critical for preventing accidents.
Removing the Old Tire and Wheel
With the tractor securely supported, use the lug wrench to loosen the wheel nuts. Turn them counterclockwise. Don’t remove them completely yet; just loosen them enough to easily remove them later. Once loosened, use the jack to carefully raise the wheel slightly further to give yourself more room to work. Now, completely remove the wheel nuts. Carefully pull the wheel off the axle. You may need to gently rock it or wiggle it to dislodge it.
Before proceeding, take note of the orientation of the wheel on the axle. This is important for reinstallation. Now, you can focus on removing the old tire from the wheel. This often requires using tire irons or a similar tool to break the tire bead loose from the rim. This is where the soapy water comes in handy; it helps to lubricate the bead and make this process easier. Work your way around the tire, carefully breaking the bead free. Once both beads are free, you can remove the old tire from the wheel.
Inspecting the Wheel for Damage
Once the old tire is removed, thoroughly inspect the wheel for any signs of damage. Look for cracks, bends, or rust that could compromise the wheel’s structural integrity. A damaged wheel could lead to further problems, potentially even causing an accident. Pay close attention to the area where the tire bead sits. Any significant damage to the wheel requires replacement before mounting a new tire.
If the wheel is in good condition, clean it thoroughly. Remove any embedded dirt, debris, or old sealant. A clean wheel will ensure a better fit for the new tire and improve the overall safety and longevity of the wheel and tire assembly. Remember, a well-maintained wheel is crucial for a safe and efficient lawn mowing experience.
Mounting the New Tire on the Wheel
Mounting the new tire onto the wheel can be the most challenging part of the process. Start by lubricating the tire bead with soapy water. This will reduce friction and make the process easier. Carefully work one bead of the tire onto the wheel rim, starting at one side and working your way around. Use your hands as much as possible, and only use tire irons if absolutely necessary. Avoid using excessive force, as this could damage the tire or wheel.
Once one bead is fully seated, repeat the process for the second bead. Ensure that both beads are evenly seated on the rim. The tire should sit snugly against the wheel, with no gaps or bulges. Once both beads are fully seated, inflate the tire to the recommended pressure. This will ensure that the tire is properly mounted and seated on the rim. Always consult your tire’s sidewall for the recommended pressure.
Balancing the Newly Mounted Tire
While not strictly necessary for a lawn tractor tire, balancing the newly mounted tire will improve its performance and reduce vibrations. An unbalanced tire can cause increased wear and tear on other components of your lawn tractor. Ideally, use a tire balancing machine for precise balancing. However, if you don’t have access to one, you can perform a basic visual balance check.
Spin the wheel and look for any noticeable wobble or unevenness. If you observe any significant imbalance, you might try to redistribute the weight by slightly adjusting the tire’s position on the rim. This is a less precise method, but it can improve the balance somewhat. Remember that even a slight imbalance can cause vibrations over time, leading to discomfort and potential damage to your lawn tractor.
Lowering the Lawn Tractor to the Ground
Once the new tire is mounted and balanced, carefully lower the lawn tractor to the ground. First, remove the jack stand, ensuring the tractor’s weight is evenly distributed. Then, slowly lower the tractor using the jack until the wheel is just about to touch the ground. This ensures a smooth and controlled descent. Once the wheel is touching the ground, you can fully lower the jack.
Remember to keep your hands clear of any moving parts during this process. Slowly and carefully lower the tractor. Once the tractor is fully on the ground, remove the jack. Double-check that the tractor is stable and secure before proceeding to the next step. This careful lowering process minimizes the risk of damage to the tractor or injury to yourself.
Re-attaching the Wheel and Components
Now, align the wheel with the axle, ensuring it’s properly seated. Remember the orientation of the wheel you noted earlier. Hand-tighten the wheel nuts, then use the lug wrench to tighten them securely. Follow a star pattern – tighten one nut, then the opposite one, and so on – to ensure even tightening and prevent warping the wheel. Tighten the nuts firmly, but avoid over-tightening, which could damage the wheel studs or nuts.
Finally, inspect all the components to make sure everything is correctly secured. Ensure the wheel is firmly attached, and the nuts are snug. Double-check the wheel chocks are still in place and the parking brake is engaged. A thorough inspection at this stage will prevent unexpected issues later.
Replacing a lawn tractor tire is a straightforward process if approached methodically. By following these steps carefully and prioritizing safety, you can successfully replace your tire and get back to mowing your lawn. Remember, if you’re uncomfortable performing any of these steps, it’s always best to consult a professional mechanic. Regular tire maintenance is crucial for the longevity and safety of your lawn tractor.


