So, you’ve got 5000 Rain Bird sprinkler heads staring back at you, promising a lush green lawn but currently delivering a haphazard spray of water? Don’t panic! Adjusting that many heads might seem daunting, but with a systematic approach and the right tools, you can transform your watering system from a chaotic mess into a well-oiled, efficient machine. This beginner’s guide will walk you through each step, making the process manageable and ensuring your lawn gets the perfect amount of water, exactly where it needs it. Let’s get started!
Contents
Getting Started: Tools & Prep
First, gather your essential tools. You’ll need a screwdriver (likely a flathead and a Phillips head), adjustable wrenches (various sizes are helpful), pliers (for stubborn nozzles), a bucket, and a water pressure gauge. Having a helper can significantly speed up the process, especially for larger areas. Before you begin, turn off your main water supply to prevent any unexpected water gushes. This is crucial for safety and will allow you to work without interruption.
Next, create a simple map or diagram of your sprinkler system. This doesn’t need to be architecturally precise; a rough sketch showing the location of each zone and the general layout of the heads will suffice. This visual aid will help you keep track of your progress and identify any areas that need extra attention. Numbering the heads within each zone can also be beneficial for organization and record-keeping. Remember to take safety precautions; wear appropriate footwear and be mindful of any uneven terrain.
Identifying Your Rain Bird Heads
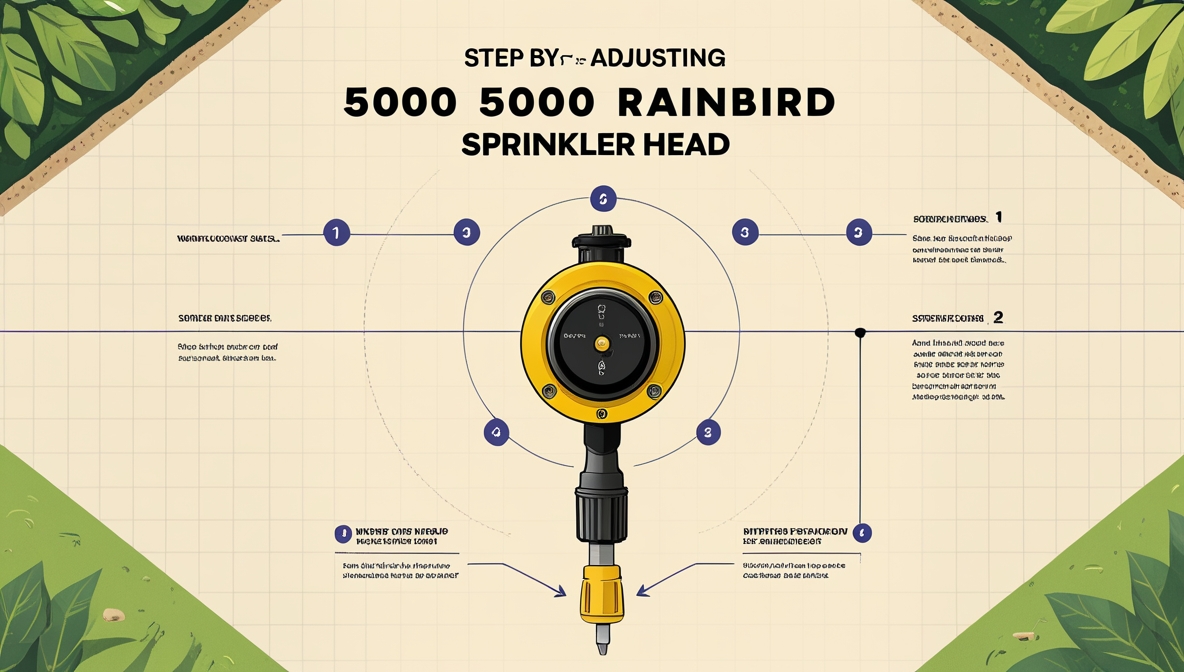
Rain Bird offers a wide variety of sprinkler heads, each with its own unique adjustment mechanisms. Familiarize yourself with the specific model you have. Common types include rotary heads (for larger areas), spray heads (for smaller, more precise watering), and pop-up heads (which retract below ground level when not in use). Consult your Rain Bird manual or the manufacturer’s website for detailed diagrams and specifications. Understanding your head type is critical for proper adjustment.
Once you’ve identified the type of head, carefully inspect each one. Look for any obvious damage, such as cracks, leaks, or obstructions. Note down any heads showing signs of wear and tear. These will require more attention and potentially replacement. This initial inspection will save you time and effort in the long run, allowing you to focus on adjustments rather than repairs. Take photos of any particularly tricky heads to help you remember their settings.
Checking Water Pressure & Flow
Consistent water pressure is essential for even sprinkler coverage. Use your pressure gauge to measure the water pressure at several points in your system. Ideally, you want a consistent pressure throughout. Significant variations indicate potential problems with your pipes or main water supply. Consult a professional if you find substantial pressure fluctuations. Remember to turn off the main water supply before attaching the pressure gauge.
Furthermore, observe the water flow from each head. A weak or inconsistent flow suggests a clogged nozzle or a problem within the head itself. Note down the location of any heads with low flow; these will require further investigation and potentially cleaning or replacement. Maintaining consistent water pressure and flow is crucial for efficient irrigation and prevents overwatering or underwatering in specific areas. A consistent flow also ensures that the adjustments you make are accurate and effective.
Adjusting Spray Pattern & Distance
Now comes the fun part: actually adjusting the sprinklers! Start by adjusting the spray distance. Most Rain Bird heads have a simple adjustment mechanism, often a screw or a dial, that controls the water stream’s reach. Turn this mechanism clockwise to decrease the distance and counterclockwise to increase it. Make small adjustments, testing the spray pattern after each tweak. Aim for even coverage without overlap or gaps.
Next, focus on the spray pattern itself. Some heads allow you to adjust the spray pattern from a narrow stream to a wider, more dispersed spray. Again, use small increments and test frequently to achieve the desired effect. The goal is to create a uniform, overlapping spray pattern that covers the entire area without wasting water. Remember to adjust each head individually to account for variations in terrain and obstacles.
Fine-Tuning Arc & Coverage
Many Rain Bird heads offer arc adjustment, allowing you to control the angle of the spray. This is particularly useful for areas near walls, fences, or walkways where you don’t want water spraying onto unwanted areas. Use the arc adjustment mechanism (usually a screw or a lever) to fine-tune the spray angle. Remember to test the spray after each adjustment. A little goes a long way here, so take your time.
Finally, assess the overall coverage of each head. Look for any gaps or areas that are receiving too much or too little water. Make small adjustments to the spray distance, pattern, and arc until you achieve even coverage across the entire area. This might require multiple iterations for each head, so be patient and persistent. Proper coverage ensures efficient water use and a healthy, vibrant lawn.
Dealing with Clogged Nozzles
Clogged nozzles are a common problem, leading to reduced water flow and uneven coverage. Carefully remove the nozzle from the sprinkler head. Use a small brush, a toothpick, or compressed air to clear any debris. If the clog persists, soak the nozzle in a solution of vinegar and water to dissolve mineral deposits. Once clean, reassemble the nozzle and test the water flow.
If the problem persists after cleaning, the nozzle might be damaged and require replacement. Rain Bird nozzles are readily available at most home improvement stores. When replacing a nozzle, ensure you choose a nozzle with the appropriate flow rate for your water pressure. Replacing clogged nozzles will significantly improve the efficiency and evenness of your sprinkler system. Keep a small container of cleaning supplies handy for quick fixes during your adjustment process.
Troubleshooting Common Issues
Despite your best efforts, you might encounter some unexpected issues. Low water pressure throughout the system could indicate a problem with your main water line or a clogged filter. Inconsistent spray patterns might be due to damaged sprinkler heads or uneven terrain. If a head is spraying erratically, check for any obstructions or damage. Consider replacing any damaged heads.
Another common issue is uneven watering. This could be due to incorrect head placement, low water pressure in certain zones, or clogged nozzles. Systematic checking of each head and zone is key to resolving this. If you’re still struggling, consider consulting a professional irrigation technician. They possess the expertise and tools to diagnose and fix complex problems. Don’t hesitate to seek professional help if you’re overwhelmed or unable to resolve the issue yourself.
Maintaining Your System Long-Term
Regular maintenance is crucial for keeping your sprinkler system running smoothly. Inspect your system regularly, checking for leaks, clogged nozzles, and damaged heads. Flush your system at least once a year to remove sediment buildup. This can prevent clogging and prolong the lifespan of your equipment. Consider using a water filter to remove impurities from your water supply.
Additionally, adjust your watering schedule according to seasonal changes and rainfall. Overwatering can lead to wasted water and potential lawn problems, while underwatering can stress your grass. A well-maintained sprinkler system not only ensures a healthy lawn but also contributes to water conservation. By following these maintenance tips, you can extend the life of your system and save money on water bills in the long run.
Adjusting 5000 Rain Bird sprinkler heads is a significant undertaking, but by breaking it down into manageable steps and employing a systematic approach, you can achieve a perfectly functioning irrigation system. Remember to prioritize safety, take your time, and don’t hesitate to seek professional help if needed. With patience and persistence, you’ll be rewarded with a lush, green lawn that’s the envy of the neighborhood—all while conserving precious water resources. Happy watering!


