So, you’ve got yourself a reel mower – a beautiful, eco-friendly machine that gives you a perfectly striped lawn. But to keep it performing at its best, you need to understand how to maintain it. One crucial aspect of reel mower maintenance is adjusting the bedknife. This seemingly simple component is responsible for the quality of your cut, and a poorly adjusted bedknife can lead to scalping, uneven cuts, and a generally unhappy lawn. This beginner’s guide will walk you through the process of inspecting, adjusting, and fine-tuning your reel mower’s bedknife, ensuring you get that perfect cut every time.
Contents
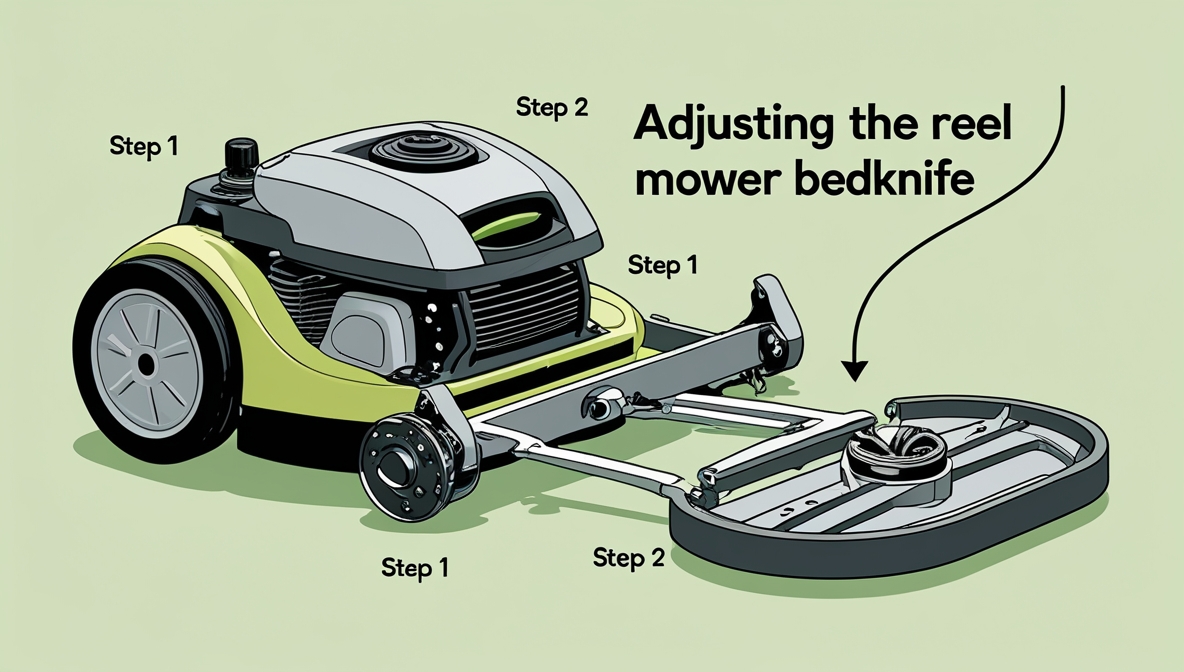
Getting Started: Your Reel Mower’s Bedknife
The bedknife is the stationary bottom blade of your reel mower. Think of it as the anvil against which the rotating cylinder of blades (the reel) cuts the grass. It’s a crucial part of the cutting process, and its condition and alignment directly impact the quality of your cut. A sharp, properly aligned bedknife is essential for a clean, even cut. Conversely, a dull or misaligned bedknife will result in ragged edges, uneven lengths, and potential damage to your lawn. Understanding the bedknife’s role is the first step to mastering reel mower maintenance.
Before you begin any adjustment, familiarize yourself with your specific mower model. Consult your owner’s manual; it often contains detailed diagrams and instructions specific to your machine. Different models may have slightly different adjustment mechanisms, so understanding your mower’s unique features is crucial for a successful adjustment. Take your time, and don’t be afraid to refer back to the manual as needed.
Inspecting Your Bedknife: What to Look For
First, carefully examine the bedknife for any signs of damage. Look for dents, bends, or significant wear and tear. These imperfections can hinder the cutting process and lead to uneven cuts. Pay close attention to the cutting edge itself; any nicks or dullness will require sharpening. A magnifying glass can help you spot minor imperfections you might otherwise miss.
Next, assess the bedknife’s alignment. It should be perfectly parallel to the reel. Any misalignment, even a slight one, will result in poor cutting performance. You can use a straight edge or a level to check for parallelism. If you notice any bends or misalignment, you’ll need to address these issues before adjusting the height of cut. Remember, a properly aligned bedknife is fundamental to a successful cut.
Tools You’ll Need for the Job
Depending on the type of adjustment you need to make, you might need a few different tools. At a minimum, you’ll want a set of wrenches (often adjustable wrenches will suffice) to loosen and tighten the bedknife adjustment screws. A straight edge or level is essential for checking alignment. For more precise adjustments, a feeler gauge can be incredibly helpful in measuring the gap between the reel and the bedknife.
Additionally, you might need a screwdriver (Phillips or flathead, depending on your mower) to access certain adjustment screws or covers. Gloves are always a good idea to protect your hands. Finally, having a clean workspace will make the process much easier and safer. Gather all your tools beforehand to avoid interruptions during the adjustment process.
Adjusting the Height of Cut
Most reel mowers allow you to adjust the height of cut by changing the distance between the bedknife and the reel. This is usually done by adjusting screws or levers located on the mower’s chassis. Before making any adjustments, ensure the mower is turned off and unplugged (if electric). Locate the height adjustment mechanism on your mower. Your owner’s manual will be your best friend here.
Once you’ve located the adjustment mechanism, carefully turn the screws or levers to raise or lower the bedknife. Make small adjustments, testing the cut after each change. It’s much better to make several small adjustments than one large one that might take you too far from your desired height. Remember to consult your owner’s manual for the specific instructions on how to adjust the height of cut on your particular model.
Setting the Bedknife’s Height
The ideal height of cut depends on your grass type and personal preference. Generally, a higher cut is better for drought tolerance and overall grass health. However, personal aesthetics also play a role. Experiment to find the height that works best for you. Start by setting the bedknife to a slightly higher setting than you think you’ll need.
After making your initial height adjustment, test the cut on a small section of your lawn. Check for evenness and the overall quality of the cut. If the cut is uneven, you may need to fine-tune the bedknife’s alignment (as discussed in the next section). If the cut is too high or too low, make small adjustments until you achieve the desired height and quality of cut. Remember, patience is key.
Fine-tuning the Bedknife’s Alignment
Even with the height correctly set, a misaligned bedknife will ruin your cut. To check alignment, use a straight edge or level, placing it across the bedknife and the reel. There should be minimal gap between the straight edge and both the bedknife and the reel along their entire length. Any significant gaps or misalignment indicate that you need to adjust the bedknife’s position.
Most reel mowers have adjustment screws or mechanisms that allow for fine-tuning of the bedknife’s alignment. These are often located on the sides or underneath the mower. Consult your owner’s manual for the exact location and adjustment procedure. Make small adjustments, checking the alignment after each change. It’s a delicate process, so patience is paramount. Remember, a perfectly aligned bedknife is critical for a clean, even cut.
Testing Your Adjusted Bedknife
After making adjustments to both height and alignment, it’s crucial to test your work. Mow a small section of your lawn, paying close attention to the quality of the cut. Are the cuts even and clean? Are there any ragged edges or scalping? If the cut isn’t perfect, you may need to make further adjustments.
Observe the clippings. If they are long and uneven, the bedknife might be too high or misaligned. If the grass is being scalped (cut too short), the bedknife might be too low. Continue making small adjustments, testing the cut after each change, until you achieve a consistently clean and even cut across the entire test area. Don’t rush this step; it’s the key to ensuring your reel mower performs optimally.
Maintaining Your Reel Mower’s Sharpness
Finally, remember that even the best-adjusted bedknife won’t perform well if it’s dull. Regular sharpening is essential for maintaining the quality of your cut. How often you need to sharpen your bedknife depends on factors like usage frequency, grass type, and the condition of your lawn. As a general rule, consider sharpening your bedknife at least once a year, or more frequently if you notice a decline in cutting quality.
Sharpening a bedknife can be done using various methods, including professional sharpening services, specialized sharpening tools, or even a file (for minor touch-ups). If you choose to sharpen it yourself, be very careful and follow instructions carefully. A dull bedknife will lead to poor cutting performance, so regular sharpening is an essential part of reel mower maintenance. A sharp bedknife, combined with a properly adjusted bedknife, will ensure a beautifully manicured lawn for years to come.
Adjusting your reel mower’s bedknife might seem daunting at first, but with a little patience and attention to detail, you can master this essential maintenance task. By regularly inspecting, adjusting, and sharpening your bedknife, you’ll ensure your reel mower delivers the perfect cut every time, leaving you with a lush, healthy, and beautifully striped lawn. Remember to consult your owner’s manual for specific instructions related to your mower model. Happy mowing!


