Got a lawn that’s looking a little…sad? Maybe it’s patchy, struggling to grow, or just generally lacking that vibrant green glow. Before you reach for the chemical fertilizers, consider this: your lawn might simply be suffocating! Compact soil prevents water, air, and nutrients from reaching the grass roots, leading to a whole host of problems. The solution? Manual aeration! This beginner’s guide will walk you through the process, from choosing the right tools to enjoying your lush, healthy lawn. Let’s get started!
Contents
Why Aerate Your Lawn?
A healthy lawn needs to breathe, just like you and me! Compacted soil, often caused by foot traffic, heavy machinery, or even just the weight of the grass itself, creates a dense barrier that restricts airflow and water penetration. This leads to poor root growth, making your grass more susceptible to diseases, weeds, and drought stress. You’ll notice symptoms like yellowing, browning, and patchy growth.
Furthermore, compacted soil hinders the effectiveness of fertilizers and other lawn treatments. Nutrients can’t reach the roots, meaning your efforts at lawn care are essentially wasted. Aerating your lawn creates small holes in the soil, allowing air, water, and nutrients to penetrate more easily. This improves root growth, resulting in a thicker, greener, and more resilient lawn. It’s a simple, yet highly effective, way to revitalize your outdoor space.
Choosing the Right Tool
For manual core aeration, you have a couple of options. The most common is a garden fork. Choose one with sturdy, strong tines (the pointy bits) – you’ll be putting some muscle into this! A good quality fork with at least four tines will make the job easier and more efficient. The length of the handle is also important; a longer handle provides better leverage and reduces strain on your back.
Alternatively, you can use a specialized aeration tool, often called a core aerator. These tools typically have hollow tines that remove small plugs of soil, creating larger, more effective aeration holes. While more expensive than a garden fork, they are often faster and less strenuous for larger lawns. Consider your budget and the size of your lawn when making your choice. Remember, even a simple garden fork can do wonders for smaller areas.
Preparing Your Lawn for Action
Before you dive in, there’s a little prep work to do. First, you need to mow your lawn. Keep the cut relatively short – around 2-3 inches – to make it easier to work with the aeration tool. Long grass will make it more difficult to penetrate the soil and could even clog your core aerator. Secondly, make sure your lawn is relatively dry. Extremely wet soil will be difficult to penetrate, and you risk damaging the grass.
Next, plan your approach. You’ll be working in rows, so it’s helpful to visualize where you’ll be working. This helps ensure even coverage. Consider marking out your rows, especially for larger lawns, to maintain a systematic approach and avoid missing any areas. Remember, the goal is to cover the entire lawn evenly, so a little planning goes a long way.
The Manual Core Aeration Process
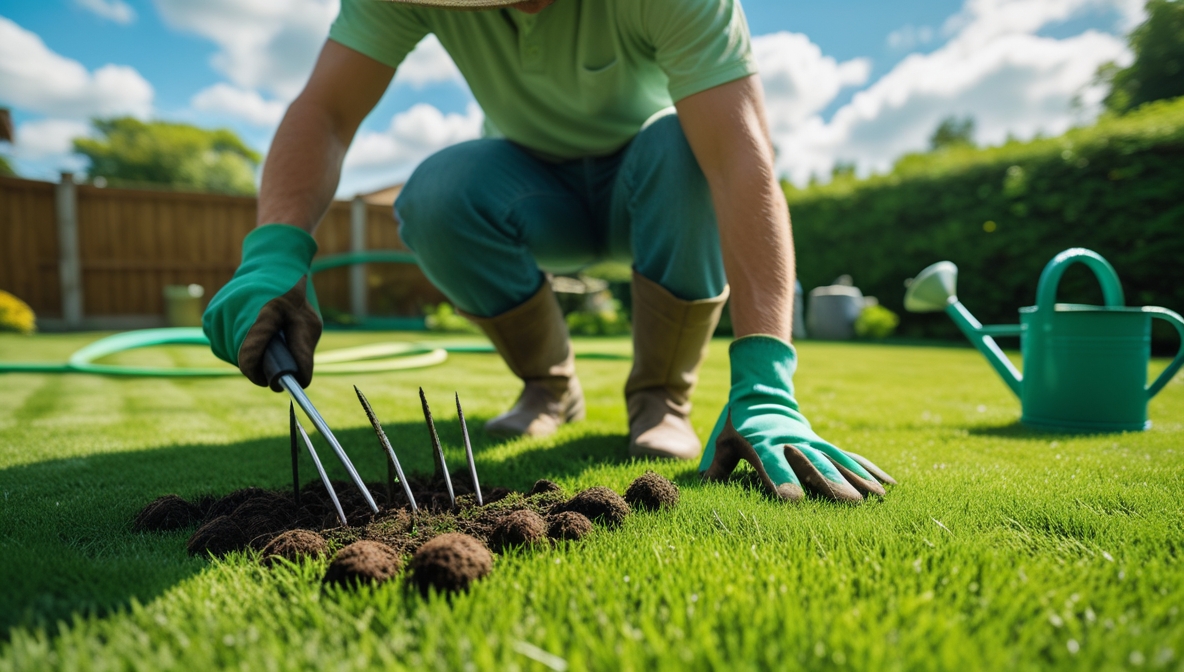
Now for the fun part! If using a garden fork, push it straight into the soil, about 6-8 inches deep. Then, gently rock the fork back and forth to create a small hole. Remove the fork and repeat the process, spacing your holes about 6-12 inches apart. This spacing allows for adequate aeration while minimizing the disturbance to the turf.
For a core aerator, the process is similar. Push the tool straight into the soil, ensuring that the tines penetrate deeply. The core aerator will remove small plugs of soil, leaving behind clear holes. Continue working in rows, overlapping slightly to ensure complete coverage. Remember to maintain a consistent depth and spacing for optimal results. Take breaks as needed; this is a physical activity, so listen to your body.
Dealing with Tough Spots
You might encounter some areas where the soil is exceptionally compacted. These spots might require a bit more effort. Instead of forcing the tool, try using a slightly different technique. For a garden fork, try a more rocking motion to break up the soil. For a core aerator, you might need to apply more pressure or make multiple passes over the same area.
If you’re still struggling, consider using a different tool. A soil cultivator or even a hand trowel can help loosen the most stubborn areas. Remember, patience is key. Don’t get discouraged if some spots require more work than others. The goal is to improve overall soil aeration, not to perfectly aerate every inch of your lawn. Focus on making a noticeable difference across the whole lawn.
Spreading the Love (Evenly!)
Maintaining consistent spacing is crucial for effective aeration. Think of it like planting seeds – you want even distribution to ensure healthy growth. For a large lawn, consider using a grid system or marking out rows to guide you. This prevents over-aeration in some areas and under-aeration in others.
Aim for a spacing of about 6-12 inches between holes. This distance allows for adequate air and water penetration while minimizing damage to the turf. If you’re using a core aerator, the tool itself will often help maintain consistent spacing. With a garden fork, you’ll need to be more mindful of your placement. Take your time and work methodically. The result will be worth the effort.
Post-Aeration Lawn Care
After you’ve finished aerating, you’ll want to give your lawn some extra TLC. First, water your lawn thoroughly. This helps settle the soil and encourages root growth. Avoid overwatering, however; aim for a deep, slow watering rather than a quick spray. Secondly, consider applying a top dressing of compost or other organic matter.
This will further improve soil structure and provide essential nutrients. The holes created during aeration provide the perfect channels for the top dressing to reach the grass roots. Finally, avoid heavy foot traffic on your lawn until the soil has settled. This allows the grass to recover and prevents compaction from undoing your hard work.
Enjoying Your Healthier Lawn
With consistent aeration, you’ll notice a significant improvement in your lawn’s health. The grass will become thicker, greener, and more resilient to disease, weeds, and drought. You’ll also find that fertilizers and other lawn treatments become much more effective. Remember, aeration is a preventative measure as well as a treatment. Regular aeration keeps your lawn healthy and vibrant.
Over time, you’ll see a dramatic difference. Your lawn will be less prone to those frustrating patches of brown, and you’ll enjoy a greener, healthier lawn that requires less maintenance. So, grab your tool, roll up your sleeves, and prepare to enjoy the fruits of your labor – a beautiful, thriving lawn!
Manual aeration may seem like a lot of work, but the results are well worth the effort. By following these steps, you can give your lawn the breath of fresh air it needs to thrive. Remember to be patient and consistent, and enjoy the satisfaction of a job well done, and a stunningly healthy lawn! Happy aerating!


