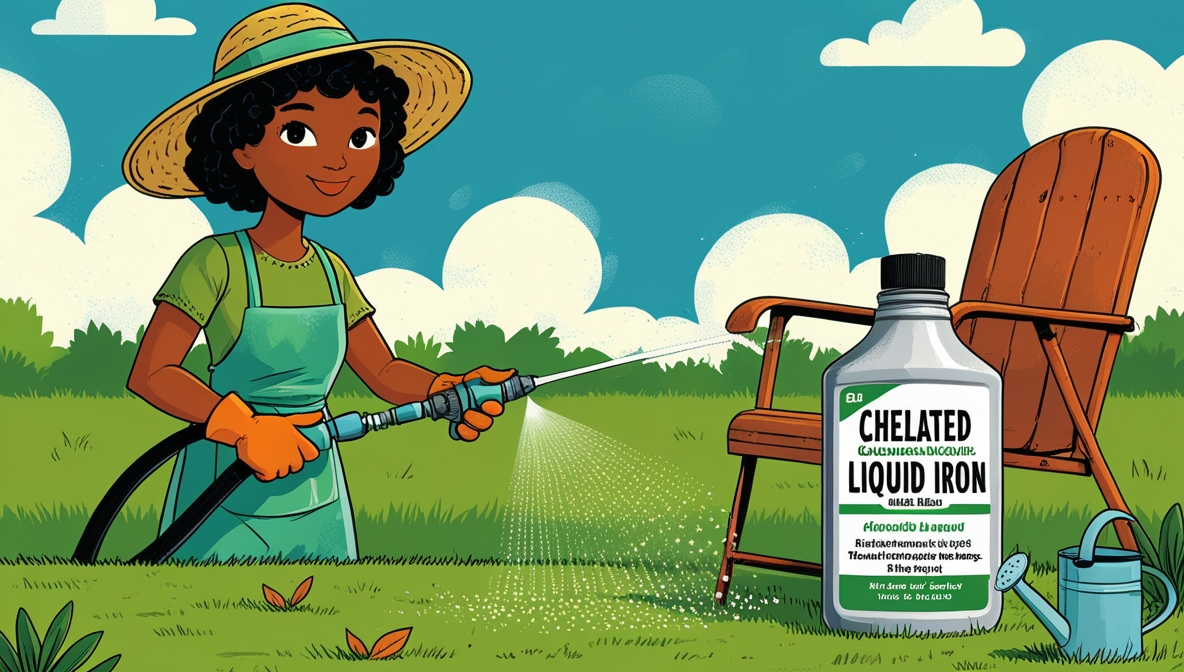
Is your lawn looking a little pale and sickly? Yellowing grass often points to an iron deficiency, a common problem that can easily be solved with a little know-how. This beginner’s guide will walk you through applying chelated liquid iron to your lawn, bringing back that vibrant green you crave. We’ll cover everything from understanding the science behind chelated iron to the best application techniques, ensuring you get the best results possible. Let’s get started!
Contents
Understanding Chelated Iron for Lawns
Iron is a vital nutrient for healthy lawn growth. It plays a crucial role in photosynthesis, the process by which grass blades create energy from sunlight. Without sufficient iron, your grass will struggle to produce chlorophyll, the pigment responsible for its green color. This results in chlorosis, the yellowing or browning of grass blades. Simply put, iron helps your lawn stay green and healthy.
However, iron in its natural state isn’t readily absorbed by grass plants. That’s where chelated iron comes in. Chelation is a process that binds iron to an organic molecule, making it more soluble and easier for grass roots to absorb. This enhanced absorption ensures your lawn gets the iron it needs, efficiently and effectively, leading to a healthier, greener lawn. Think of it as a delivery service specifically designed for your grass’s iron needs.
Assessing Your Lawn’s Iron Needs
Before you reach for the chelated iron, it’s important to confirm that your lawn actually needs it. Yellowing grass isn’t always a sign of iron deficiency; it could be caused by other factors like disease, pests, improper watering, or poor soil drainage. Start by carefully inspecting your lawn. Is the yellowing uniform across the entire lawn, or is it concentrated in specific areas?
If the yellowing is widespread and appears interveinal—meaning the yellowing is between the leaf veins, while the veins remain green—then an iron deficiency is a strong possibility. However, for a definitive diagnosis, you might consider a soil test. A soil test will provide a detailed analysis of your soil’s nutrient levels, including iron. This will confirm if an iron deficiency is the culprit and help you determine the appropriate amount of chelated iron to apply. Knowing for sure will save you time and money.
Choosing the Right Iron Chelate
Several types of chelated iron are available, each differing in its effectiveness and cost. The most common types include EDTA (ethylenediaminetetraacetic acid), DTPA (diethylenetriaminepentaacetic acid), and EDDHA (ethylenediamine-di-o-hydroxyphenylacetic acid). These differ in their stability and ability to release iron in various soil pH levels.
For most home lawns, a chelated iron product containing EDTA or DTPA is typically sufficient. EDDHA is more expensive and generally only needed in very high pH soils (alkaline). When choosing a product, always check the label for the concentration of iron, expressed as a percentage of iron by weight. Higher concentrations will allow you to use less product per application, potentially saving you money in the long run. Read reviews and compare prices before making your purchase.
Getting Your Gear Together
Before you start mixing and applying the chelated iron, gather the necessary tools and equipment. This will make the application process smoother and more efficient. You’ll need a clean watering can or garden sprayer, a measuring jug or cup for accurate mixing, protective gloves to shield your hands from the iron solution, and potentially safety glasses as well.
Additionally, depending on the size of your lawn, you may want to consider using a hose-end sprayer for larger areas. This will significantly speed up the application process. If you’re using a sprayer, make sure it’s clean and properly calibrated. A clogged nozzle or inaccurate spraying can lead to uneven application, resulting in inconsistent results. Preparing your tools beforehand ensures a smooth and efficient application.
Mixing the Iron Solution Properly
Always follow the instructions on the chelated iron product’s label carefully. Mixing the solution incorrectly can lead to ineffective application or even damage to your lawn. Generally, you’ll need to mix the chelated iron concentrate with water according to the manufacturer’s instructions. This usually involves adding a specific amount of concentrate to a larger volume of water.
Use your measuring jug or cup to accurately measure both the concentrate and water. Stir the mixture gently but thoroughly to ensure the iron is evenly distributed. Avoid shaking vigorously, as this can create excessive foam. Once mixed, your solution is ready to be applied to your lawn. Remember to always double-check the instructions, as different products have different mixing ratios.
Applying the Iron to Your Lawn
Apply the chelated iron solution evenly across your lawn. Avoid over-application, as this can potentially damage your grass or lead to runoff. If using a watering can, pour the solution slowly and steadily, ensuring even coverage. If using a hose-end sprayer or garden sprayer, maintain a consistent walking pace and adjust the spray pattern as needed to ensure even coverage.
For best results, apply the iron solution on a cloudy day or in the evening to minimize evaporation and sun damage to the grass. Avoid applying during periods of heavy rain, as the iron solution could be washed away before it’s absorbed by the grass. Aim for a light, even coating rather than a heavy soaking. Observe the application process closely to ensure that the iron solution is distributed evenly across the entire lawn.
Watering After Iron Application
After applying the chelated iron, water your lawn lightly but thoroughly. This helps to wash the iron solution down to the grass roots and promote absorption. A light watering is sufficient; you don’t need to soak the lawn. The goal is to ensure that the iron solution reaches the root zone without causing excessive runoff.
The amount of water needed will depend on your soil type and weather conditions. Heavier clay soils may require slightly more water than lighter sandy soils. Avoid overwatering, as this can lead to root rot or other problems. A gentle watering is key to allowing the iron to settle into the soil and reach the grass roots effectively. This step is crucial for maximizing the effectiveness of the chelated iron application.
Maintaining a Healthy Green Lawn
Applying chelated iron is just one step in maintaining a healthy, vibrant green lawn. To ensure long-term success, consider other essential lawn care practices. These include regular mowing at the correct height, proper fertilization, and consistent watering based on your soil type and weather conditions. Also, ensure proper soil aeration to promote healthy root growth.
Furthermore, addressing underlying issues like compacted soil or pest infestations is crucial for optimal lawn health. Regularly inspect your lawn for signs of disease or pests, and take appropriate action if necessary. By combining the application of chelated iron with a comprehensive lawn care program, you can achieve and maintain a lush, green lawn year after year. Remember that consistent care is key to a healthy and beautiful lawn.
Applying chelated liquid iron to your lawn is a relatively simple process that can significantly improve its health and appearance. By following the steps outlined in this guide, you can effectively address iron deficiencies and achieve a vibrant green lawn. Remember that consistent lawn care practices are essential for long-term success. So, get out there, give your lawn some iron love, and enjoy the results!


