Dealing with a malfunctioning sprinkler head or needing to temporarily disable part of your system is a common homeowner experience. This guide walks you through the process of blocking a sprinkler, from identifying the problem to knowing when to call for professional help. Whether you’re dealing with a leak, a flooded area, or just need to make a quick repair, we’ve got you covered.
Contents
Understanding Your Sprinkler System
Before you start troubleshooting, take a moment to familiarize yourself with your sprinkler system. Understanding how it works will make the process much smoother. Look for the main water shutoff valve – this is usually located near the water meter or where the water line enters your property. Also, try to identify the different zones in your sprinkler system. Each zone is typically controlled by a separate valve. Knowing which zone the problematic sprinkler belongs to will help you isolate the issue quickly. Finally, take note of where your sprinkler valves are located; they’re often found in a central location, sometimes in a box underground or near your home’s foundation.
Knowing your system’s layout, including the location of the main water shutoff valve and individual zone valves, is crucial. This will save you time and effort when dealing with sprinkler issues. Consider drawing a simple diagram of your system, noting the location of valves and sprinkler heads, for future reference. This will be invaluable if you have a complex system or frequently need to make adjustments. Don’t hesitate to consult your system’s installation manual if you have one; it often provides valuable insights into your specific setup.
Understanding the different components of your sprinkler system—the valves, the pipes, and the heads themselves—will help you diagnose and fix problems more efficiently. Take some time to walk around your yard and observe how each zone operates. This will give you a better understanding of how your system functions as a whole, making it easier to pinpoint the source of any issues. This familiarity will make future maintenance and repairs much easier.
Identifying the Problem Area
First, pinpoint the exact sprinkler head that needs attention. Is it spraying water where it shouldn’t be? Is it leaking? Or is it simply not working at all? Take note of its location within your yard. This will help you locate the corresponding valve later. Observe the sprinkler’s behavior during its watering cycle. Is it spraying too much water, too little, or in the wrong direction? This will help you determine the nature of the problem. Sometimes, a simple adjustment might solve the issue.
Accurate identification is key to efficient problem-solving. If you have multiple zones, carefully observe each one during its operation to isolate the troublesome sprinkler. Consider taking photos or videos of the problem area to help you remember details later. This is especially helpful if you need to call a professional for assistance. A clear description of the problem will help them understand the situation quickly.
Once you’ve identified the problematic sprinkler head, take note of any surrounding obstacles that might be interfering with its operation. Is there debris clogging the spray nozzle? Is the head damaged or misaligned? Is the area around the sprinkler head excessively wet or muddy, indicating a leak? These observations will help guide your troubleshooting efforts.
Shutting Off the Main Water Supply
Before you begin any work on your sprinkler system, always turn off the main water supply. This is a crucial safety precaution that prevents unexpected water surges and potential damage. Locate your main water shutoff valve, which is usually near your water meter. Turn the valve clockwise to shut off the water flow to your entire property. This will prevent water from flowing to your sprinkler system while you work.
Once you’ve located the main shutoff valve, take a moment to familiarize yourself with its operation. Make sure you understand how to turn it on and off safely. If you’re unsure, consult your water meter instructions or contact a professional plumber. It’s important to turn the valve completely off to ensure no water flows to your sprinkler system. A partially closed valve might create pressure issues later on.
Turning off the main water supply is the first and most important step in any sprinkler system repair. It prevents water damage and ensures your safety while working on the system. If you’re not comfortable performing this step yourself, it’s always best to call a professional plumber.
Locating the Sprinkler Valve
Now that the water is off, locate the valve that controls the sprinkler head you want to block. These valves are often located in a central area, sometimes underground in a valve box. Consult your sprinkler system’s diagram or installation manual if you have one to pinpoint its location. Check for any markings or labels on the valve box that might indicate which zone it controls. These markings can greatly assist in identifying the correct valve.
If you can’t find the valve box, look for pipes leading from your home to the sprinkler system. These pipes often connect to the valve boxes. You might need to carefully dig around the area to locate the valve box if it’s buried underground. Remember to exercise caution when digging to avoid damaging underground utilities. Use a shovel or trowel to carefully remove the soil around the valve box.
Finding the correct valve is critical to effectively blocking the sprinkler. If you’re unsure which valve controls the specific sprinkler head, you can try turning on different valves one at a time (after turning the main water supply back on briefly) to see which one activates the sprinkler in question. However, remember to turn off the main water supply again once you’ve identified the correct valve.
Manually Turning Off the Valve
Once you’ve found the valve, turn it clockwise to shut off the water flow to that specific zone. Most sprinkler valves have a handle that you can turn by hand. You should feel resistance as you turn the handle. Continue turning until the handle stops. This indicates that the valve is fully closed and no water is flowing to that zone.
If the valve is stiff or difficult to turn, don’t force it. Try using a lubricant like WD-40 on the valve stem to ease the turning process. If the valve still won’t turn, you may have a more serious issue that requires professional attention. Avoid using excessive force, as this could damage the valve.
Confirm that the water is indeed off by checking the sprinkler head. If the head still has water flowing, you may need to revisit the valve and ensure it’s fully closed. If it remains problematic, consider using a valve key (discussed in the next section) or calling a professional.
Using a Valve Key (If Needed)
Some sprinkler valves use a special valve key for operation. These keys are usually located near the valve box or stored with your sprinkler system documentation. If you have a valve key, insert it into the valve and turn it clockwise to close the valve. The key provides better leverage than turning the valve by hand, making it easier to operate stiff valves.
The valve key is designed to fit securely into the valve stem, providing a firm grip and preventing slippage. Ensure the key is properly aligned before turning the valve. Turning the valve with a valve key is generally more effective than manual operation, especially for stubborn valves. If you lack a valve key, you might find a suitable substitute in your toolbox, such as a wrench or pliers, but ensure you don’t damage the valve.
If you cannot locate a valve key and are struggling to shut the valve, it’s best to contact a professional. They have the tools and expertise to handle difficult valve situations without causing damage. Improper use of tools can potentially damage the valve, leading to further complications and more expensive repairs.
Temporarily Blocking the Sprinkler Head
Now that the water to that zone is off, you can temporarily block the sprinkler head. The simplest method is to place a small container, such as a cup or small bucket, over the sprinkler head. This will prevent water from spraying if the valve is accidentally opened. Alternatively, you can use a plastic bag and secure it with a rubber band or tape.
A more permanent (though still removable) solution might involve using a small piece of wood or a plastic cap to cover the sprinkler head. Ensure the cover fits snugly to prevent any water from escaping. Remember, this is a temporary solution; you’ll need to remove the blockage once you’re finished with your repairs or adjustments. Make sure your temporary blockage is securely in place to prevent accidental water spraying.
Remember to clearly mark the blocked sprinkler head to avoid accidentally activating it later. A simple note or marker will serve as a reminder. This is especially important if multiple people are working on the yard or if the blockage will remain in place for an extended period.
Repairing a Leaky Sprinkler Head
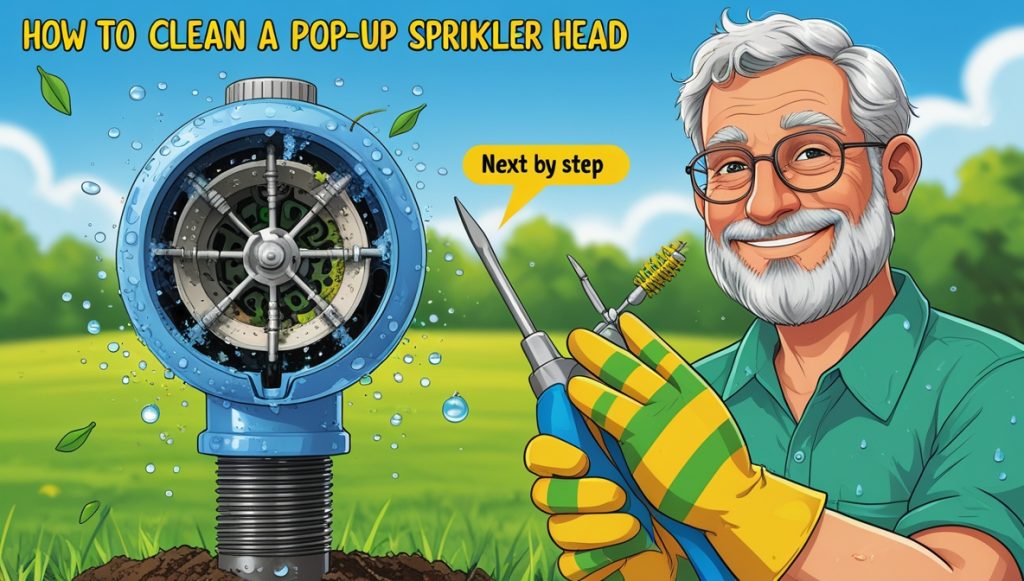
If your problem is a leaky sprinkler head, start by inspecting it for damage. A simple fix might involve tightening the nozzle or replacing a worn-out O-ring. You can usually find replacement parts at most home improvement stores. If the head is severely damaged, you’ll need to replace the entire head. This is often a straightforward process involving unscrewing the old head and screwing on the new one.
Before replacing the head, be sure to turn off the main water supply and the relevant zone valve. This will prevent water from spraying during the repair. If you’re unsure about replacing a sprinkler head, consult an online tutorial or consider contacting a professional. Replacing a sprinkler head is a relatively simple DIY task, but taking precautions will prevent mistakes.