Getting your boom sprayer calibrated correctly is crucial for efficient and effective pesticide or fertilizer application. Over-application wastes money and harms the environment, while under-application compromises crop health and yields. This guide walks you through the process step-by-step, making calibration a manageable task. Let’s get started!
Contents
- Getting Started: Pre-Calibration Checks
- Measuring Your Sprayer’s Output
- Calculating the Sprayer’s Speed
- Understanding Nozzle Output & Pressure
- The Importance of Accurate Nozzle Spacing
- Marking Out Your Test Area (Easy!)
- Collecting and Measuring Your Spray
- Calculating the Application Rate
- Adjusting Your Sprayer for Accuracy
- Final Calibration & Field Testing
Getting Started: Pre-Calibration Checks
Before you even think about spraying, give your boom sprayer a thorough once-over. Check your tires for proper inflation – uneven tire pressure affects ground speed and therefore application rate. Inspect all nozzles for clogs or damage; a single faulty nozzle can throw off your entire calibration. Make sure all connections are tight and leak-free to prevent loss of spray solution. A little preventative maintenance goes a long way!
Next, fill your spray tank with clean water to the desired level. This allows you to practice the calibration process without wasting valuable chemicals. Remember to note the tank’s capacity; this is crucial for later calculations. Finally, ensure your sprayer is equipped with the correct type of nozzles for your intended application. Using the wrong nozzles can lead to uneven coverage and inaccurate application rates.
This pre-calibration check ensures your sprayer is in optimal condition, preventing costly mistakes and ensuring accurate results during the calibration process.
Measuring Your Sprayer’s Output
We’ll start by measuring the amount of water your sprayer delivers over a set distance. This gives you a baseline for calculating your application rate. Find a relatively flat, level area, preferably a paved surface for easy cleanup. Mark out a precise distance—a 100-foot run is commonly used, but you can adjust based on your sprayer’s capacity and the size of your field.
With the sprayer filled with water, drive the marked distance at your intended field speed. Time yourself accurately; a stopwatch or phone timer is your best friend here. Remember to maintain a consistent speed throughout the run. After covering the measured distance, immediately stop and measure the amount of water remaining in the tank.
Subtracting the final water level from the initial water level gives you the total volume of water sprayed over the measured distance. This volume is a key component in calculating your sprayer’s output and subsequently adjusting for accurate application.
Calculating the Sprayer’s Speed
Knowing your sprayer’s speed is fundamental for accurate calibration. You’ve already timed your run in the previous step; now we translate that time into speed. Let’s say you covered 100 feet in 20 seconds. To find your speed in feet per minute, multiply your distance (100 feet) by 60 (seconds in a minute) and divide by your time (20 seconds). This gives you a speed of 300 feet per minute.
You can convert this to miles per hour (mph) by dividing the feet per minute by 5,280 (feet in a mile) and multiplying by 60 (minutes in an hour). In this example, 300 feet per minute converts to approximately 3.4 mph. Keep a record of this speed; you’ll use it in subsequent calculations to determine the correct application rate for your needs.
Accurate speed calculation is critical, as it directly impacts the amount of spray solution applied per unit area. A slight variation in speed can significantly affect the overall application rate.
Understanding Nozzle Output & Pressure
Nozzle output refers to the amount of spray solution each nozzle delivers per unit of time (usually gallons per minute or liters per minute). This varies depending on the nozzle type, pressure, and the condition of the nozzle itself. Check your nozzle manufacturer’s specifications for the expected output at different pressures. This information is usually found on the nozzle packaging or the manufacturer’s website.
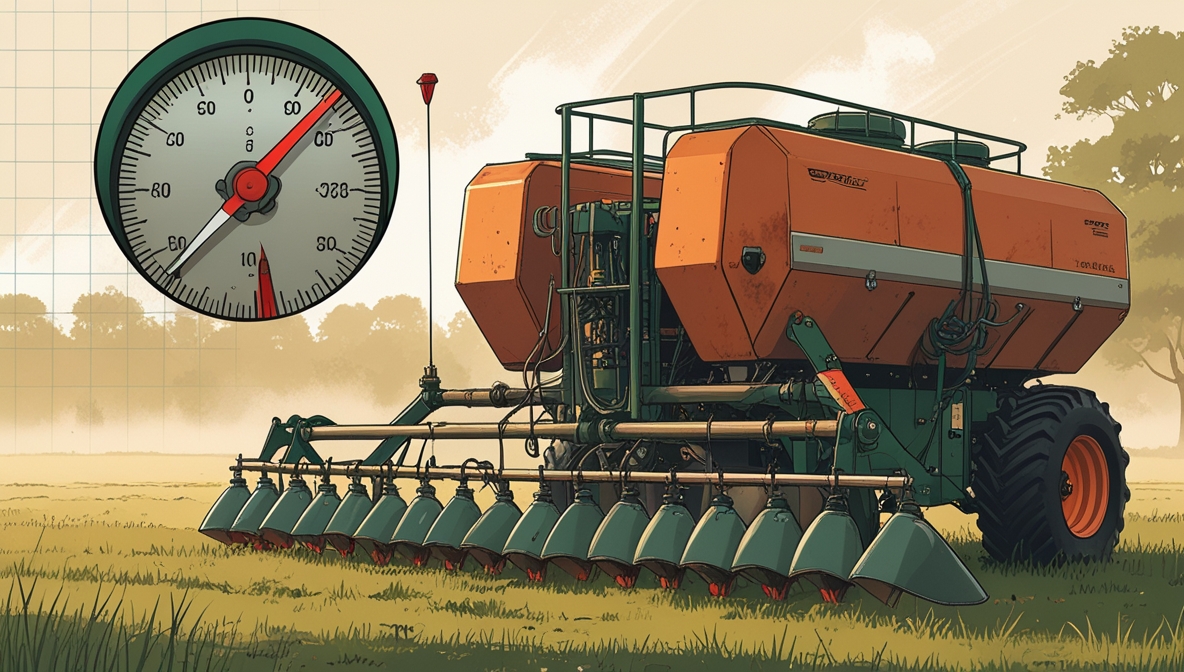
Pressure significantly impacts nozzle output. Higher pressure generally leads to higher output, but it can also result in increased drift and uneven application. Your sprayer will have a pressure gauge; use it to monitor and maintain a consistent pressure throughout the calibration process. Start by setting the pressure according to the nozzle manufacturer’s recommendations.
Understanding the relationship between pressure and nozzle output allows you to fine-tune your sprayer for optimal performance. Experiment with slight pressure adjustments to achieve the desired output, always keeping an eye on drift potential.
The Importance of Accurate Nozzle Spacing
Evenly spaced nozzles ensure uniform spray coverage across the entire swath width. Uneven spacing leads to inconsistent application rates, leaving some areas over-sprayed and others under-sprayed. Measure the distance between each nozzle along your boom. They should be equally spaced.
The ideal nozzle spacing depends on factors like nozzle type, spray pressure, and the target application rate. Consult your nozzle manufacturer’s guidelines for recommended spacing. Using a measuring tape, carefully check the distance between each nozzle and make adjustments as needed. Remember to maintain consistent spacing across the entire boom.
Accurate nozzle spacing is crucial for achieving uniform coverage and preventing areas of over or under application. Take your time with this step; it’s a fundamental element of effective boom sprayer calibration.
Marking Out Your Test Area (Easy!)
To collect your spray sample, you need a clearly defined test area. Choose a level surface, preferably paved for easy cleanup. Use stakes or markers to define a precise area. A common approach is to mark out a square or rectangle of a known area, for example, 10 feet by 10 feet.
Make sure your markers are clearly visible and easy to follow. This helps ensure that you collect all the spray from the designated area, preventing errors in your measurements. The size of your test area isn’t critical, but consistency is key. Choose a size that’s manageable and allows for accurate collection of the spray.
Clearly marking your test area prevents errors in data collection and helps in obtaining accurate results for your calibration.
Collecting and Measuring Your Spray
After completing your test run, carefully collect all the spray solution from your designated test area. Use a graduated container to measure the volume of collected spray. Record this volume precisely; it’s crucial for calculating your application rate.
Ensure you collect all the spray from the marked area, avoiding any spillage or loss. If you’re using a chemical spray, wear appropriate protective gear. This meticulous collection and accurate measurement will ensure the accuracy of your calibration process.
Accurate measurement of the collected spray is critical for calculating the application rate and ensuring your sprayer is calibrated correctly.
Calculating the Application Rate
Now that you have your collected spray volume and the area of your test patch, calculating your application rate is straightforward. Let’s say you collected 0.5 gallons of spray from a 100 square foot area. To find the application rate in gallons per acre, multiply the volume (0.5 gallons) by 43,560 (square feet in an acre) and divide by the area of your test patch (100 square feet).
This calculation gives you an application rate of 217.8 gallons per acre. Compare this to your desired application rate (found on the pesticide or fertilizer label). If they don’t match, you need to adjust your sprayer settings. This calculation is crucial for ensuring the correct amount of chemical is applied per unit area.
The application rate calculation determines whether you need to adjust your sprayer settings to achieve the desired application rate.
Adjusting Your Sprayer for Accuracy
If your calculated application rate differs from the desired rate, you’ll need to adjust your sprayer settings. If you’re applying too much, reduce the pressure, slow down your speed, or adjust the nozzle size. If you’re applying too little, increase the pressure, increase your speed, or use larger nozzles.
Make small adjustments at a time, retesting and recalculating your application rate after each adjustment. This iterative process ensures you achieve the desired application rate without drastic changes that could lead to further inaccuracies. Remember to always consult your nozzle manufacturer’s recommendations for pressure and output ranges.
Accurate adjustment is crucial for achieving the desired application rate and ensuring optimal efficiency and efficacy of your spray application.
Final Calibration & Field Testing
Once you’ve achieved your target application rate, conduct a final field test. Choose a small section of your field that’s representative of the rest. Spray this area, carefully monitoring your speed and pressure. After spraying, visually inspect the coverage to ensure uniform application.
If the coverage is uneven, you may need to further adjust your nozzle spacing or pressure. Once you’re satisfied with the uniformity and application rate, you can proceed with spraying the remainder of your field with confidence. Remember to regularly check your sprayer’s performance throughout the spraying process.
Final calibration and field testing ensure that your sprayer is performing optimally and that you’re achieving consistent and accurate application rates across your entire field.
Calibrating a boom sprayer might seem daunting at first, but by following these steps methodically, you can ensure accurate and efficient application. Remember, consistent calibration is key to maximizing the effectiveness of your pesticide or fertilizer applications while minimizing environmental impact and maximizing your return on investment. Happy spraying!