Tired of tripping over sprinkler heads or dealing with pesky leaks? Want to protect your system from winter damage without the back-breaking work of digging? This guide shows you how to cap sprinkler heads without digging, saving you time, effort, and your back! We’ll cover everything from identifying your system type to troubleshooting common problems, so you can keep your lawn looking lush without the hassle.
Contents
- Why Cap Sprinkler Heads? No Digging Needed!
- Identifying Your Sprinkler System Type
- Gathering Your Essential Supplies
- The Cap-a-Sprinkler Head Method
- Using Sprinkler Head Caps Effectively
- Dealing with Stubborn Sprinkler Heads
- Winterizing Your System Without Digging
- Maintaining Your Capped System
- Troubleshooting Common Cap Issues
- Long-Term Sprinkler Head Management
Why Cap Sprinkler Heads? No Digging Needed!
Sprinkler head caps offer a multitude of benefits, especially when you avoid the digging. Firstly, they prevent accidental damage to your sprinkler heads from lawnmowers, weed whackers, and even foot traffic. This saves you money on repairs or replacements. Secondly, capping heads allows for targeted adjustments to your irrigation system. Maybe you’re re-landscaping, or perhaps a section of your yard no longer needs watering. Capping offers a simple solution. Finally, and importantly, capping is crucial for winterizing your system to protect it from freezing temperatures and potential damage. No more digging up frozen pipes!
Capping sprinkler heads without digging is a game-changer for homeowners. It’s a significantly less disruptive and more efficient method compared to digging up each head. You save time, avoid the mess, and protect your lawn’s aesthetic appeal. The methods described below are designed for quick, easy application, perfect for the average homeowner. You’ll be surprised how simple it is to protect your investment.
Identifying Your Sprinkler System Type
Before you start capping, understanding your sprinkler system is key. Common types include rotor sprinklers (rotating heads), spray heads (static spray patterns), and pop-up sprinklers (heads that retract into the ground). Each type might require slightly different capping techniques, though the general principles remain the same. Take a moment to observe your sprinkler heads; note their design and how they operate. This will help you choose the appropriate cap size and type.
Knowing your system’s zone layout is also helpful. This helps you plan your capping strategy and ensure you’re not accidentally shutting off water to an essential area. A simple diagram or even a photograph of your system’s layout can be invaluable. If you’re unsure about your system type, consult your irrigation system’s manual or contact a professional.
Different types of sprinkler heads have different sizes and shapes, so using the right caps is essential for a proper seal. Improperly sized caps can lead to leakage or ineffective capping. Observe your heads carefully before purchasing caps to ensure a good fit.
Gathering Your Essential Supplies
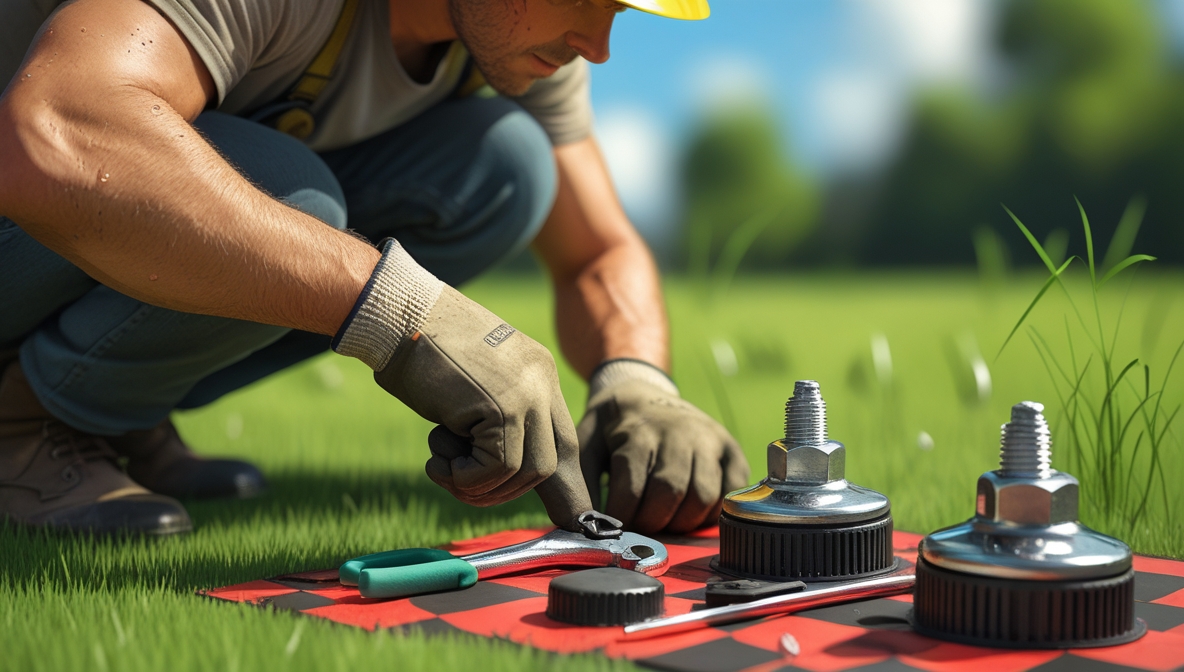
You won’t need a lot of specialized tools to cap your sprinkler heads. Begin by gathering the appropriate sprinkler head caps. These are usually readily available at home improvement stores and online retailers. Make sure to choose caps that fit your specific sprinkler head type. You’ll also need a screwdriver or wrench (depending on the cap type), possibly some pipe sealant (for a tighter, leak-proof fit), and perhaps some rags or paper towels for cleanup.
Consider purchasing caps in bulk if you have a large number of sprinkler heads to cover. This will save you money in the long run. Don’t forget to check for any specific tools mentioned in the cap’s instructions. Some caps may have additional features or require special tools for installation.
Having these supplies ready before you begin will streamline the process and prevent interruptions. A well-organized approach ensures a smoother and more efficient experience, minimizing potential frustration.
The Cap-a-Sprinkler Head Method
Start by turning off the water supply to your sprinkler system. This is crucial to prevent water spraying everywhere while you work. Locate the sprinkler head you want to cap. Carefully place the cap over the sprinkler head, ensuring a snug fit. If using a screw-on cap, tighten it securely with a screwdriver or wrench. For push-on caps, ensure they’re firmly seated.
Apply pipe sealant if needed, particularly if you notice any gaps or leaks. Let the sealant dry completely before turning the water back on. Repeat this process for each sprinkler head you wish to cap. Work systematically, moving from one zone to the next to avoid confusion.
Remember to check for leaks after you’ve capped all the heads and turned the water back on. A small leak might indicate an improperly fitted cap, necessitating a re-application of sealant or replacement of the cap.
Using Sprinkler Head Caps Effectively
Proper placement is key to preventing leaks and ensuring effective capping. Make sure the cap is securely fitted onto the sprinkler head, leaving no gaps. If you’re using sealant, apply it sparingly and evenly to create a watertight seal. Avoid over-tightening screw-on caps, as this can damage the sprinkler head or the cap itself.
Regularly inspect your capped sprinkler heads, particularly after heavy rains or strong winds, to ensure they remain securely in place. If a cap becomes loose or dislodged, re-secure it immediately to prevent water waste and potential damage to your lawn.
Remember that the effectiveness of your caps depends on the proper fit and consistent maintenance. A little attention now can save you significant headaches and water waste later.
Dealing with Stubborn Sprinkler Heads
Sometimes, you might encounter sprinkler heads that are difficult to cap. This could be due to corrosion, damage, or simply a tight fit. If a cap won’t fit easily, try gently cleaning the sprinkler head with a brush or wire to remove any debris. If the problem persists, consider using a slightly larger cap or applying a small amount of lubricant to help the cap slide on more easily.
If you’re dealing with a severely damaged sprinkler head, replacing it might be a more effective long-term solution than trying to force a cap onto it. Replacing a damaged head is often cheaper than dealing with constant leaks or water waste.
Don’t force a cap onto a stubborn sprinkler head, as this could damage the head or the cap itself. Take your time and use appropriate techniques to avoid unnecessary frustration and potential damage.
Winterizing Your System Without Digging
Capping your sprinkler heads is a crucial step in winterizing your irrigation system. Before the first frost, cap all sprinkler heads to prevent water from freezing inside the pipes and causing damage. This prevents costly repairs in the spring. Remember to drain any remaining water from your system according to the manufacturer’s instructions.
In addition to capping, consider turning off the main water supply to your sprinkler system. This completely prevents water from entering the system. This is a critical step in preventing damage from freezing temperatures. Insulating exposed pipes can further protect your system from freezing.
Winterizing your sprinkler system without digging saves you time and effort while safeguarding your investment. Proper winterization significantly reduces the risk of costly repairs in the spring.
Maintaining Your Capped System
Regular inspection is key to keeping your capped system functioning smoothly. Check your capped heads periodically for any signs of leaks or loose caps, especially after heavy rains or strong winds. Tighten any loose caps and re-apply sealant if necessary. This proactive approach helps prevent water waste and potential damage to your lawn.
Clean your sprinkler heads and caps regularly to remove debris and prevent blockages. This ensures optimal performance when you remove the caps in the spring. A clean system is a healthy system!
By consistently maintaining your capped system, you prolong its lifespan and ensure its efficient operation when you’re ready to use it again.
Troubleshooting Common Cap Issues
Leaking caps are a common problem. This usually indicates an improper fit or a lack of sealant. Try re-applying sealant, ensuring a snug fit, or replacing the cap if necessary. Persistent leaks might indicate a problem with the sprinkler head itself, requiring repair or replacement.
Caps that won’t stay in place might be due to damage to the sprinkler head or the cap itself. Check for any cracks or damage and replace the faulty components. Consider using a different type of cap if the current one doesn’t provide a secure fit.
Addressing these common issues promptly prevents water waste and potential damage to your lawn. A little preventative maintenance goes a long way.
Long-Term Sprinkler Head Management
For long-term management, consider creating a simple map or diagram of your sprinkler system, noting the location and type of each sprinkler head. This makes future maintenance and repairs much easier. Keep your sprinkler head caps organized and readily accessible for quick access during the off-season.
Regularly inspect your entire system for any signs of damage or wear and tear. Address any issues promptly to prevent them from escalating into more significant problems. This proactive approach ensures the longevity and efficiency of your sprinkler system.
By implementing a comprehensive sprinkler head management plan, you can save time, money, and effort in the long run. A little planning goes a long way!
Capping sprinkler heads without digging is a simple yet effective way to protect your irrigation system and save yourself a lot of work. By following these steps and tips, you can keep your lawn looking its best year-round, without the need for extensive excavation. Remember to always prioritize safety and consult a professional if you encounter any significant issues. Happy watering!
