Keeping your riding mower’s deck clean isn’t just about aesthetics; it’s crucial for maintaining its performance and longevity. A clogged deck can lead to uneven cutting, reduced efficiency, and even damage to the mower itself. This guide will walk you through the process of thoroughly cleaning your riding mower deck, ensuring it’s ready for its next mowing session.
Contents
- Gear Up: Safety First!
- Clearing the Deck: Initial Sweep
- Power Washing Prep: Protect & Cover
- Unleash the Power Washer: High Pressure
- Scrub-a-Dub-Dub: Tough Stain Removal
- Rinse & Repeat: Getting it Sparkling
- Drying Time: Let it Air Out
- Blade Check & Sharpness: Safety Check
- Reassembly & Storage: Ready for Next Time
- Final Touches: Deck Maintenance Tips
Gear Up: Safety First!
Before you even think about touching your mower, safety is paramount. Always disconnect the spark plug wire to prevent accidental starting. This is the single most important step to avoid injury. You wouldn’t believe how many accidents happen because people skip this simple step!
Next, gather your cleaning supplies. You’ll need a stiff-bristled brush, a garden hose with a nozzle, a pressure washer (optional but highly recommended), deck cleaner (if needed), protective eyewear, work gloves, and possibly a tarp to protect surrounding areas. Don’t forget ear protection if you’re using a pressure washer!
Finally, assess your work area. Make sure you have enough space to maneuver around the mower comfortably and safely. Choose a well-ventilated area, away from any flammable materials. Preparation is key to a smooth and safe cleaning process.
Clearing the Deck: Initial Sweep
Start by removing any large debris from the mower deck using a stiff-bristled brush or a broom. This initial sweep removes the bulk of grass clippings, leaves, and twigs, making the subsequent cleaning steps much easier and more efficient. Don’t try to be too precise at this stage; just get the big stuff out.
Pay close attention to the areas around the blades and the discharge chute. These areas tend to accumulate the most debris. You might be surprised how much you can remove with a simple sweep! A small shovel can also be useful for removing clumps of dried-on grass.
Once you’ve done a thorough sweep, you’ll have a much clearer picture of the remaining grime and can better assess the level of cleaning required. This initial step significantly reduces the overall cleaning time.
Power Washing Prep: Protect & Cover
Before unleashing the power of your pressure washer, take some time to protect surrounding areas. A simple tarp laid down around the mower will prevent water damage to your lawn, patio, or other surfaces. If you’re using a deck cleaner, read the instructions carefully.
Protecting yourself is just as important. Wear protective eyewear to shield your eyes from flying debris and chemicals. Long sleeves and gloves will protect your skin from the pressure washer’s spray and any harsh cleaning agents. Remember, safety first!
Consider covering any sensitive components of the mower, such as electrical parts or the engine, with plastic sheeting or towels to prevent water damage. A little extra protection goes a long way.
Unleash the Power Washer: High Pressure
With your protective gear on and the mower prepped, it’s time to unleash the power washer. Start by rinsing the entire deck thoroughly with a low-pressure setting to loosen any remaining dirt and debris. Work from the back of the deck toward the front.
Gradually increase the pressure as needed, focusing on stubborn areas. Use a fan-shaped nozzle for broader coverage and a more controlled spray. Be careful not to hold the nozzle too close to the deck, as this could damage the paint or metal.
Remember to keep the nozzle moving constantly to avoid concentrating the pressure in one spot. A consistent, even spray is key to effective cleaning without causing damage.
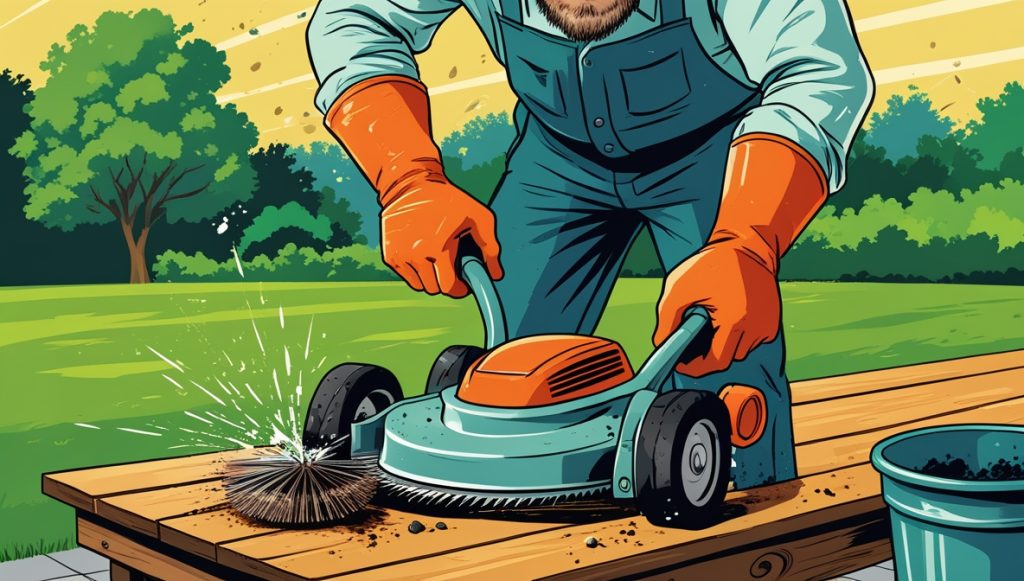
Scrub-a-Dub-Dub: Tough Stain Removal
For stubborn stains or baked-on grass, you may need to employ some elbow grease. Use a stiff-bristled brush and a deck cleaner (following the manufacturer’s instructions) to scrub away any persistent grime. Pay particular attention to areas around the blades and the discharge chute.
Work in small sections, scrubbing vigorously to loosen the stains. Don’t be afraid to apply some pressure, but avoid scratching the deck’s surface. A little patience and persistence will go a long way in achieving a spotless finish.
If you’re dealing with particularly stubborn stains, consider letting the deck cleaner sit for a few minutes before scrubbing. This will allow the cleaner to penetrate and break down the stains more effectively.
Rinse & Repeat: Getting it Sparkling
After scrubbing, rinse the entire deck thoroughly with your pressure washer. Again, start with a lower pressure setting and gradually increase it as needed. Ensure you remove all traces of the deck cleaner to prevent any residue buildup.
If you still see any stubborn stains, repeat the scrubbing and rinsing process. Keep rinsing until the water runs clear, indicating that all the dirt and cleaner have been removed. You’ll be amazed at the difference a thorough rinsing makes.
Take your time with this step to ensure a sparkling clean deck. A thorough rinse is essential for preventing future rust and corrosion.
Drying Time: Let it Air Out
Once you’ve finished rinsing, allow the deck to air dry completely before reassembling the mower. This prevents rust and ensures that all parts are completely dry before use. Avoid using rags or towels to dry the deck, as this can leave behind lint or streaks.
If you’re short on time, you can speed up the drying process by using a leaf blower to remove excess water. However, ensure the deck is mostly dry before attempting to reassemble the mower.
Allowing the deck to air dry naturally is the best way to prevent any issues with moisture and corrosion.
Blade Check & Sharpness: Safety Check
Before reassembling your mower, take a moment to inspect the blades. Check for any damage or excessive wear. Dull blades can lead to uneven cuts and damage your lawn. Sharpen or replace them as needed.
Use appropriate safety precautions when handling the blades. Always wear gloves and eye protection. If you’re unsure about sharpening the blades yourself, take your mower to a professional.
Sharp blades are essential for a clean cut and the health of your lawn. Regular blade maintenance is a key part of mower maintenance.
Reassembly & Storage: Ready for Next Time
Once the deck is completely dry, reassemble the mower according to the manufacturer’s instructions. Make sure all parts are securely fastened and that everything is functioning correctly. Double-check the blade bolts for tightness.
After reassembly, consider storing your mower in a dry, covered area to protect it from the elements. This will help to extend the life of your mower and keep it in top condition. Proper storage is essential for maintaining your mower’s performance.
Regular cleaning and proper storage will ensure your mower is ready for its next mowing session, performing at its best and lasting for years to come.
Final Touches: Deck Maintenance Tips
To keep your riding mower deck clean and functioning optimally, consider these maintenance tips. Regularly clean the deck after each mowing session to prevent grass clippings from accumulating and hardening. A quick rinse will save you time and effort in the long run.
Consider using a deck sealant to protect the deck from rust and corrosion. Follow the manufacturer’s instructions carefully when applying a sealant. A well-maintained deck will last much longer.
Regularly inspect your mower blades for sharpness and damage. Sharp blades are crucial for a clean cut and the health of your lawn. Remember, safety first!
Cleaning your riding mower deck might seem like a chore, but it’s a crucial part of maintaining your equipment and ensuring its longevity. By following these steps, you’ll not only keep your mower looking its best but also ensure it performs optimally for years to come. Remember, a clean mower is a happy mower!