Lawn mower maintenance often involves disassembling and reassembling various components. A crucial aspect of this process, sometimes a source of frustration, is the identification and correct handling of bolts. Specifically, many users wonder if lawn mower blade bolts are reverse threaded. This article aims to clarify this often-confusing issue, providing a comprehensive understanding of reverse threading, its identification, and the proper procedures for removal and installation.
Contents [show]
Understanding Lawn Mower Bolts
Lawn mower bolts, like fasteners in many other machinery types, serve to securely attach components. These bolts are crucial for the functionality and safety of the mower. Incorrect removal or installation can lead to blade slippage, potential injury, and overall damage to the machine. Understanding the specific characteristics of these bolts, including their thread patterns, is essential for safe and effective maintenance. Different types of mower components might use different types of bolts. Some bolts might be standard, while others, especially those holding critical components like blades, might have a reverse thread.
Different bolts are used in different areas of the mower. Some are merely holding screws for panels or covers, and these would be standard thread bolts. Others, often hidden beneath the mower deck, hold critical components like blades and are more likely to use reverse-threaded fasteners. These bolts are critical because they ensure the blades are securely held to prevent damage to the mower or operator. The correct operation of the mower depends on the secure attachment of these critical components. The choice of thread type is also influenced by the specific material and load requirements of the part being secured.
The material used in the construction of the mower components also plays a role. Different metals and alloys react differently to stress and strain. Reverse threads can prevent loosening under extreme conditions, which is essential for components like mower blades that are exposed to high vibrations and forces. Understanding these factors is crucial for choosing the appropriate fastener type. The selection process must consider factors like the operating environment, the forces applied, and the longevity of the part.
The purpose of a lawn mower bolt, like any other fastener, is to provide a secure connection. To achieve this, certain design parameters must be followed. The thread type is a significant consideration. If the bolt is not correctly installed, it can lead to vibration-induced loosening over time. This is a common problem that can lead to blade failure and safety hazards. This issue highlights the importance of understanding and adhering to correct installation procedures.
Reverse Threading Explained
Reverse threading, also known as left-hand threading, differs from the standard right-hand threading. In right-hand threading, the threads turn clockwise to tighten the bolt. Conversely, in reverse threading, the threads turn counter-clockwise to tighten the bolt. This seemingly counter-intuitive design is often employed for specific purposes. The primary reason for employing reverse threads is to prevent accidental loosening, particularly in situations involving vibration or fluctuating loads.
Reverse threads offer a significant advantage over standard threads in applications where the potential for loosening is high. This is often the case in machinery components that experience vibration or cyclic loading. By reversing the thread direction, the tendency for the bolt to loosen under these conditions is reduced. This prevents catastrophic failure of the component. This is especially critical in applications where the component is subjected to high stress, like a lawn mower blade.
The reverse thread design is often employed when a component needs to resist high forces and prevent loosening. This is particularly relevant in situations where vibration or shock is a factor. In these cases, reverse threading can be a crucial safety feature. It’s a simple but effective way to reinforce the connection. This method offers a more reliable connection compared to standard thread types in such applications.
Reverse threading, while seemingly unusual, is employed to prevent loosening. The counter-intuitive nature of the thread direction creates a “self-locking” effect, which is particularly useful in applications where vibration is a concern. This design choice demonstrates the importance of considering the specific application when selecting a fastener. It’s critical for manufacturers to select the thread type that best suits the component’s function and the environment in which it operates.
Identifying Reverse Thread Patterns
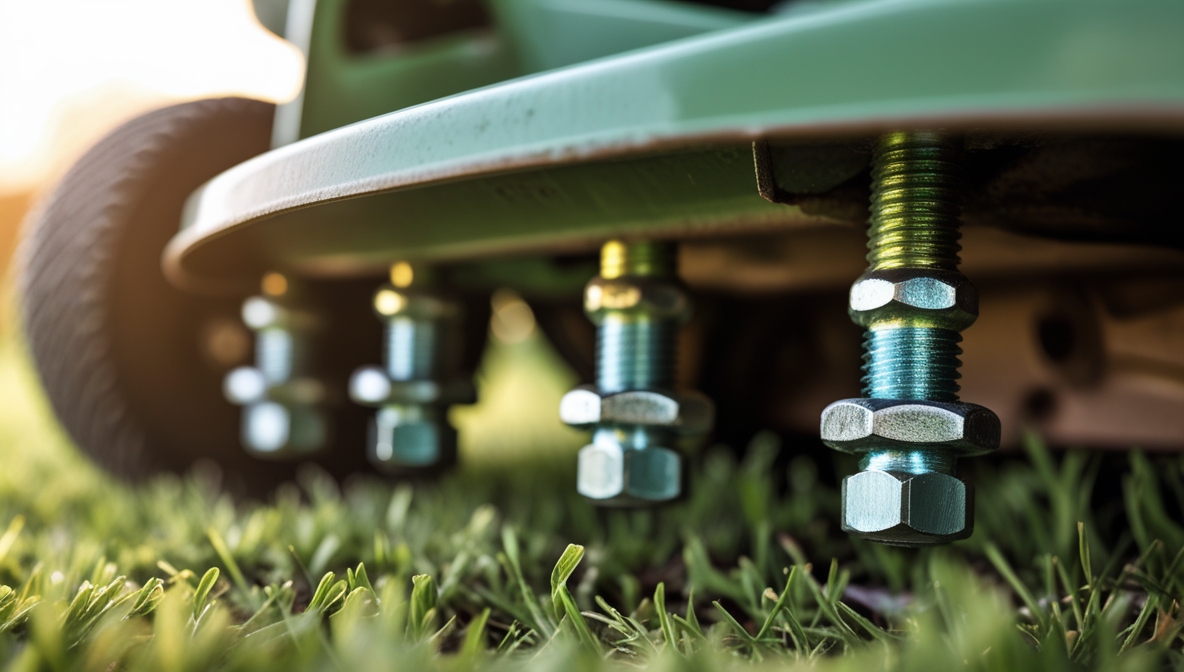
Visual inspection is the first step in identifying reverse threads. Look closely at the threads of the bolt head or the area where it enters the hole. A left-hand thread will have a distinct pattern of threads turning in the opposite direction compared to a standard right-hand thread. A helpful trick is to mentally picture the threads as screws, imagining if they would turn clockwise or counter-clockwise.
Using a small screwdriver or a similar tool can also help in identifying the direction of the thread. Carefully attempt to turn the bolt head. If it turns in the opposite direction of a standard screw, this strongly suggests a reverse thread. This visual and tactile approach can make it clear if a thread is reverse-threaded. This process should always be done carefully to avoid damaging the bolt or the threads.
If the visual or tactile inspection isn’t conclusive, consult the manufacturer’s instructions or online diagrams. Manuals often have detailed diagrams showcasing the thread direction of various components. These resources can provide a clear picture. By consulting the correct documentation, you can accurately identify the type of thread. This step helps avoid errors in maintenance that could lead to costly repairs.
Finally, remember that reverse threads are not always immediately obvious. Sometimes the difference is subtle, especially on smaller bolts. If uncertain, err on the side of caution and consult the relevant resource or seek expert help. The correct identification is essential to ensure the proper installation and maintenance of your lawn mower. This precaution avoids potentially dangerous mistakes.
Proper Bolt Removal and Installation
When removing reverse-threaded bolts, turn the wrench counter-clockwise. This is the opposite of a standard bolt, which requires a clockwise turn. Ensure a firm grip on the wrench to prevent slipping and potential damage. Use appropriate torque settings for the specific bolt to ensure proper tightening and prevent loosening.
To prevent stripping the threads, use the appropriate tool for the size and type of bolt. Avoid using excessive force when removing a reverse-threaded bolt. Use the correct tool to avoid damaging the bolt or the component it is attached to. A proper technique is crucial for avoiding damage.
When installing reverse-threaded bolts, use a wrench specifically designed for counter-clockwise tightening. Ensure proper alignment of the bolt and the hole before tightening. Always use the correct torque setting to ensure a secure connection. Using the correct tools and following the correct procedure will prevent damage.
For best results, apply a suitable thread lubricant to facilitate the insertion of the bolt and help ensure a secure connection. Check the bolt for any damage before installation. Double-check the torque setting after installation to ensure a secure connection. This attention to detail ensures longevity and safety.
Properly understanding and handling lawn mower bolts, particularly those with reverse threads, is crucial for safe and effective maintenance. By following the guidelines outlined in this article, you can avoid potential problems and maintain your equipment in optimal condition. Remember to always prioritize safety and consult appropriate resources when unsure about any maintenance procedure.