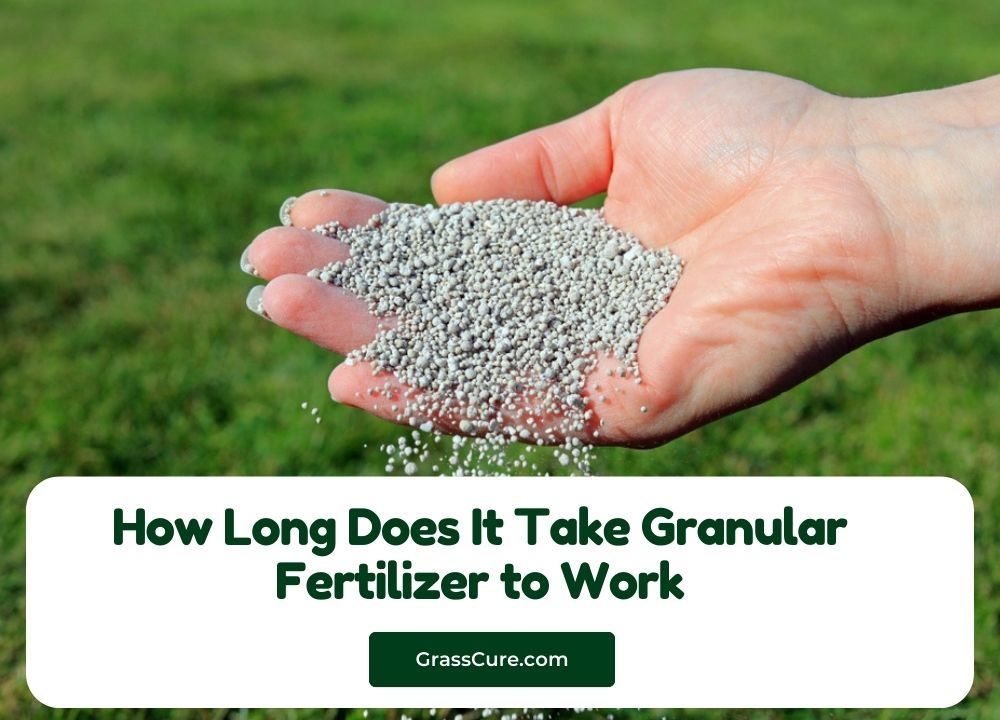
Got a lawn that’s a little bit drab, a little bit patchy, and maybe a little bit acidic? Lime might be the answer. This guide breaks down how to apply lime to your lawn, ensuring a healthier, greener, and happier patch of grass. We’ll cover everything from understanding what lime is to the best practices for spreading and maintaining it. Let’s get your lawn back in tip-top shape!
Contents
Lime Basics: What it is & Why?
Lime, in its simplest form, is a soil amendment. It’s basically a source of calcium and magnesium, crucial nutrients for a healthy lawn. Think of it as a soil balancer, working to neutralize the acidity. Acidic soil can prevent your grass from absorbing essential nutrients, leading to slow growth, yellowing, and other issues. Adding lime raises the pH level, creating an optimal environment for your grass to thrive.
Different types of lime have varying effects. Dolomitic lime, containing both calcium and magnesium, is often preferred, as it provides a wider range of benefits. Just remember, different lawns have different needs, so always check your soil’s pH levels before applying lime. A soil test is the best way to determine if your lawn needs lime and how much to use.
Getting Ready for Lime Application
Before you break out the lime spreader, it’s vital to do a little prep work. First, assess your lawn. Are there any areas with significant issues, like bare spots or unusually yellow patches? Identifying these problem areas helps you concentrate your efforts. You’ll also want to understand the size of the area you need to cover. This will help you determine how much lime you need to purchase.
Understanding the type of lime you’re using is key. Different types have different application rates. Always follow the instructions on the lime packaging for the correct amount per square foot. Don’t be tempted to over-apply, as this can harm your lawn. A professional soil test is your best friend here – they’ll tell you precisely what your lawn needs.
Spreading Lime Like a Pro
Now for the fun part – spreading! Choose a calm day without wind, as it’ll help prevent the lime from blowing away unevenly. Use a spreader designed for granular materials. A drop spreader works well for smaller yards, while a broadcast spreader is best for larger areas. Make sure to spread the lime evenly across the entire lawn, ensuring each area receives the necessary amount.
Don’t forget to work in overlapping passes. This helps create a consistent layer of lime across the surface. Avoid walking or driving on the lawn immediately after spreading. Give it a bit of time for the lime to settle. This will help the lime work its magic on the soil effectively.
Checking In & Maintaining Your Lawn
Once you’ve applied the lime, give it a few weeks to react with the soil. Check your lawn regularly to see if the yellowing or other issues have improved. If you notice any further problems, consult a lawn care professional. They can help you diagnose the problem and recommend the best course of action.
After a few weeks, consider a re-check. You may need additional lime depending on the results. Remember that consistent maintenance is key to a healthy lawn. Regular fertilization and watering, along with proper mowing techniques, will all contribute to the success of your lime application.
Applying lime to your lawn is a worthwhile investment in its long-term health. By understanding the basics, preparing correctly, and spreading it efficiently, you’ll be well on your way to a vibrant, lush green lawn. Keep an eye on your lawn’s progress and adjust your approach as needed for optimal results. Happy gardening!


