Keeping your lawn mower running smoothly is crucial for a tidy yard. A reliable battery is key, but knowing how to charge it properly is just as important. This guide walks you through the process of charging your lawn mower battery, from understanding different charger types to troubleshooting common problems. Let’s get your mower ready for action!
Contents
Charging Your Lawn Mower Battery
A properly charged battery is essential for a smooth mowing experience. First, identify the type of battery in your lawn mower. Different types (lead-acid, lithium-ion, etc.) require different charging methods. Always refer to the manufacturer’s instructions for your specific model. Ignoring these instructions could damage your battery or charger. Don’t just plug in a random charger; match it to your mower’s battery.
Once you’ve got the right charger, follow the instructions carefully. This usually involves plugging the charger into a wall outlet and the other end into the mower. Some chargers have specific settings or timing instructions; read them all. The charging process should take a certain amount of time; don’t leave it plugged in indefinitely. Check your battery’s charging indicator (if present) or the charger itself for signs that the charge is complete.
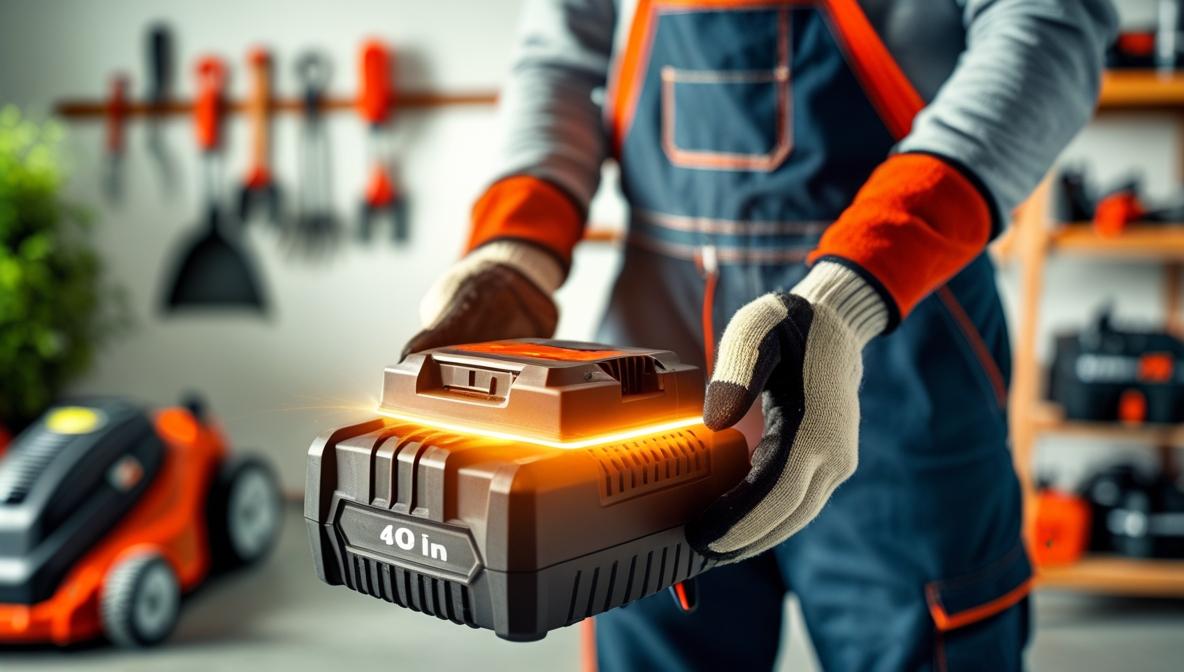
Types of Lawn Mower Chargers
Choosing the correct charger is vital for battery longevity. Generic chargers might not provide the optimal charging current, which can lead to battery damage or slower charging times. Always opt for a charger specifically recommended by the lawn mower manufacturer. This ensures compatibility and prevents overheating.
Different chargers handle different battery types. Lead-acid batteries often require a different charging profile than lithium-ion batteries. Read the charger’s label and the mower’s manual to ensure you’re using the correct charger. Some chargers have multiple settings for various battery types. Look for those and use the correct setting for your mower. If you’re unsure, consult a professional.
Safety First: Charging Tips
Charging a battery safely is paramount. Always ensure the area around the charging station is clear and dry. Water and electricity don’t mix! Never charge a battery inside a garage or shed with poor ventilation.
Additionally, always inspect the charger for any signs of damage, like frayed cords or loose connections. A damaged charger can lead to dangerous electrical situations. If you see anything amiss, do not use it. Replace the charger with a certified and undamaged one. Never leave the charger unattended while it’s charging.
Troubleshooting Charging Issues
If your lawn mower battery isn’t charging properly, there are a few potential causes. Firstly, check the charger itself for any obvious problems, such as a faulty plug, a blown fuse, or a broken cable. Inspect the connections between the charger and the battery terminals. Ensure they are clean and tight.
If the charger seems fine, check the battery terminals for corrosion. Corrosion can impede the flow of electricity. Clean the terminals thoroughly with a wire brush or a terminal cleaner. If the problem persists, contact a qualified technician. They can diagnose the issue and offer appropriate solutions.
Charging your lawn mower battery correctly can significantly extend its lifespan and ensure your mower operates smoothly. By understanding the different types of chargers, following safety precautions, and troubleshooting common issues, you can maintain your mower’s battery in top condition. Remember to always prioritize safety and consult your owner’s manual for specific instructions.


