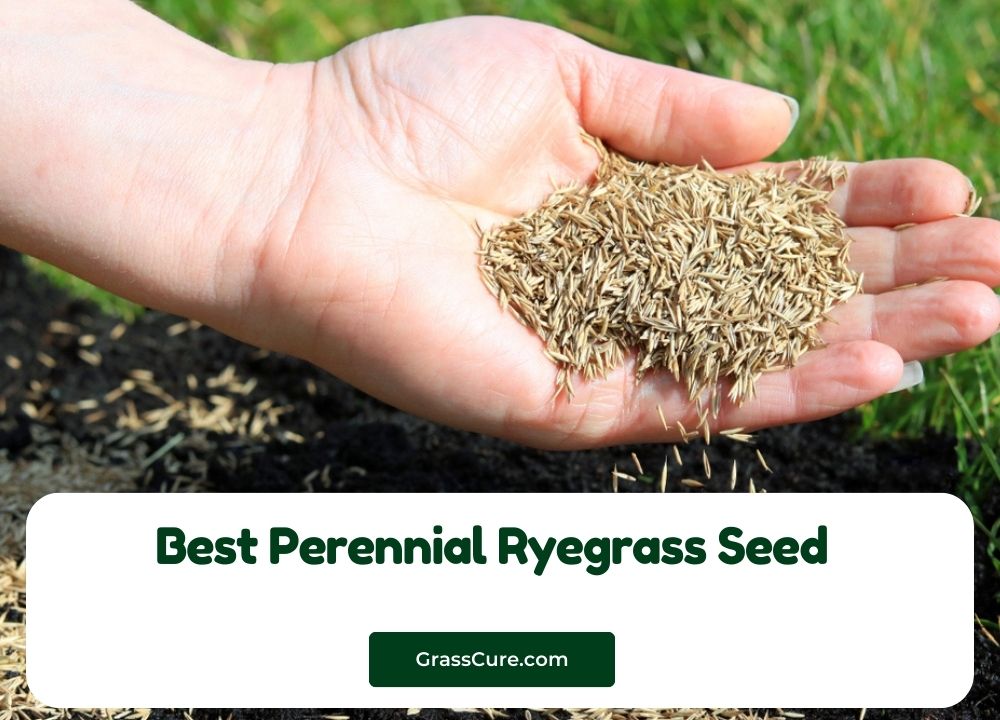
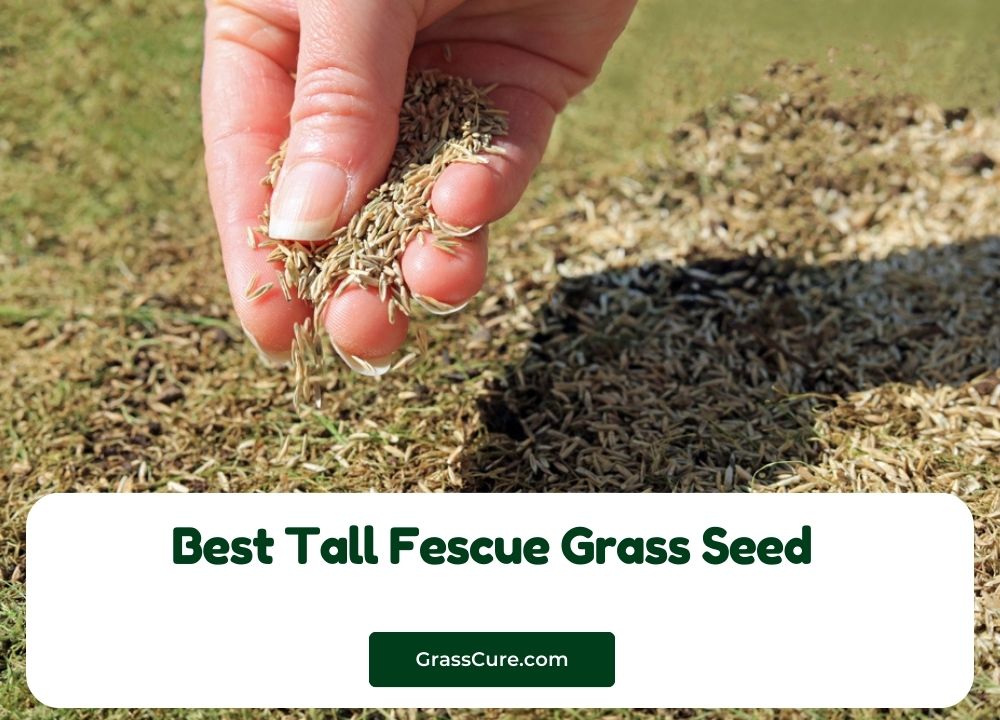
Laying grass seed might seem daunting, but with careful planning and execution, you can achieve a lush, vibrant lawn. This guide walks you through each step of the process, from preparing the soil to protecting your new lawn from pests. By following these instructions, you’ll be well on your way to enjoying a beautiful, healthy lawn for years to come. Remember that patience is key; establishing a new lawn takes time and consistent care.
Contents
- Preparing the Ground for Success
- Choosing the Right Grass Seed Type
- Soil Testing and Amendments
- Essential Tools for Seeding
- Leveling and Preparing the Soil Surface
- Broadcasting or Drilling the Seed
- After Seeding: Raking and Covering
- Watering Your Newly Seeded Lawn
- Maintaining Moisture and Germination
- Protecting Your New Lawn from Pests
Preparing the Ground for Success
First, clear the area of any debris, weeds, rocks, and existing grass. Thorough removal is crucial for successful seeding; even small pieces of debris can hinder germination. Use a sod cutter or shovel to remove existing turf, ensuring you get down to bare soil. This allows for better seed-to-soil contact and reduces competition from existing vegetation. Next, consider the overall health of the soil. Is it compacted? Does it drain well? Addressing these issues before seeding will significantly improve your results.
Compacted soil needs to be loosened to allow for proper root penetration. Use a garden fork or tiller to break up the soil to a depth of several inches. If drainage is poor, amend the soil with organic matter to improve its structure and permeability. This will prevent waterlogging, which can damage or kill the seeds. Addressing these initial soil conditions sets the stage for a thriving lawn.
Choosing the Right Grass Seed Type
Selecting the appropriate grass seed is paramount for a successful lawn. Consider your climate, sun exposure, and soil type when making your choice. Cool-season grasses, such as fescue, ryegrass, and bluegrass, thrive in cooler climates and prefer partial shade. Warm-season grasses, including Bermuda, zoysia, and St. Augustine, flourish in warmer climates and need ample sunlight. Research the varieties best suited to your specific location and conditions.
Local garden centers or nurseries are excellent resources for determining the best grass seed type for your area. They can provide advice on varieties that are adapted to your local climate and soil conditions, ensuring a higher chance of success. Consider factors like traffic tolerance and drought resistance when making your selection, choosing a blend that meets your needs and lifestyle.
Soil Testing and Amendments
Before seeding, conduct a soil test to determine its pH and nutrient levels. A soil test kit can be purchased from most garden centers, or you can send a sample to a soil testing laboratory. This provides valuable information about the soil’s composition and identifies any deficiencies that need to be addressed. Knowing your soil’s pH is crucial, as it affects nutrient availability and seed germination.
Based on your soil test results, amend the soil as needed. If the pH is too acidic or alkaline, add lime or sulfur, respectively, to adjust it to the optimal range for your chosen grass seed. If nutrient levels are low, incorporate organic matter such as compost or well-rotted manure to improve soil fertility and provide essential nutrients. This ensures your grass seeds have the best possible environment to germinate and grow.
Essential Tools for Seeding
Gathering the right tools beforehand streamlines the seeding process. You’ll need a rake for leveling the soil, a garden hoe for removing any remaining weeds or debris, and a spreader for distributing the seed evenly. A soil tamper or roller can help ensure good seed-to-soil contact, particularly on uneven ground. Consider using a seed broadcaster for larger areas to ensure consistent seed distribution.
For smaller areas, you might prefer to sow the seed by hand, but this requires a careful and even approach. Gloves are essential to protect your hands, and a watering can with a rose head will be needed for gentle watering after seeding. Having all your tools prepared and readily available will make the entire process much more efficient and less stressful.
Leveling and Preparing the Soil Surface
Once the soil is prepared and amended, level the surface as much as possible using a rake. A smooth, even surface ensures uniform seed distribution and germination. Remove any large clumps or rocks that could hinder seed-to-soil contact. The goal is to create a relatively flat surface that will allow for even watering and prevent water runoff, which can wash away seeds.
For areas with significant undulations, consider using a soil tamper or roller to compact the soil and create a smoother surface. This is particularly important in areas with slopes, as uneven surfaces can lead to uneven germination and growth. A level surface is fundamental for a healthy, uniform lawn.
Broadcasting or Drilling the Seed
There are two primary methods for distributing grass seed: broadcasting and drilling. Broadcasting involves scattering the seed evenly over the prepared soil surface. This is suitable for smaller areas and requires a gentle, overlapping pattern to avoid bare patches. Use a spreader for larger areas to ensure even distribution. Drilling involves placing the seeds in rows using a seed drill. This method is more precise but requires specialized equipment.
For most homeowners, broadcasting is the preferred method. Follow the seed package’s instructions for the recommended seeding rate per square foot. After broadcasting, gently rake the seed into the soil to ensure good seed-to-soil contact. This helps protect the seeds from birds and the elements, improving germination rates.
After Seeding: Raking and Covering
After broadcasting or drilling, lightly rake the seed into the soil. This covers the seeds and protects them from birds and harsh weather conditions. Avoid raking too deeply, as this could bury the seeds too deeply and hinder germination. A light covering of about ¼ inch of soil is ideal. For larger seeds, a slightly deeper covering might be necessary, but always refer to the seed packet instructions.
In some cases, a light layer of peat moss or straw can be used as a mulch to help retain moisture and suppress weed growth. However, avoid using heavy mulches, as they can hinder germination and air circulation. The goal is to provide a protective layer without inhibiting seed growth.
Watering Your Newly Seeded Lawn
Watering is critical for successful germination. Immediately after seeding, gently water the area with a fine spray to settle the soil and ensure good seed-to-soil contact. Avoid using high-pressure streams, as these can wash away the seeds. Keep the soil consistently moist but not waterlogged throughout the germination period.
Water frequently enough to keep the soil moist but not soggy. The frequency will depend on weather conditions, soil type, and the type of grass seed you’ve planted. Overwatering can lead to fungal diseases, while underwatering can hinder germination. Aim for consistent moisture throughout the germination period.
Maintaining Moisture and Germination
Maintaining consistent soil moisture is crucial during the germination period. This typically takes 7-21 days, depending on the grass species and environmental conditions. Use a moisture meter to check the soil moisture level regularly, ensuring it remains consistently moist but not saturated. Avoid letting the soil dry out completely, as this can significantly reduce germination rates.
During hot, dry weather, you may need to water more frequently to prevent the soil from drying out. Mulching can help retain soil moisture, reducing the frequency of watering. Regularly monitor the soil moisture and adjust watering accordingly to support healthy germination and seedling establishment.
Protecting Your New Lawn from Pests
Birds and other animals can be a significant threat to newly seeded lawns. Use netting or other protective measures to deter birds from pecking at the seeds. For larger animals, consider fencing off the area until the grass is established. Regularly inspect your lawn for signs of pests and take appropriate action if necessary.
Pests such as grubs can also damage young seedlings. Consider using preventative measures, such as beneficial nematodes, to control pests before they become a significant problem. Regular lawn maintenance, including proper watering and fertilization, helps to create a healthy lawn that is more resilient to pest damage.
Establishing a new lawn is a rewarding experience, providing a beautiful and functional space for years to come. By following these steps carefully and paying attention to the specific needs of your chosen grass seed and local climate, you’ll significantly increase your chances of success. Remember that patience is vital; a healthy, lush lawn takes time and consistent care, but the results are well worth the effort.


