So, your lawn isn’t getting evenly watered? Don’t despair! Uneven sprinkler coverage is a common problem, but it’s usually easily fixed. This beginner’s guide will walk you through how to adjust your sprinkler heads, ensuring a lush and healthy lawn. We’ll cover everything from identifying your sprinkler type to troubleshooting low water pressure and clogged nozzles. Let’s get started!
Contents
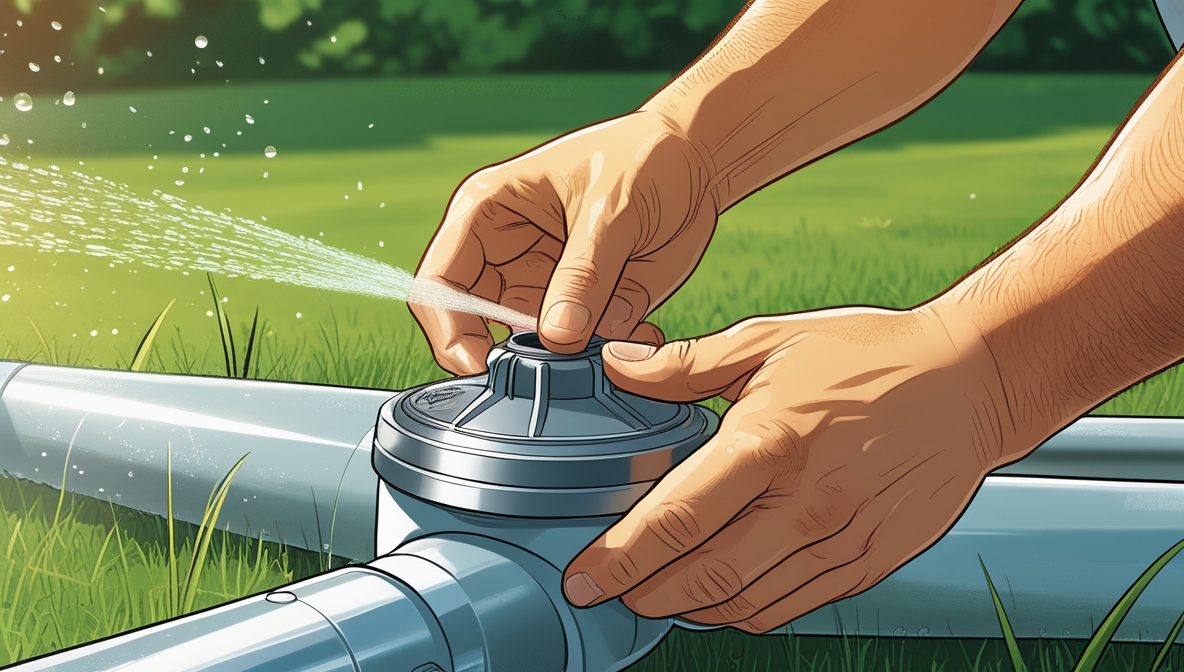
Understanding Your Sprinkler Head
Sprinkler heads are the unsung heroes of a well-maintained lawn. They come in various designs, each with its own quirks and adjustment mechanisms. Understanding the basic components of your sprinkler head is the first step to successful adjustment. Most heads feature a nozzle, which determines the spray pattern and distance; a body, which houses the internal mechanisms; and an adjustment mechanism, which allows you to control the spray arc and distance. Take a moment to familiarize yourself with these parts before attempting any adjustments.
Furthermore, understanding how your specific sprinkler head works is crucial. Some heads are incredibly simple, while others have multiple adjustment points for fine-tuning. Check your sprinkler head’s manufacturer’s instructions if you’re unsure about its specific features. This will save you time and potential frustration later on. Knowing your sprinkler head is the foundation for successful adjustments.
Identifying the Sprinkler Type
Before you even think about adjusting anything, you need to identify the type of sprinkler head you’re dealing with. Common types include rotary heads (which rotate to cover a wide area), impact heads (which use a spinning arm to throw water), and spray heads (which emit a fixed spray pattern). Each type has a different adjustment method. Rotary heads, for example, often have arc adjustment screws, while spray heads may have nozzle adjustments.
Consequently, misidentifying your sprinkler type can lead to wasted time and effort. Take a close look at your sprinkler head. Does it rotate? Does it have a spinning arm? Or does it simply spray water in a fixed pattern? Knowing the type helps you understand which adjustments are available and how to access them. A quick online search using images of your sprinkler head can help you confirm its type if you are unsure.
Gathering Your Tools
You won’t need a vast arsenal of tools to adjust your sprinkler heads, but having the right ones will make the job much easier and safer. The most essential tool is a screwdriver – both Phillips and flathead are useful, as different sprinkler heads use different screw types. A wrench might also be necessary for some models. Consider having a pair of pliers handy for stubborn screws or parts.
In addition, a bucket of water can be surprisingly useful for cleaning out clogged nozzles. Also, it’s a good idea to have some rags or paper towels to wipe away any dirt or debris. Finally, and importantly, remember to turn off the water supply to the sprinkler system before you begin working. This is a crucial safety precaution to prevent accidental water spraying. Safety first!
Adjusting the Spray Pattern
Once you’ve identified your sprinkler type and gathered your tools, you can start adjusting the spray pattern. For rotary heads, you’ll typically find adjustment screws that control the arc of the spray. These screws usually allow you to limit the spray to a specific sector, preventing water from spraying onto sidewalks, driveways, or neighboring properties. Turn the screws clockwise to reduce the arc and counterclockwise to increase it.
Moreover, spray heads often have interchangeable nozzles. These nozzles come in various sizes and patterns, allowing you to customize the spray distance and shape. If your spray pattern is too wide or too narrow, simply swap out the nozzle for a different one. Remember to consult your sprinkler head’s manual to understand how to safely remove and replace the nozzle. Pay attention to the nozzle’s size and spray angle for optimal results.
Fine-Tuning the Arc
After adjusting the main arc, you might need to fine-tune the spray to achieve perfect coverage. This often involves making small adjustments to the sprinkler head’s position. Slightly tilting the head can significantly alter the spray pattern, directing water to areas that need more coverage. Use small increments, checking the spray pattern after each adjustment.
Furthermore, for some sprinkler heads, you can adjust the spray radius or distance. This is usually done by adjusting a screw or lever on the head itself. This allows you to tailor the water spray to the specific area you are watering, preventing water waste. Remember to always check the spray pattern after each adjustment to ensure that you’re achieving even coverage.
Correcting Low Water Pressure
Low water pressure is a common culprit behind uneven sprinkler coverage. If your sprinklers are struggling to reach their intended distance, the problem likely lies with your water pressure. First, check your main water supply. Is the pressure low throughout your house, or just in the area affected by the sprinklers?
Subsequently, if the problem is isolated to your sprinkler system, you might need to check for leaks or blockages in the pipes leading to your sprinklers. A clogged filter or a partially closed valve can significantly reduce water pressure. If you suspect a leak, call a professional plumber. If the problem is a clogged filter, you can usually clean it yourself by following the manufacturer’s instructions.
Dealing with Clogged Nozzles
Clogged nozzles are another frequent cause of uneven sprinkler coverage. Over time, mineral deposits and debris can build up in the nozzles, restricting water flow. To clean a clogged nozzle, first, turn off the water supply to the sprinkler. Then, carefully remove the nozzle using the appropriate tool (often a wrench or pliers).
Next, use a small wire or pin to gently clear any blockages from the nozzle’s tiny holes. You can also soak the nozzle in a solution of vinegar and water to dissolve mineral deposits. Once the nozzle is clean, rinse it thoroughly and reinstall it. If the nozzle remains clogged after this process, it may be time to replace it.
Testing and Final Adjustments
After making all the adjustments, it’s crucial to thoroughly test your sprinkler system. Turn the water supply back on and observe the spray pattern from each sprinkler head. Look for any inconsistencies in coverage, such as areas receiving too much or too little water. Make any necessary fine-tuning adjustments based on your observations.
Finally, remember that regular maintenance is key to keeping your sprinkler system running efficiently. Periodically check for clogs, adjust the sprinkler heads as needed, and ensure that your water pressure is adequate. With a little attention and care, you can ensure your lawn receives the even watering it needs to thrive.
Adjusting your sprinkler heads might seem daunting at first, but with a little patience and the right tools, it’s a manageable task. By following these steps, you can ensure your lawn receives even watering, leading to a healthier, more vibrant lawn. Remember, consistent monitoring and maintenance are key to long-term success. Happy watering!


