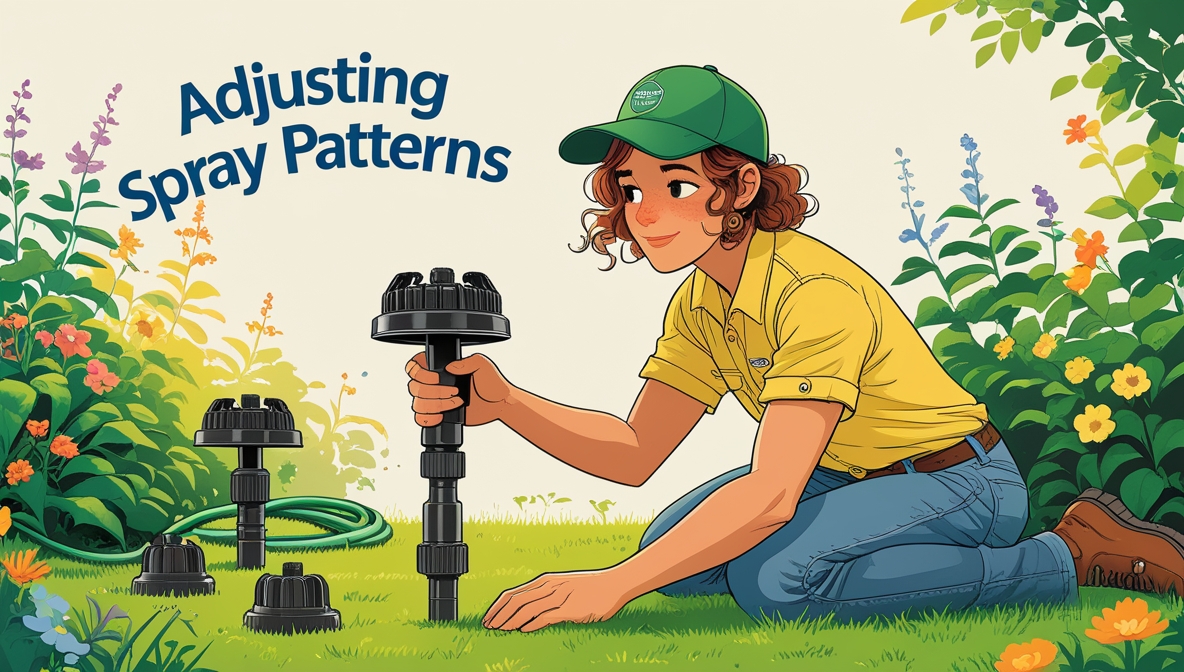
So, your Hunter Pro-Spray sprinkler heads aren’t quite hitting the mark? Don’t worry, you’re not alone! Many homeowners find themselves needing to adjust these versatile heads to ensure even water coverage across their lawn. This beginner’s guide will walk you through the process, step-by-step, making it easy to get your sprinklers performing at their best. We’ll cover everything from identifying the parts to troubleshooting common issues, empowering you to maintain a healthy, lush lawn.
Contents
Getting Started: Tools & Safety
First things first, let’s gather the necessary tools. You’ll need a flat-head screwdriver (for adjusting most settings), possibly a crescent wrench (for stubborn adjustments or different head models), and a pair of pliers (for gripping small parts). It’s also a good idea to have a bucket of water nearby to rinse off any dirt or debris. Remember, safety is paramount!
Secondly, before you begin any adjustments, turn off the water supply to your sprinkler system. This is crucial to prevent unexpected water spray and potential injury. Locate your main water valve (usually near the meter) and turn it fully clockwise. Once the water is off, you can safely proceed with adjusting your sprinkler heads. Always prioritize your safety and the safety of those around you.
Locating Your Hunter Pro Heads
Now, let’s find those sprinkler heads! Hunter Pro-Spray heads are usually easily identifiable by their distinctive design. They are typically made of durable plastic and have a noticeable nozzle and adjustment rings. They are often installed in a relatively uniform pattern across your lawn, usually spaced to achieve even coverage. Take a stroll around your yard to locate all the heads you need to adjust.
Furthermore, consider drawing a simple sketch of your sprinkler system’s layout. This will help you keep track of which heads you’ve adjusted and which ones still need attention. Note the location of each head relative to walkways, flowerbeds, or other landscape features. This will make your adjustments more precise and efficient.
Understanding Your Sprinkler’s Parts
Let’s break down the main components. The Hunter Pro-Spray head typically features a top cap, an arc adjustment ring, a radius adjustment ring, and a nozzle. The top cap protects the internal mechanisms. The arc adjustment ring controls the spray angle. The radius adjustment ring controls how far the water sprays. The nozzle itself determines the spray pattern (usually a spray pattern or a rotary pattern).
In addition, you might find a small pressure regulating screw on some models. This allows you to fine-tune the water pressure delivered to the nozzle. Familiarizing yourself with these parts will make the adjustment process much smoother. Consult your sprinkler head’s manual if you’re unsure about any specific component.
Adjusting the Arc of Your Spray
To adjust the arc, locate the arc adjustment ring. It’s usually a ring that rotates around the head. Turn this ring clockwise to decrease the spray arc (making it narrower) or counter-clockwise to increase the arc (making it wider). Small adjustments make a big difference, so turn it slowly and check the spray pattern frequently.
Consequently, you’ll want to aim for an arc that covers the intended area without overlapping excessively with adjacent sprinklers or wasting water on unwanted areas. Remember to turn the water back on briefly (after making an adjustment) to check your progress. Repeat the process until you achieve the desired arc.
Fine-Tuning the Spray Distance
The spray distance is controlled by the radius adjustment ring (or sometimes a screw). Turning this ring clockwise usually decreases the spray distance, while turning it counter-clockwise increases it. Again, make small adjustments and test the spray pattern frequently. You can also achieve slight adjustments by changing the nozzle if necessary.
Moreover, keep in mind that the spray distance is affected by water pressure. If your pressure is low, you might not be able to achieve the full distance, even with the adjustment ring fully open. Similarly, high pressure might cause overspray. We’ll address pressure issues in the next section.
Dealing with Low or High Pressure
Low pressure results in a weak spray and poor coverage. Check your main water valve to ensure it’s fully open. If the pressure remains low, you might have a clogged filter or a leak somewhere in your system. Consult a professional if you suspect a leak. High pressure, conversely, can lead to overspray and wasted water. Some models have pressure regulators; adjust them accordingly.
Alternatively, if your sprinkler heads lack a pressure regulator, you might consider installing a pressure regulator on the main line or individual zones. This will ensure consistent pressure throughout your system. Remember to always consult the manufacturer’s instructions before making any significant changes to your system’s pressure.
Troubleshooting Common Problems
Sometimes, your sprinkler heads might not be the problem. A clogged nozzle is a common culprit. Unscrew the nozzle and clean it thoroughly with a pin or small wire. If the problem persists, check for debris in the sprinkler head itself. Disassemble the head carefully (refer to the manufacturer’s instructions) and clean out any obstructions.
In addition to nozzle clogs, check for any physical obstructions that might be interfering with the spray pattern. Tall grass, shrubs, or other landscaping elements can block the water spray. Trim back any vegetation that’s interfering with your sprinklers’ performance. If you continue to experience problems, consider consulting a professional sprinkler repair technician.
Maintaining Your Sprinkler System
Regular maintenance is key to a well-functioning system. At least once a year, inspect all your sprinkler heads for damage, clogs, or wear and tear. Clean the nozzles and remove any debris. Check for leaks and ensure all connections are secure. A little preventative care goes a long way.
Furthermore, consider flushing your sprinkler system in the spring and fall. This helps remove sediment and debris that can build up over time. During the off-season (winter in colder climates), drain your system to prevent damage from freezing. By following these simple maintenance tips, you can extend the life of your sprinkler system and ensure optimal performance year after year.
Adjusting your Hunter Pro-Spray sprinkler heads doesn’t have to be daunting. By following these steps and taking your time, you can achieve even water coverage and a healthy, vibrant lawn. Remember to always prioritize safety and consult a professional if you encounter any persistent problems. Happy sprinkling!


