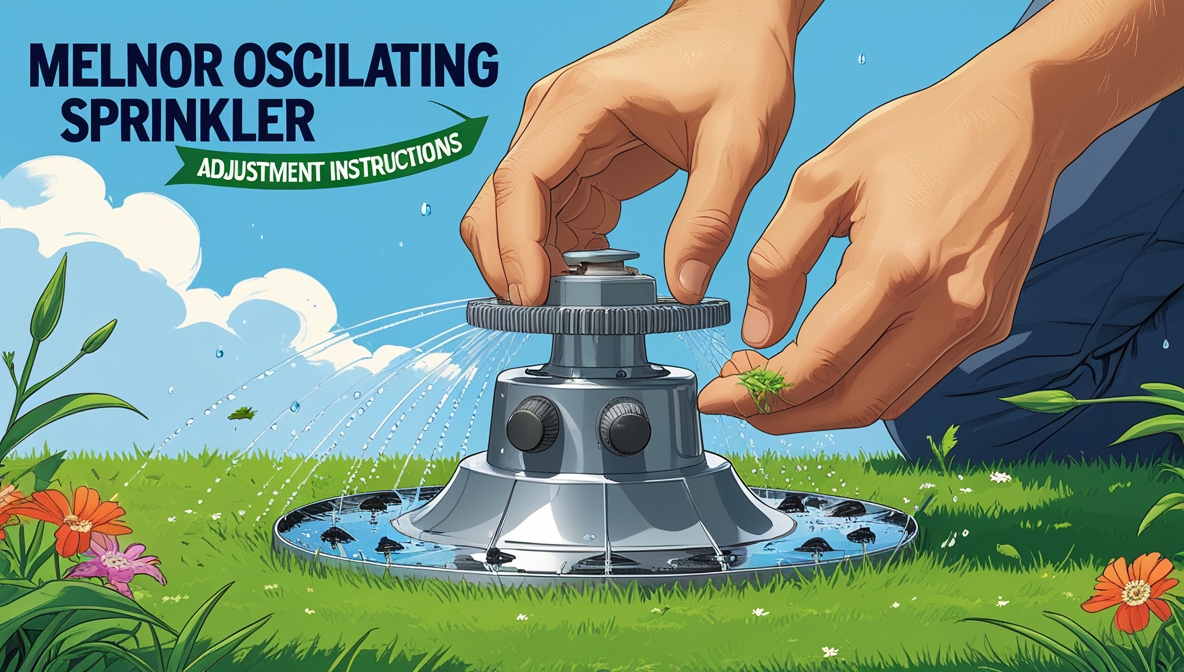
So, you’ve got a new Melnor oscillating sprinkler – fantastic! These sprinklers are a popular choice for their ease of use and ability to cover a decent area. But getting the perfect spray pattern for your lawn can feel a little tricky at first. This beginner’s guide will walk you through adjusting your Melnor oscillating sprinkler, step-by-step, so you can achieve the lush, green lawn of your dreams without wasting water or overwatering certain areas. Let’s dive in!
Contents
Getting Started: Unpacking Your Sprinkler
First things first: unpack your Melnor oscillating sprinkler carefully. Check the box for all the components listed in the instruction manual. This usually includes the sprinkler body, the base, and potentially some extra parts like nozzles or connectors depending on the model. Make sure you have everything you need before you begin assembly. Most Melnor sprinklers are fairly straightforward to assemble; simply follow the instructions provided. If you’re unsure about any step, consult the manual or Melnor’s website – they often have helpful videos.
Next, inspect the sprinkler for any damage incurred during shipping. Look closely at the oscillating arm, the spray nozzles, and the connection points for any cracks, bends, or loose parts. If you find any damage, contact Melnor customer service immediately; they’re usually pretty responsive and helpful. Once you’ve confirmed everything is in good working order, you’re ready to move on to setting up your sprinkler for your specific needs.
Finding the Right Settings for Your Yard
Before you even connect your sprinkler to the hose, take a moment to assess your yard. Measure the area you want to water. Melnor sprinklers have adjustable settings, but understanding your yard’s dimensions helps you dial in the perfect settings from the start. Consider the shape of your lawn; a rectangular lawn will require different settings than a more irregular one. Also, note any obstacles like flower beds, walkways, or driveways that you’ll need to avoid overwatering.
Now, let’s look at the sprinkler itself. Most Melnor oscillating sprinklers have adjustable dials or knobs for controlling several aspects of the spray, including the water pressure, the range of the oscillation, and sometimes even the spray pattern itself. These adjustments are what you’ll use to fine-tune the sprinkler to your yard’s specific needs. Keep in mind that you might need to experiment a bit to find the optimal settings.
Adjusting the Oscillation Arm’s Reach
The oscillation arm is the key to controlling the width of your sprinkler’s coverage. Most Melnor models have a simple adjustment mechanism, usually a screw or lever, that allows you to restrict the swing of the arm. To increase the reach, simply loosen the adjustment mechanism and allow the arm to swing further. To decrease the reach, tighten the mechanism to limit the arm’s movement.
Remember to make small adjustments at a time. It’s easier to make small tweaks than to have to drastically readjust your sprinkler. Once you’ve set the oscillation, test the sprinkler to see if it covers the desired area. You might need to make fine adjustments to perfectly match the dimensions of your lawn. Observe the sprinkler’s spray pattern carefully – you want even coverage without any significant gaps or overlaps.
Controlling the Water Spray Pattern
Many Melnor oscillating sprinklers offer some degree of control over the spray pattern. This is typically achieved through adjustable nozzles or by selecting different nozzle configurations. Some models allow you to choose between a wider, gentler spray or a more focused, powerful stream. Refer to your model’s manual to understand how to adjust the spray pattern.
Experiment with different settings to find what works best for your yard. A wider spray is generally better for larger, open areas, while a more focused spray might be preferable for smaller, more delicate areas or to avoid overwatering nearby plants. Remember that the water pressure also affects the spray pattern; a higher pressure will generally result in a more powerful, wider spray.
Tweaking the Water Pressure
The water pressure significantly impacts your sprinkler’s performance. Too little pressure, and the sprinkler won’t reach its full range or provide even coverage. Too much pressure, and you risk overwatering and wasting water. Most Melnor sprinklers don’t directly control water pressure; instead, you control it indirectly.
You can adjust water pressure by using a hose pressure regulator or by adjusting the water flow at the hose bib. Start with a moderate water pressure and gradually increase or decrease it as needed to achieve the desired spray pattern and coverage. Observe the sprinkler’s performance carefully and make adjustments accordingly. Remember, consistent, even watering is the goal, not maximum pressure.
Dealing with Clogs and Leaks
Over time, debris like dirt, leaves, or mineral deposits can clog your Melnor sprinkler’s nozzles. This results in uneven watering or a complete stoppage of water flow. To deal with clogs, you can use a thin wire or a needle to carefully clear the nozzles. First, turn off the water supply. Then, gently insert the wire or needle into the nozzle and dislodge any obstructions.
Leaks are another common issue. They can occur at the connections, the oscillating arm, or even the nozzles themselves. Check all the connections for tightness and replace any worn or damaged parts. If you have a leak at the nozzles, you may need to replace the nozzle entirely. Regular maintenance is key to preventing clogs and leaks and ensuring the longevity of your sprinkler.
Maintaining Your Melnor Sprinkler
Regular maintenance is crucial for keeping your Melnor oscillating sprinkler in top condition. After each use, turn off the water supply and allow the sprinkler to drain completely. This prevents water from sitting inside the sprinkler and causing damage or mineral build-up. Store it in a dry place to protect it from the elements.
Periodically, inspect the sprinkler for any signs of wear and tear, such as cracks, loose parts, or rust. Clean the nozzles with a brush or needle to remove any debris. Lubricate any moving parts with a silicone-based lubricant to ensure smooth operation. By following these simple maintenance steps, you can extend the lifespan of your sprinkler and ensure it continues to perform efficiently.
Troubleshooting Common Problems
If your Melnor oscillating sprinkler isn’t working correctly, don’t panic! Many common problems have simple solutions. If the sprinkler isn’t oscillating, check the adjustment mechanism to ensure it’s not stuck or improperly set. Also, check the water pressure; insufficient pressure can prevent proper oscillation. If the sprinkler sprays unevenly, check for clogged nozzles and clean them as described earlier.
If the sprinkler isn’t covering the desired area, adjust the oscillation range and water pressure. If the sprinkler is leaking, inspect all connections and replace any damaged or worn parts. If you’ve tried all these troubleshooting steps and your sprinkler is still malfunctioning, consult the instruction manual or contact Melnor customer service for further assistance.
With a little patience and these simple steps, you’ll be able to master your Melnor oscillating sprinkler and achieve a beautifully watered lawn. Remember, regular maintenance is key to preventing problems and extending the life of your sprinkler. So get out there, adjust your sprinkler, and enjoy the fruits of your labor – a lush, green, and evenly watered lawn!


