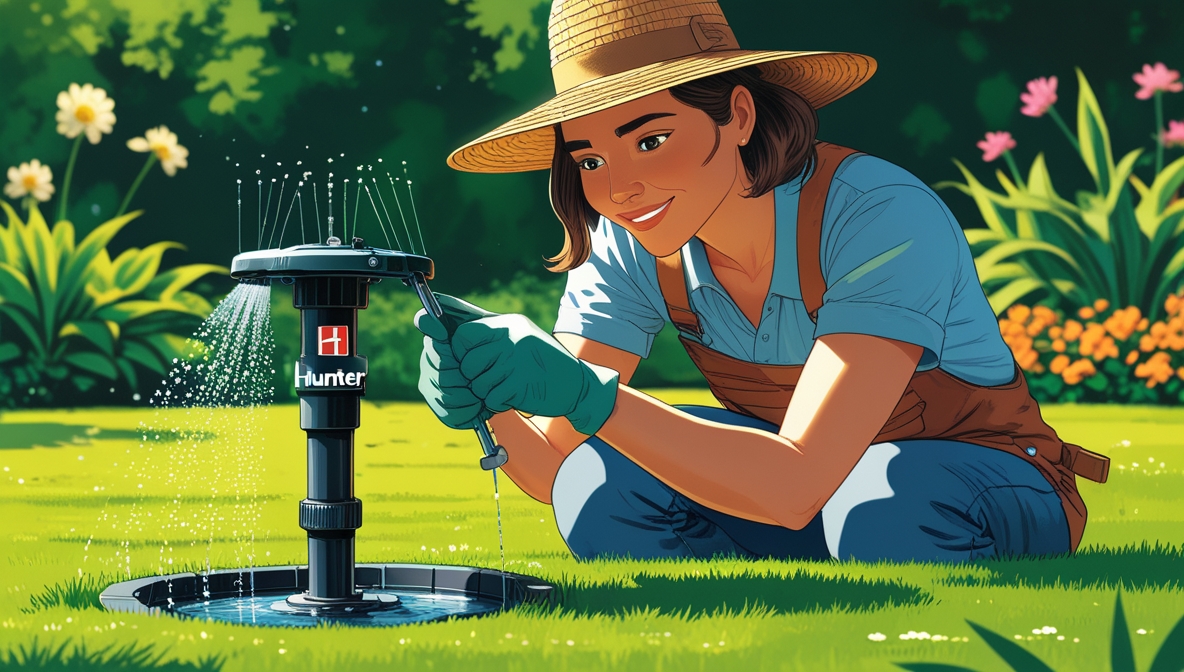
So, your Hunter sprinkler system isn’t quite hitting the mark? Don’t worry, you’re not alone! Many homeowners find themselves needing to tweak their sprinklers to ensure even water coverage across their lawn. This beginner’s guide will walk you through adjusting your Hunter sprinkler heads, from identifying the type you have to troubleshooting common problems. With a little patience and the right tools, you can have a perfectly watered lawn in no time!
Contents
Getting Started: Tools & Safety
First things first: safety! Before you even think about touching your sprinkler heads, turn off the water supply to your system. This is crucial to avoid getting drenched (and possibly injured) during the adjustment process. Locate your main water valve – it’s usually near a water meter or where the water line enters your property – and turn it fully clockwise to shut off the water.
Next, gather your tools. You’ll likely need a screwdriver (both Phillips and flathead are useful), adjustable wrenches (for different sized sprinkler heads), and possibly pliers. A bucket or container to catch any escaping water is also a good idea. Finally, consider wearing gloves to protect your hands from dirt and potential scratches. Remember, safety first!
Identifying Your Hunter Sprinkler Head
Hunter offers a wide variety of sprinkler heads, each with its own unique adjustment mechanisms. Therefore, identifying the specific model you have is the first step. Check the head itself for any markings or model numbers. This information is often stamped on the head’s body or on a small label. If you can’t find it there, consult the documentation that came with your system or check Hunter’s website for a catalog of their products. Take a photo of the head for easier reference.
Knowing your specific model will help you find the correct adjustment instructions. Hunter’s website is a great resource for manuals and diagrams. Many models share similar adjustment mechanisms, but understanding the nuances of your particular head will make the adjustment process much smoother. Pay close attention to the different parts of the head, such as the nozzle, arc adjustment screw, and distance adjustment screw.
Adjusting the Arc of Your Spray
Once you’ve identified your sprinkler head, you can start adjusting the arc. This refers to the angle of the spray pattern. Most Hunter sprinkler heads have an arc adjustment screw, often a small screw located on the side or top of the head. Before you begin, remember to turn the water back on briefly to observe the current spray pattern. This will give you a baseline for comparison.
To adjust the arc, carefully turn the screw clockwise to decrease the arc (make it narrower) or counter-clockwise to increase the arc (make it wider). Turn the screw incrementally, only a small amount at a time. Turn the water on and off between adjustments to check your progress. Remember, it’s always better to make small, gradual adjustments until you achieve the desired spray arc. Over-adjusting can lead to uneven watering or even damage to the head.
Fine-Tuning the Spray Distance
Now that the arc is set, let’s focus on the spray distance. This is typically controlled by a separate adjustment mechanism, often a small screw or a rotating nozzle. Similar to arc adjustment, it’s crucial to observe the current spray distance before you begin. Again, turn the water on briefly to get a visual of your starting point.
To adjust the spray distance, locate the relevant screw or nozzle. Generally, turning it clockwise will decrease the distance, while turning it counter-clockwise will increase it. Once again, make small adjustments and test the spray distance frequently. Remember, you want even coverage without overspraying onto walkways or driveways. Overwatering can lead to wasted water and potential lawn problems.
Dealing with Low Water Pressure Issues
Low water pressure is a common problem that can significantly affect your sprinkler system’s performance. If your sprinkler heads aren’t spraying as far as they should, low water pressure may be the culprit. Before adjusting the heads, check your main water pressure. Most homes have a water pressure gauge near the meter. If the pressure is low, you’ll need to address that issue first, potentially calling a plumber.
However, low pressure can also be localized to a specific zone in your sprinkler system. This could be due to clogged pipes, a restricted valve, or even a problem with the sprinkler head itself. Check for any debris blocking the sprinkler head’s nozzle. If you suspect a clogged pipe, you may need to flush the line. If the problem persists, it’s best to consult a professional irrigation technician.
Fixing a Clogged Sprinkler Head
Clogged sprinkler heads are another common issue. Dirt, debris, or mineral deposits can restrict water flow, reducing spray distance and creating uneven coverage. To fix this, first, turn off the water supply to the affected zone. Then, carefully remove the sprinkler head from the riser pipe (the pipe it’s connected to).
Once removed, inspect the nozzle and the internal components for any clogs. Use a small brush, needle, or compressed air to clear any blockages. If the clog is severe, you may need to soak the head in vinegar or a commercial cleaning solution to dissolve mineral deposits. After cleaning, reassemble the sprinkler head and test the water flow. If the problem persists, replacement might be necessary.
Troubleshooting Common Problems
Even with careful adjustment, you might still encounter problems. For instance, uneven watering can be caused by a variety of factors, including incorrect arc settings, low water pressure, or partially clogged nozzles. Address each factor systematically, starting with the easiest solutions. For example, check for clogs before assuming a pressure problem.
Another common issue is inconsistent spray patterns. This could be due to a damaged sprinkler head, a misaligned nozzle, or even a problem with the piping. Inspect the head for any cracks or damage. If the nozzle seems misaligned, try gently adjusting it. If none of these fixes work, it might be time to call a professional for a more in-depth assessment. Remember, diagnosing the root cause is key to effective troubleshooting.
Maintaining Your Hunter System
Regular maintenance is essential for keeping your Hunter sprinkler system running smoothly. This includes inspecting the heads for clogs and damage at least once a year, preferably before and after the peak irrigation season. Clean the nozzles and check for any leaks or broken parts. Consider using a sprinkler head wrench for easier removal and installation.
In addition to head inspection, check your entire system for leaks. Small leaks can lead to significant water waste over time. Remember to winterize your system in colder climates to prevent damage from freezing temperatures. This typically involves draining the lines and storing any removable parts in a protected location. Regular maintenance will extend the life of your system and ensure efficient watering.
Adjusting your Hunter sprinkler heads might seem daunting at first, but by following these steps and taking your time, you can achieve even, efficient watering for a healthy, vibrant lawn. Remember, patience and systematic troubleshooting are key. If you encounter persistent problems, don’t hesitate to call a professional irrigation technician. They have the expertise and tools to diagnose and fix complex issues. Happy watering!


