So, you’re ready to wage war on weeds before they even think about sprouting in your beautiful lawn? Fantastic! Preen pre-emergent herbicide is your secret weapon, but knowing how to use it effectively is key. This beginner’s guide walks you through every step, from understanding what Preen does to maintaining your weed-free lawn long after application. Let’s get started and conquer those pesky weeds!
Contents
Understanding Preen Pre-Emergent
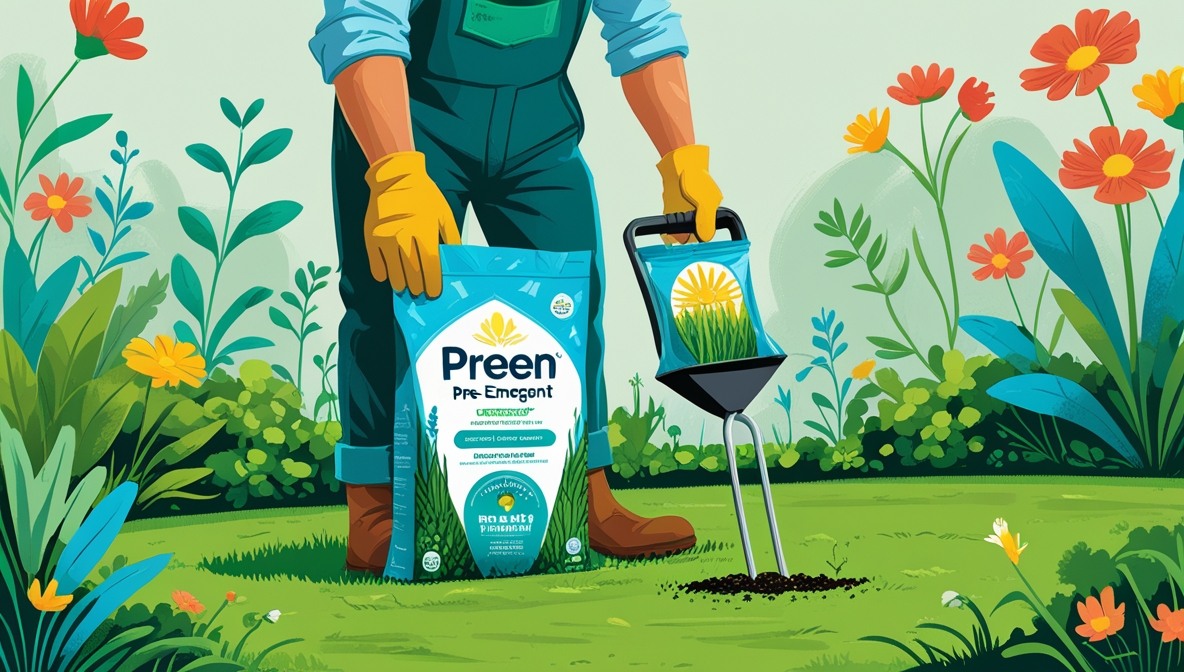
Preen is a brand name of pre-emergent herbicide, meaning it prevents weed seeds from germinating. It doesn’t kill existing weeds; it acts as a barrier, stopping weed seeds from sprouting. Think of it as a shield protecting your lawn. This is crucial because tackling weeds before they emerge is far more effective than battling established weeds.
Consequently, Preen works by creating a chemical barrier in the soil that interferes with the germination process of weed seeds. It’s important to understand that Preen is not a fertilizer or a pesticide; its sole purpose is to prevent weed growth. Different formulations may contain additional ingredients to enhance its effectiveness or provide added benefits. Always read the label carefully to understand the specific product you are using.
Choosing the Right Preen Product
Preen offers several product variations designed for different needs. For example, you’ll find formulations specifically for lawns, gardens, and even pathways. Carefully consider your needs before selecting a product. Do you need a product that’s safe for all types of grass? Or are you primarily concerned with preventing weeds in flowerbeds?
Furthermore, pay close attention to the active ingredient. While most Preen products use dithiopyr, the concentration may vary. Some products also combine dithiopyr with other herbicides for broader weed control. Read the label to understand the specific weeds the product targets and its compatibility with your lawn type. Choosing the right product ensures optimal results.
Preparing Your Lawn for Application
Before applying Preen, your lawn needs some prep work. First, mow your lawn to a consistent height. This ensures even coverage and prevents clumping of the product. Long grass can hinder the Preen’s ability to reach the soil surface where it needs to work its magic. A neatly mown lawn is also easier to assess for any existing weeds that need addressing.
Next, water your lawn lightly a day or two before application. This helps to activate the soil and promotes better absorption of the Preen. However, avoid watering immediately before application, as this could wash away the product before it has a chance to settle into the soil. The goal is moist soil, not saturated soil.
Measuring and Mixing Preen Properly
Accurate measurement is crucial for effective weed control and to avoid harming your lawn. Always follow the instructions on the Preen product label precisely. Don’t guess – use a measuring cup or scale to ensure you’re using the correct amount. Using too little won’t be effective, while using too much can damage your grass.
Moreover, if your Preen requires mixing with water, use a clean container and follow the specified water-to-product ratio. Stir gently but thoroughly to ensure even distribution. Never mix more Preen than you can apply in one session, as the mixture can lose its effectiveness over time. Proper mixing ensures consistent application and optimal results.
Applying Preen: The Right Technique
Applying Preen requires a consistent and even application. Use a spreader, either a rotary or broadcast spreader, for the best results. Rotary spreaders are generally better for larger areas, while broadcast spreaders are suitable for smaller spaces. Adjust your spreader to the setting recommended on the Preen product label.
Subsequently, apply Preen in overlapping passes to ensure complete coverage. Avoid applying it in windy conditions, as this can cause uneven distribution and drift onto unwanted areas. Walk at a consistent pace to maintain an even application rate. After application, water lightly to help activate the Preen and settle it into the soil.
Avoiding Common Application Mistakes
One common mistake is applying Preen to already established weeds. Remember, Preen is a pre-emergent herbicide; it prevents weeds from sprouting, not killing existing ones. Address existing weeds before applying Preen, using a post-emergent herbicide or manual removal. This ensures Preen focuses on preventing future weed growth.
In addition, another frequent error is failing to follow the label instructions. Always read the label carefully and adhere to the recommended application rates, mixing ratios, and safety precautions. Ignoring these instructions can lead to ineffective weed control or even damage to your lawn. The label is your guide to successful Preen application.
Aftercare: What to Do Next
After applying Preen, water your lawn lightly to help activate the product. Avoid heavy watering immediately after application, as this can wash away the Preen. Gentle watering helps the granules settle into the soil and begin working their magic. Allow the Preen to settle into the soil before any significant rainfall.
Furthermore, avoid heavy fertilization immediately after applying Preen. While both are beneficial for lawn health, combining them could potentially interfere with each other’s effectiveness. Wait a few weeks before applying fertilizer to allow the Preen to fully establish itself in the soil. This prevents any potential negative interactions and ensures optimal results from both products.
Preen’s Effectiveness & Follow-Up
Preen’s effectiveness depends on several factors, including soil type, weather conditions, and the types of weeds present. Generally, Preen provides several months of protection against weed germination. However, its effectiveness can diminish over time due to factors such as rainfall and soil degradation.
Therefore, for consistent weed control, you may need to reapply Preen according to the product label instructions. Monitor your lawn regularly for any new weed growth. Early detection allows for timely intervention, preventing weeds from becoming established. Regular monitoring and timely reapplication are key to maintaining a weed-free lawn throughout the growing season.
By following these steps, you’ll be well on your way to a weed-free lawn. Remember, preparation, proper application, and consistent monitoring are crucial for optimal results. Happy gardening!


