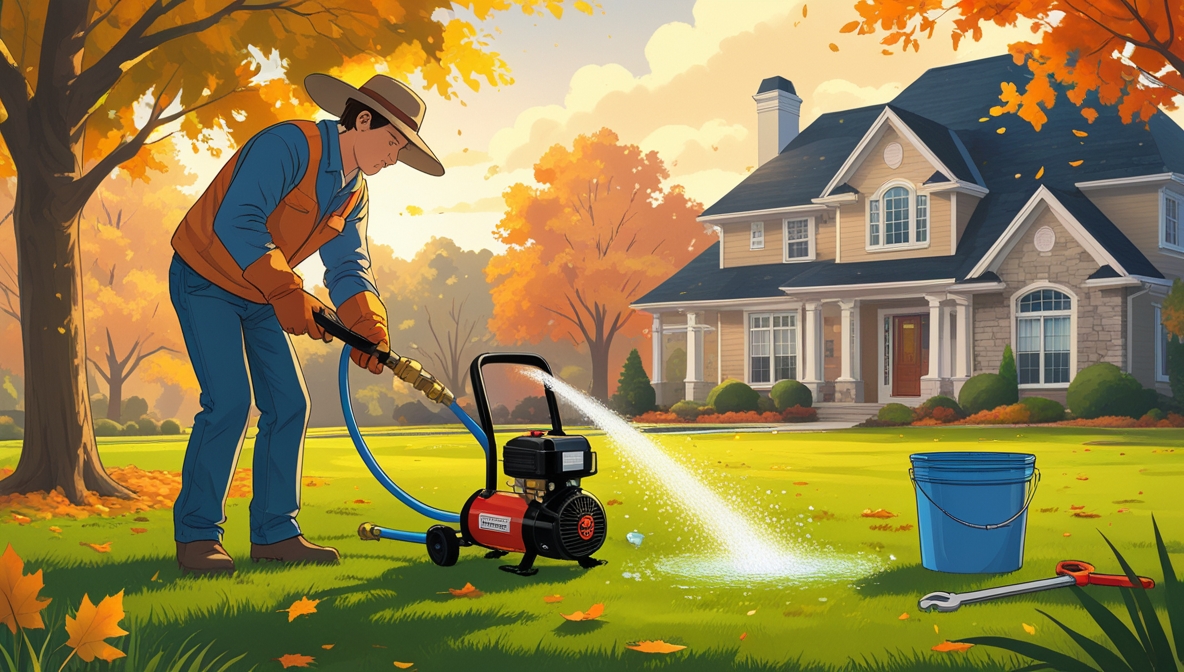
Blowing out your lawn sprinkler system is a crucial step in protecting it from freeze damage during colder months. Water expanding as it freezes can cause significant damage to pipes, valves, and sprinkler heads, leading to costly repairs in the spring. This beginner’s guide provides a step-by-step process to safely and effectively blow out your sprinkler system, ensuring its longevity and preventing unexpected expenses. Whether you have a simple system or a more complex one, following these instructions will help you winterize your system properly.
Contents
- Understanding Your Sprinkler System
- Locating the Main Water Valve
- Shutting Off the Main Water Supply
- Identifying Individual Zone Valves
- Turning Off Zone Valves Manually
- Using a Bleeder Valve (if present)
- Opening Hydrants and Drain Valves
- Checking for Residual Water Pressure
- Inspecting for Leaks and Damage
- Re-starting Your Sprinkler System
- Conclusion
Understanding Your Sprinkler System
Before you begin the blow-out process, it’s essential to understand your sprinkler system’s layout. This includes identifying the type of pipes (PVC, polyethylene, etc.), the number of zones (separate areas controlled by individual valves), and the location of key components like the main water valve, zone valves, and any drain valves or hydrants. Take some time to familiarize yourself with your system’s components; a simple sketch can be incredibly helpful. Knowing your system’s configuration will make the blow-out process much smoother and more efficient.
Furthermore, understanding the pressure within your system is important. High pressure can exacerbate any leaks or weaknesses during the blow-out process. If you’re unsure about your system’s pressure, consult the system’s manual or contact a professional irrigation technician for assistance. They can provide valuable insights into your system’s specifics and any potential challenges you might encounter during the winterization process.
Locating the Main Water Valve
The main water valve is the central control point for your entire sprinkler system. It’s usually located near the water meter, often in a utility box or near the street. This valve controls the flow of water to the entire system. Locating this valve is the first crucial step in the blow-out process. If you can’t find it, check your sprinkler system’s installation manual or contact your local water utility company for assistance. They may have records indicating the valve’s location.
Once you’ve located the main water valve, carefully examine it. Familiarize yourself with its operation. Note the direction to turn it to shut off the water supply. This is generally a clockwise turn, but it’s always best to verify this beforehand. Take a picture of the valve’s position before you start, both open and closed, to avoid any confusion later. This simple step can save you time and frustration.
Shutting Off the Main Water Supply
After locating the main water valve, it’s time to shut off the main water supply to your sprinkler system. Turn the valve clockwise (unless otherwise indicated on the valve itself). Turn it firmly but avoid excessive force, which could damage the valve. Once the valve is fully closed, ensure the water is completely shut off. Check this by turning on a faucet inside your house connected to the same water supply line. No water should flow from the faucet.
It’s crucial to completely shut off the water to prevent any water from entering the system during the blow-out process. Residual water pressure can hinder the effectiveness of the blow-out and potentially lead to damage. Take your time with this step; ensuring the water is completely off is paramount to the success of the entire procedure. If you are unsure, wait a few minutes to ensure the water pressure is fully gone before proceeding.
Identifying Individual Zone Valves
Most sprinkler systems are divided into zones, each controlled by its own valve. These valves are typically located in a valve box, often buried underground, sometimes near the sprinkler heads they control. Locate these valve boxes, usually marked by small lids in your lawn. Carefully remove the lids, exposing the zone valves. Each valve should have a label or marking indicating which zone it controls. If not, you may need to consult your sprinkler system’s layout diagram or contact a professional for assistance.
Identifying each zone is essential for a thorough blow-out. You’ll be turning off each zone valve individually to ensure that all sections of your sprinkler system are properly drained. Take note of the location of each valve box, and if possible, make a sketch of your system with the valve locations marked. This will help you maintain and repair your system in the future.
Turning Off Zone Valves Manually
After identifying the individual zone valves, manually turn each valve to the “off” position. This usually involves turning the valve clockwise. Again, avoid excessive force. Once you’ve turned off all the zone valves, double-check each one to ensure it’s securely in the off position. A partially closed valve can leave residual water in the system, negating the purpose of the blow-out.
Remember to carefully replace the lids on the valve boxes after turning off each zone valve. This prevents debris from entering the system and protects the valves from damage. Thoroughness is key at this stage. Take your time and carefully check each valve to ensure that every part of your system is properly isolated before proceeding to the next step.
Using a Bleeder Valve (if present)
Some sprinkler systems include bleeder valves. These are small valves designed to release air and water from the system. If your system has bleeder valves, locate them and open them slightly to allow air to escape during the blow-out process. This helps to ensure complete drainage. Bleeder valves are often located at low points in the system, such as near the end of a pipe run.
If you’re unsure if your system has bleeder valves or where they are located, consult your system’s installation manual or contact a professional irrigation technician. Using bleeder valves, if present, can significantly improve the effectiveness of the blow-out process, ensuring a more thorough removal of water from the system. Remember to close the bleeder valve after the blow-out is complete.
Opening Hydrants and Drain Valves
Many sprinkler systems incorporate hydrants or drain valves at low points in the system. These are designed to allow for easy drainage of water. Locate these valves and open them fully. This will help to drain any remaining water from the system. If your system doesn’t have dedicated drain valves, you may need to use a different method to remove water from the system.
Opening hydrants and drain valves is a crucial part of the process, particularly for systems with significant elevation changes. Allow sufficient time for the water to drain completely. If the water flow is slow, you might need to check for blockages or other obstructions in the lines. Ensure that the area around the drains is clear to prevent any flooding or water damage.
Checking for Residual Water Pressure
After shutting off the valves and opening drains, check for residual water pressure. Turn on an outside faucet connected to the sprinkler system. If water flows, there’s still pressure in the system. You might need to check the main valve again or investigate any potential leaks. If no water flows, you can proceed to the next step.
This step is crucial to ensure the system is completely drained before proceeding. Residual pressure can cause problems during the winter months, potentially leading to damage from freezing water. If you still detect pressure, carefully re-examine all valves and drains to ensure they are properly closed or opened, respectively.
Inspecting for Leaks and Damage
Before winter sets in, it’s a good opportunity to inspect your sprinkler system for any leaks or damage. Carefully examine all pipes, valves, and sprinkler heads for cracks, breaks, or other signs of wear and tear. Address any issues you find promptly. Repairing minor problems now can prevent larger, more costly repairs later.
This preventative maintenance step is essential for the longevity of your sprinkler system. Addressing any leaks or damage now will prevent further problems and save you money in the long run. If you discover significant damage, it is always best to contact a professional irrigation technician for assistance.
Re-starting Your Sprinkler System
Once winter has passed and the threat of freezing temperatures is gone, you can re-start your sprinkler system. Begin by opening the main water valve slowly. Then, open the individual zone valves one by one, checking for leaks as you do so. Run each zone individually for a short period to flush out any debris that may have accumulated during the winter.
After re-starting, carefully monitor your system for any leaks or problems. If you notice anything unusual, address it immediately. Regular maintenance and careful attention to your sprinkler system will ensure its proper functioning and extend its lifespan.
Conclusion
By following these steps, you can effectively blow out your lawn sprinkler system and protect it from freeze damage. Remember that preventative maintenance is key to keeping your sprinkler system in good working order, saving you money and ensuring a lush, green lawn year after year. If you’re uncomfortable performing any of these steps yourself, don’t hesitate to contact a professional irrigation technician. They possess the expertise and tools to ensure the job is done correctly and safely.