Building your own hydroseeder can be a rewarding project, saving you a significant amount of money compared to buying a commercial model. This guide walks you through the process, offering practical advice and considerations at each stage. Remember safety first – always follow appropriate safety procedures when working with machinery and potentially hazardous materials.
Contents
- Planning Your HydroSeeder Build
- Gathering Essential Components
- The Tank: Size and Material Choice
- Pump Selection: Power and Capacity
- Mixing System: Blades and Design
- Chute and Nozzle Assembly
- Frame Construction: Strength and Stability
- Plumbing and Hose Connections
- Testing and Calibration Procedures
- Final Touches and Maintenance Tips
Planning Your HydroSeeder Build
First, determine the scale of your hydroseeding projects. Will you be tackling small residential jobs or larger commercial landscaping tasks? This directly impacts the size of the tank and the power of the pump you’ll need. Next, create a detailed budget. Factor in the cost of all components, including the tank, pump, motor, blades, plumbing, and frame materials. Finally, sketch out a basic design. Consider the overall dimensions, the placement of the tank, pump, mixing system, and chute, ensuring ease of access for maintenance and operation.
Thoroughly research different hydroseeder designs online and in manuals. Pay close attention to the mixing systems – a poorly designed system can lead to inconsistent seed and mulch mixtures. Also, consider the type of terrain you’ll be working on. This influences the length and angle of the chute and the overall maneuverability of your hydroseeder. Don’t rush this stage; careful planning is crucial for a successful build. You might even consider building a small-scale prototype to test your design before committing to the full build.
Finally, source your materials from reputable suppliers. Ensure the materials you choose are durable and suitable for the intended purpose. For example, choose a tank material that is resistant to corrosion and can withstand the pressure of the pump. Similarly, select a pump that is powerful enough to handle the desired volume of slurry, but also energy-efficient to keep running costs down. Gathering all your parts beforehand prevents unexpected delays during the construction phase.
Gathering Essential Components
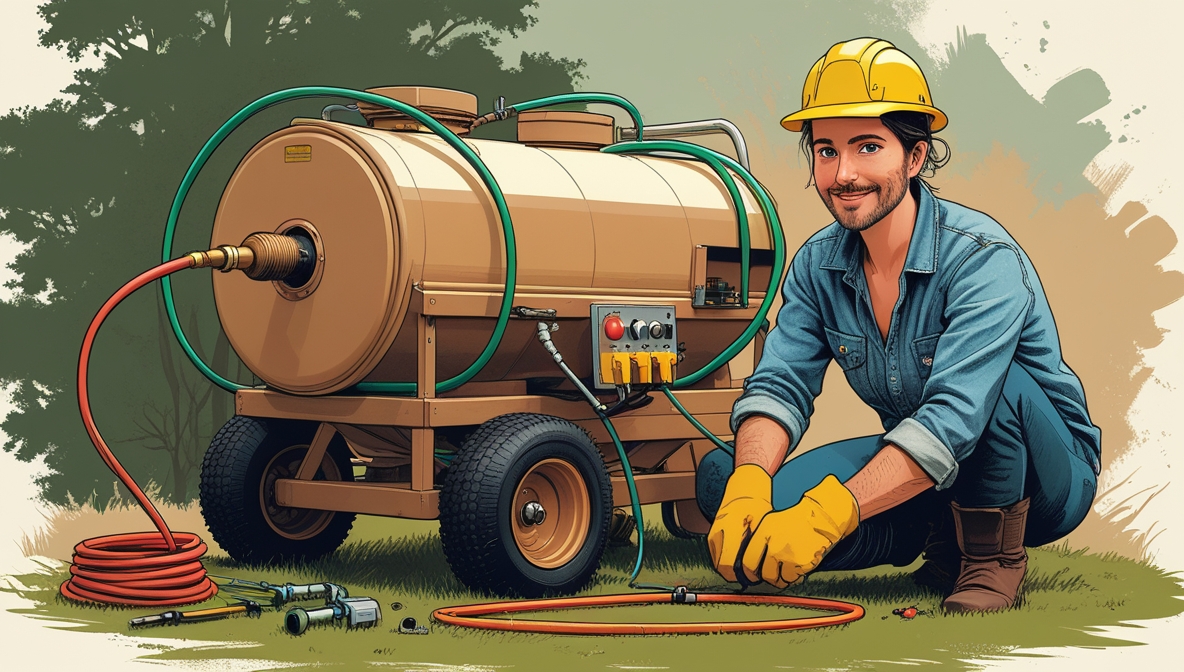
The core components include a water tank, a powerful pump, a mixing system with blades, a chute and nozzle assembly, a sturdy frame, and all the necessary plumbing and hoses. You’ll also need various fasteners, such as bolts, nuts, and clamps. Don’t forget safety equipment like gloves, eye protection, and a dust mask. Consider purchasing a pressure gauge to monitor the pump’s output.
Beyond the main components, you’ll need tools for cutting, welding, drilling, and assembling the various parts. These might include a welder (if constructing a metal frame), a drill with various bits, a cutting torch or saw, wrenches, and measuring tools. Remember that the quality of your tools will directly affect the quality of your finished hydroseeder. Invest in good quality tools that you can rely on.
Make a detailed list of all the components and tools you will need. This list should be comprehensive, including even small items like washers and nuts. Check the availability of these components at your local hardware stores or online retailers. Comparing prices from different suppliers can help you save money. Remember to factor in shipping costs if ordering online.
The Tank: Size and Material Choice
The tank size dictates the hydroseeder’s capacity. Consider the average size of your projects. A larger tank means fewer refills but adds weight and bulk. Smaller tanks are more maneuverable but require more frequent filling. Common materials include polyethylene (plastic) tanks, which are lightweight and relatively inexpensive, or stainless steel tanks, which are more durable but heavier and more costly.
Polyethylene tanks are generally preferred for their ease of cleaning and resistance to corrosion. They’re also lighter, making the hydroseeder easier to move. However, they are susceptible to damage from sharp objects. Stainless steel tanks offer superior durability and longevity but are significantly more expensive and heavier. Consider the trade-offs between cost, weight, and durability when making your choice.
Before purchasing, carefully check the tank’s dimensions and ensure it’s compatible with your chosen pump and mixing system. Also, verify the tank’s pressure rating to ensure it can handle the pressure generated by the pump. A poorly chosen tank can lead to leaks or even catastrophic failure, so take your time and choose wisely.
Pump Selection: Power and Capacity
The pump is the heart of your hydroseeder. Its power and capacity directly impact your efficiency. Consider the volume of slurry you need to deliver per hour. Higher capacity pumps are faster but more expensive and consume more power. Choose a pump with a sufficient flow rate and pressure to efficiently distribute the seed and mulch mixture.
Diaphragm pumps are commonly used in hydroseeders due to their ability to handle thicker mixtures. Centrifugal pumps are an alternative, offering higher flow rates but potentially struggling with thicker mixtures. Research the specifications of different pumps, focusing on flow rate (gallons per minute or GPM), pressure (PSI), and power consumption (horsepower or kW).
Consider the pump’s durability and maintenance requirements. Some pumps are easier to maintain than others. Look for pumps with readily available parts and a good reputation for reliability. Also, factor in the cost of the pump and its energy consumption. A more efficient pump can save you money on electricity in the long run.
Mixing System: Blades and Design
The mixing system ensures a uniform distribution of seed and mulch. A poorly designed system leads to clumping and uneven coverage. Consider using multiple blades of different shapes and sizes to create optimal mixing action. The blades should be robust enough to withstand the abrasive nature of the seed and mulch mixture.
The blades should be positioned to create a vortex within the tank, ensuring thorough mixing of the slurry. You might consider using multiple impellers or a combination of different blade designs to achieve optimal mixing. Experimentation with different blade configurations might be necessary to find the best design for your specific setup.
The material of the blades is also important. Stainless steel is a good choice due to its durability and resistance to corrosion. Ensure the blades are securely mounted to the motor shaft and that the motor itself is powerful enough to drive the blades effectively. A weak motor will lead to poor mixing.
Chute and Nozzle Assembly
The chute directs the slurry to the nozzle. Its length and angle determine the range and pattern of the spray. Consider the type of terrain you’ll be working on. A longer chute allows for greater reach, while a shorter chute is more maneuverable. The material should be durable and resistant to corrosion.
The nozzle is crucial for controlling the spray pattern and flow rate. Different nozzles produce different spray patterns, from a wide, even spray to a more concentrated stream. Experiment with different nozzle types to find the best one for your needs. A pressure regulator is also important to control the pressure of the slurry exiting the nozzle.
Ensure the chute and nozzle assembly are securely attached to the frame and are easy to adjust. Consider adding a quick-release mechanism for easy cleaning and maintenance. A poorly designed chute and nozzle assembly can lead to uneven seed distribution and wasted material.
Frame Construction: Strength and Stability
The frame supports the tank, pump, and mixing system. It needs to be strong and stable to withstand the weight and vibrations during operation. Consider using materials like steel tubing or angle iron for a robust frame. Weld the frame components together for a secure and durable structure.
The frame’s design should allow for easy access to all components for maintenance and repair. Consider adding access panels for easy access to the pump and mixing system. Ensure the frame is well-grounded to prevent tipping during operation. Properly designed bracing is crucial for stability.
Before welding, carefully measure and cut the frame components to ensure accurate alignment. Use appropriate welding techniques to create strong and durable welds. After welding, inspect the frame for any defects or imperfections. A poorly constructed frame can lead to instability and potential damage.
Plumbing and Hose Connections
Proper plumbing is essential for efficient operation and leak prevention. Use high-pressure hoses and fittings rated for the pump’s pressure. Ensure all connections are secure and leak-free. Use appropriate clamps and sealant to prevent leaks. Regularly inspect the hoses and fittings for wear and tear.
Consider using quick-disconnect fittings for easy hose changes and maintenance. Use a pressure gauge to monitor the pressure in the system. This helps identify potential leaks or blockages. Properly labeling the hoses and fittings can simplify maintenance and troubleshooting.
Plan the plumbing layout carefully to minimize hose length and maximize efficiency. Avoid sharp bends and kinks in the hoses, which can restrict flow and reduce pressure. Use hose supports to prevent sagging and ensure proper drainage.
Testing and Calibration Procedures
Before using your hydroseeder, conduct thorough testing. Start with a small amount of water to check for leaks in the plumbing system. Then, test the mixing system to ensure uniform mixing of water and seed. Gradually increase the amount of slurry to verify the pump’s performance.
Monitor the pressure and flow rate of the pump during testing. Adjust the nozzle and chute to achieve the desired spray pattern. Test the hydroseeder in a controlled environment before using it on a real project. This allows you to identify and address any issues before they become problematic.
Document all testing procedures and results. This information is valuable for future troubleshooting and maintenance. After testing, make any necessary adjustments to the system to optimize its performance.
Final Touches and Maintenance Tips
After completing the build, apply a protective coating to the frame to prevent rust and corrosion. Add safety features like warning labels and lights. Consider adding a wheel kit for easier transport. A well-maintained hydroseeder lasts longer and performs better.