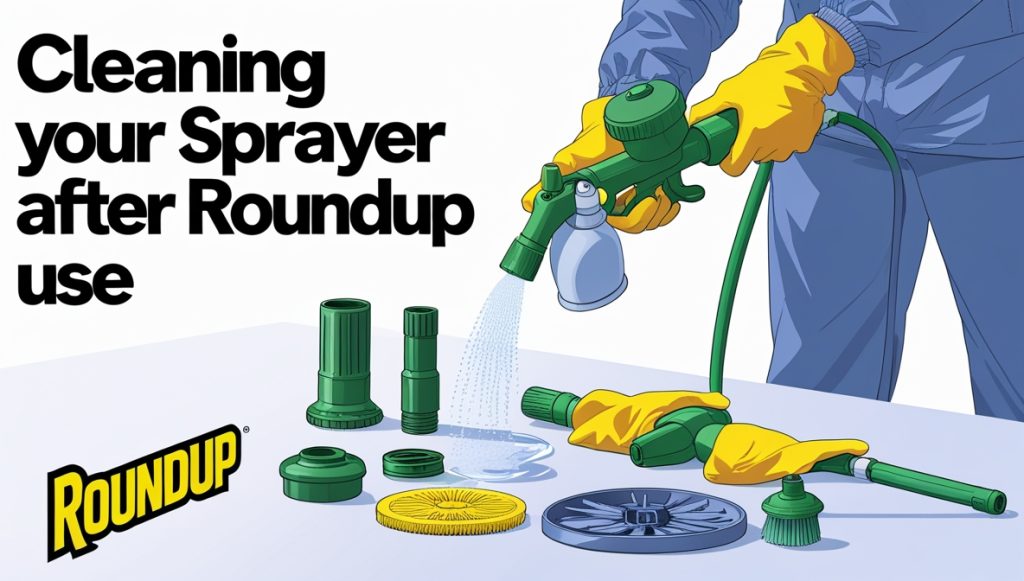
Keeping your garden sprayer clean isn’t just about aesthetics; it’s crucial for the health of your plants and the longevity of your equipment. A dirty sprayer can harbor bacteria, fungi, and pesticide residue, potentially harming your plants and contaminating future applications. This guide will walk you through a simple, step-by-step process for cleaning your garden sprayer, ensuring it’s ready for its next use.
Contents
- Getting Started: Emptying the Sprayer
- Rinse it Out: First Steps to Cleanliness
- Soap and Water: A Basic Cleaning Method
- Stubborn Residue? Try a Stronger Solution
- Dealing with Clogged Nozzles: Easy Fixes
- The Power of Vinegar: A Natural Cleaner
- Baking Soda: Another Natural Option
- Drying Your Sprayer: Preventing Future Issues
- Storing Your Sprayer: Tips for Next Time
- Maintaining Your Sprayer: Long-Term Care
Getting Started: Emptying the Sprayer
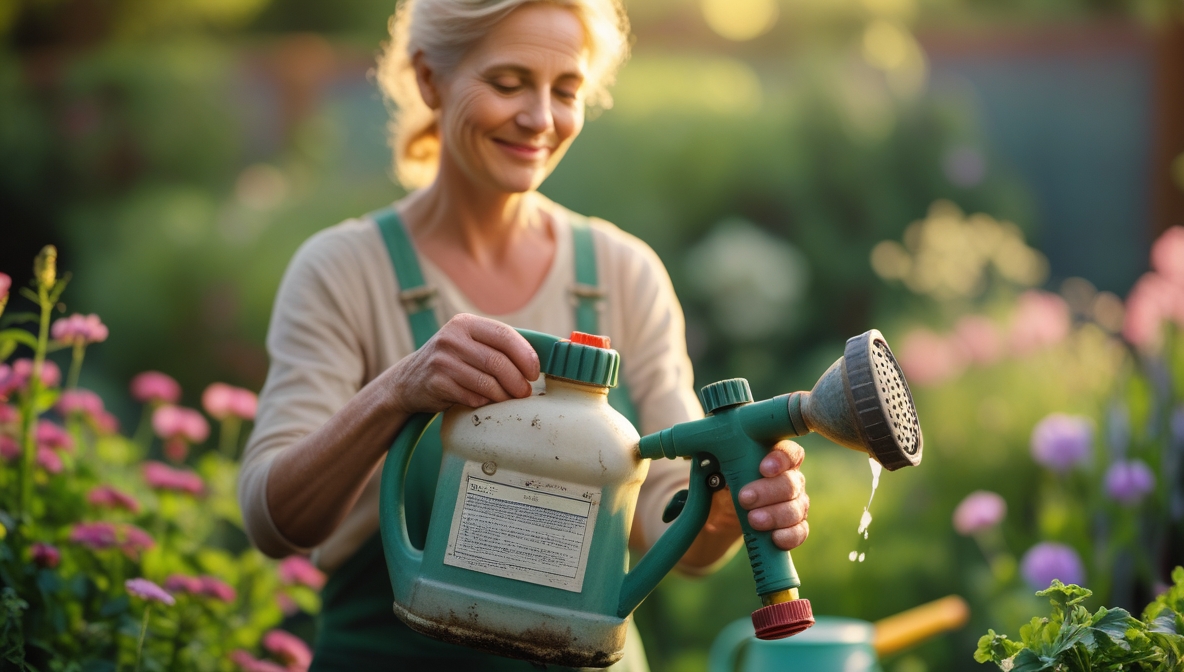
First, always disconnect the sprayer from any power source if applicable. Then, find a safe location outdoors – away from children and pets – to empty the contents of your sprayer. Pour the remaining solution into a designated container for proper disposal, following all local regulations for handling chemicals or pesticides. Never pour chemicals down the drain or onto the ground.
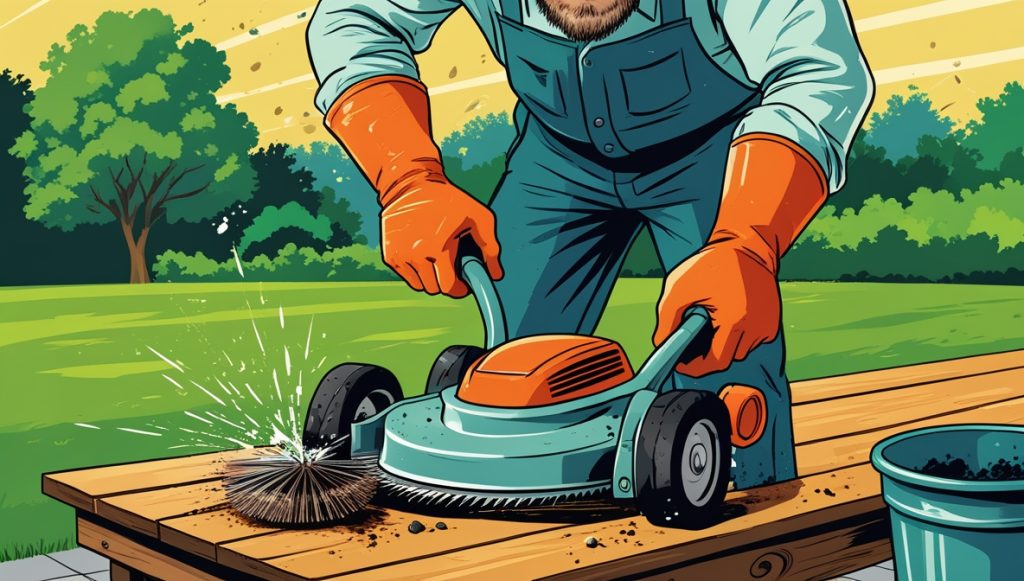
Next, remove any detachable parts like wands, nozzles, or filters. These smaller components often accumulate more residue, so cleaning them separately is important. Set them aside in a designated area for cleaning. Remember to wear appropriate protective gear, such as gloves and eye protection, throughout the entire cleaning process.
Finally, thoroughly rinse the main tank with clean water. This initial rinse will remove much of the loose residue and prepare the sprayer for a more thorough cleaning. Repeat this rinsing process several times to ensure you’ve removed as much of the initial solution as possible.
Rinse it Out: First Steps to Cleanliness
After emptying the sprayer, give it a good rinse with clean water. Fill the tank about halfway with water and pump the sprayer several times to circulate the water. This initial rinse helps remove any remaining solution and loosens stubborn residue.
Pay close attention to the inside walls of the tank. Often, residue clings to the sides, so use a long-handled brush or sponge to scrub these areas. Don’t forget to rinse out the pump mechanism as well; this area can accumulate debris.
After the initial rinse, empty the tank again. Repeat this rinsing process at least two more times to ensure that you’ve effectively removed most of the initial solution. This will make the subsequent cleaning steps significantly easier.
Soap and Water: A Basic Cleaning Method
For most garden sprayer cleaning needs, a simple soap and water solution works wonders. Use a mild dish soap, avoiding harsh chemicals that could damage the sprayer or harm your plants. Mix a small amount of dish soap with warm water in the tank.
Fill the tank approximately halfway with this soapy water. Then, pump the sprayer vigorously to distribute the soapy mixture throughout the tank and all components. Let the solution sit for 10-15 minutes to allow the soap to break down any remaining residue.
After the soaking period, thoroughly rinse the sprayer with clean water, repeating the process several times until all traces of soap are gone. Remember to rinse all detachable parts separately as well.
Stubborn Residue? Try a Stronger Solution
If soap and water aren’t enough to remove stubborn residue, you might need a stronger solution. A mixture of bleach and water (1 part bleach to 9 parts water) can effectively tackle tougher stains. Always wear protective gear when handling bleach.
Fill the tank with this bleach solution and let it sit for 30 minutes to an hour, allowing the bleach to work its magic. Then, thoroughly rinse the sprayer with clean water multiple times. It’s crucial to completely remove all traces of bleach before using the sprayer again, as bleach can harm your plants.
Remember to never mix bleach with other cleaning solutions, especially ammonia, as this can create dangerous fumes. Always follow the manufacturer’s instructions for your specific sprayer and cleaning solution.
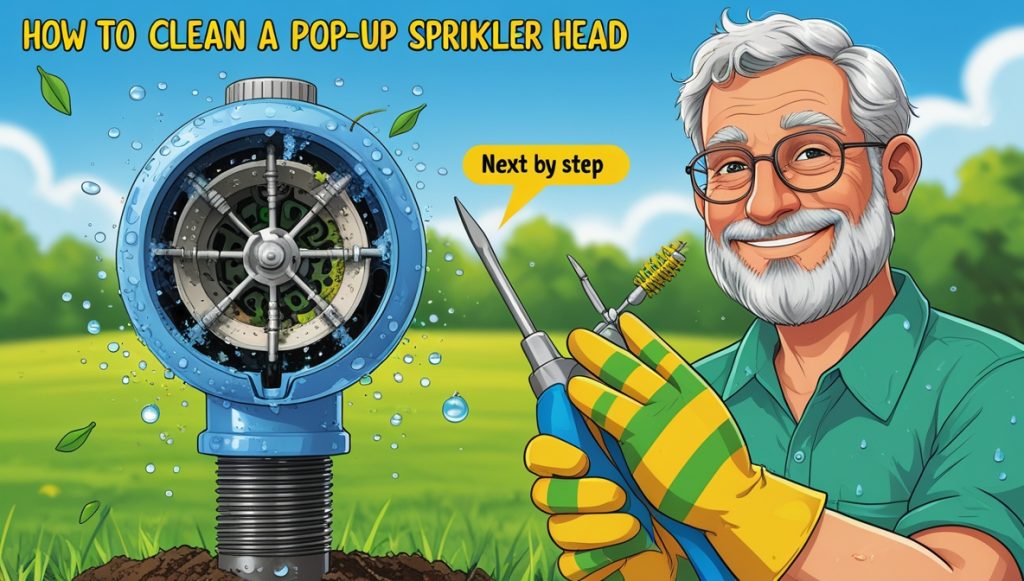
Dealing with Clogged Nozzles: Easy Fixes
Clogged nozzles are a common problem with garden sprayers. Often, a simple solution is all you need. First, try using a thin wire or pipe cleaner to gently poke and clear the nozzle opening. Be careful not to damage the delicate nozzle.
If a wire doesn’t work, soak the nozzle in a solution of warm, soapy water for 30 minutes. The soap will help to break down any residue clogging the nozzle. After soaking, rinse thoroughly and try again. If the nozzle remains clogged, you may need to replace it.
For more stubborn clogs, consider soaking the nozzle in white vinegar (see below for details on vinegar cleaning). Vinegar’s acidity can help dissolve mineral deposits that may be contributing to the clog. Remember to always check the nozzle for damage before using the sprayer.
The Power of Vinegar: A Natural Cleaner
Vinegar is a surprisingly effective natural cleaner for garden sprayers. Its acidity helps dissolve mineral deposits and other stubborn residues. Fill the tank with undiluted white vinegar.
Let the vinegar sit in the tank for at least an hour, or even overnight for particularly stubborn residue. Then, thoroughly rinse the sprayer with clean water several times. The vinegar smell will dissipate after a few rinses.
Vinegar is a safe and environmentally friendly alternative to harsh chemicals, making it a great choice for cleaning your garden sprayer. Just be sure to rinse it thoroughly to avoid affecting the pH of any future solutions you use in the sprayer.
Baking Soda: Another Natural Option
Baking soda is another natural cleaning agent that can be used to clean your garden sprayer. It’s a mild abrasive that can help scrub away residue without damaging the sprayer. Make a paste of baking soda and water.
Apply this paste to the inside walls of the tank and scrub gently with a sponge or brush. Pay close attention to any areas with stubborn residue. After scrubbing, rinse thoroughly with clean water.
Baking soda is a safe and effective alternative to harsh chemicals, and it’s readily available in most homes. It’s a great option for a more eco-friendly cleaning approach.
Drying Your Sprayer: Preventing Future Issues
After cleaning, thoroughly dry your garden sprayer to prevent mold and mildew growth. Completely rinse the sprayer with clean water, ensuring no cleaning solution remains.
Allow the sprayer to air dry completely. You can also use a clean cloth to wipe down the exterior and any detachable parts. Proper drying is essential in preventing future clogs and the build-up of residue.
Leaving moisture inside the sprayer can lead to corrosion and the growth of unwanted organisms, potentially contaminating your future plant care solutions.
Storing Your Sprayer: Tips for Next Time
Once your garden sprayer is completely dry, store it properly to maintain its cleanliness and extend its lifespan. Store it in a cool, dry place, away from direct sunlight and extreme temperatures.
If you’re storing your sprayer for an extended period, consider adding a small amount of rubbing alcohol to the tank before storing. This will help prevent mold and mildew growth.
Proper storage will protect your sprayer from damage and ensure it’s ready for use next season. Keep it out of reach of children and pets.
Maintaining Your Sprayer: Long-Term Care
Regular cleaning is key to maintaining your garden sprayer. After each use, rinse the sprayer thoroughly with clean water. This will prevent residue from hardening and becoming difficult to remove.
Periodically inspect your sprayer for any signs of damage, such as cracks or leaks. Replace any worn or damaged parts promptly to prevent problems.
With proper care and maintenance, your garden sprayer will provide years of reliable service. Remember, regular cleaning is the best way to ensure its longevity and effectiveness.
Cleaning your garden sprayer regularly is a simple yet essential task for any gardener. By following these steps, you can keep your sprayer clean, prevent clogs, and ensure the health of your plants. Remember to always prioritize safety and follow proper disposal procedures for any leftover solutions. Happy gardening!