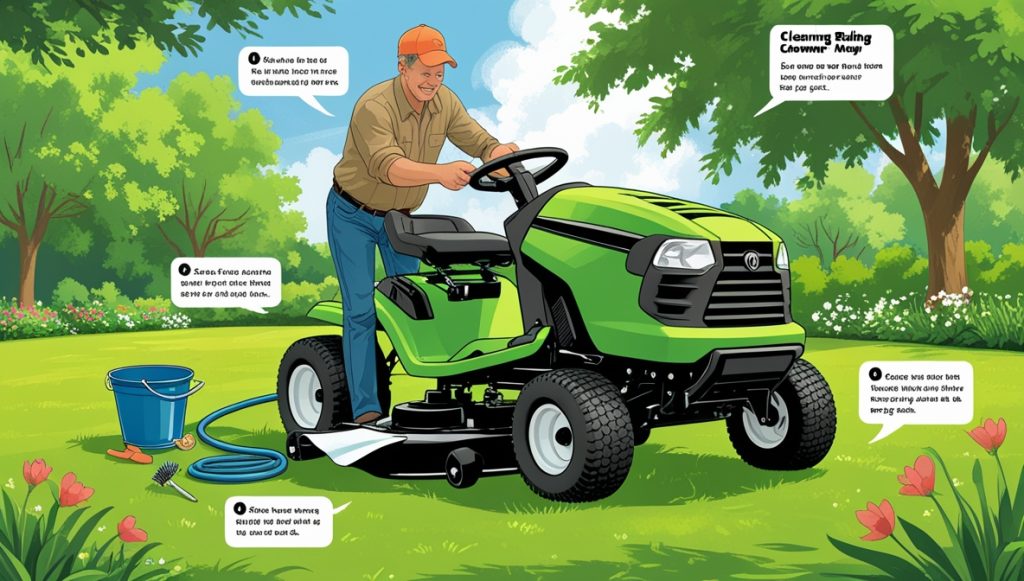
Keeping your lawn mower bag clean isn’t just about aesthetics; it’s crucial for maintaining your mower’s efficiency and preventing unpleasant smells. A clogged bag can restrict airflow, leading to poor cutting performance and even damage to your mower’s engine. This guide will walk you through the process of cleaning your lawn mower bag, step-by-step, so you can get back to enjoying a perfectly manicured lawn.
Contents
- Getting Started: Emptying the Bag
- Prepping Your Tools & Supplies
- The Power of a Good Rinse
- Tackling Stubborn Grass Clippings
- Dealing with Wet or Caked-On Mess
- The Soap Opera: Choosing the Right Cleaner
- Scrub-a-dub-dub: The Cleaning Process
- Rinsing Away All the Soap Suds
- Drying Your Lawn Mower Bag Properly
- Storing Your Clean Bag for Next Time
Getting Started: Emptying the Bag
First things first: completely empty your lawn mower bag. Don’t just tip it out – really get in there and remove all the grass clippings. You might be surprised how much clings to the sides and bottom. A good shake over a trash can will help loosen most of the debris. If you have a mulching mower, the process is similar, though there will likely be less clumping.
Next, give the bag a good thump against the ground to dislodge any stubborn clippings. This will make the subsequent cleaning steps much easier. Finally, inspect the bag for any rips or tears. Addressing these now will prevent further problems down the line. A small hole can quickly become a big mess!
Remember to wear gloves during this process, especially if you’re dealing with wet or decaying grass clippings. This protects your hands from dirt and potential irritants.
Prepping Your Tools & Supplies
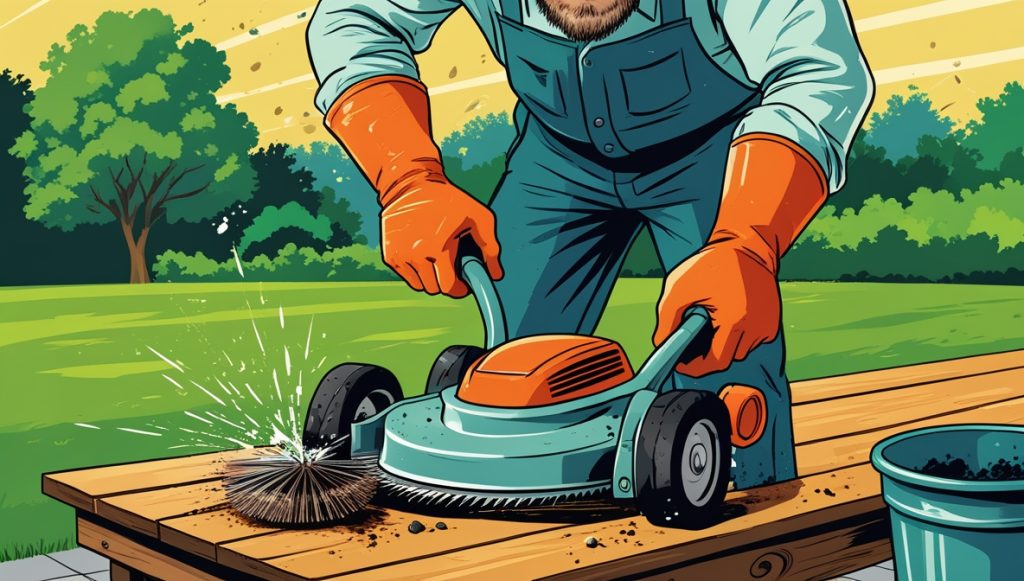
Before you dive into the cleaning process, gather your supplies. You’ll need a garden hose with a spray nozzle, a bucket, a stiff-bristled brush (a scrub brush works great), and a mild detergent. A hose attachment with a higher pressure setting can be very helpful.
Consider adding a pair of rubber gloves to your arsenal. They’ll protect your hands from the dirt and chemicals. If your bag is particularly grimy, you might also want to grab some baking soda – it’s a fantastic natural deodorizer.
Having everything ready beforehand makes the cleaning process much smoother and more efficient. You won’t have to interrupt your cleaning flow to search for missing supplies.
The Power of a Good Rinse
Start by giving your lawn mower bag a thorough rinse with the garden hose. Focus on removing as much loose dirt and grass clippings as possible. Use the spray nozzle to blast away any stubborn bits clinging to the fabric.
A pre-rinse is crucial because it removes the bulk of the debris, making the scrubbing process significantly easier and faster. This also helps prevent the detergent from mixing with large clumps of grass, which can create a sticky mess.
Don’t be afraid to use a decent amount of water. The goal here is to loosen and remove as much of the grass clippings as you can before you start scrubbing.
Tackling Stubborn Grass Clippings
Now that the loose debris is gone, it’s time to tackle those stubborn grass clippings. Use your stiff-bristled brush to scrub the inside and outside of the bag. Pay close attention to seams and corners where clippings tend to accumulate.
For particularly stubborn clumps, let some water soak into the area for a few minutes before scrubbing. This will help loosen the clippings and make them easier to remove. Remember to work methodically, covering the entire surface of the bag.
If you find that some clippings are particularly resistant, consider using a small, blunt tool (like a putty knife) to gently pry them loose before scrubbing.
Dealing with Wet or Caked-On Mess
If your lawn mower bag is particularly wet or has caked-on grass, you’ll need a slightly different approach. First, allow the bag to air dry as much as possible. Then, use a hose to rinse away any loose debris.
Next, prepare a solution of warm water and mild detergent. Apply this solution to the caked-on areas and let it sit for about 15-20 minutes to help break down the mess. Afterward, scrub vigorously with your brush.
For extremely stubborn caked-on messes, consider using a pressure washer (on a low setting) to blast away the remaining debris. Always exercise caution when using a pressure washer to avoid damaging the bag.
The Soap Opera: Choosing the Right Cleaner
While you can use dish soap, a dedicated outdoor cleaner or even a laundry detergent designed for tough stains often works best. Avoid harsh chemicals, as these can damage the bag’s fabric and leave behind a lingering smell.
Baking soda is a great natural deodorizer and can be added to your cleaning solution for a fresher-smelling bag. Simply mix a small amount of baking soda into your soapy water.
Remember to always check the instructions on your chosen cleaner to ensure it’s suitable for use on your lawn mower bag material.
Scrub-a-dub-dub: The Cleaning Process
Once you’ve chosen your cleaner, mix it with warm water in your bucket according to the instructions. Dip your brush into the soapy water and begin scrubbing the inside and outside of the bag. Pay attention to any particularly dirty spots.
Work systematically, ensuring you cover every inch of the bag’s surface. Don’t be afraid to apply some elbow grease – the goal is to remove all traces of grass clippings and dirt.
If needed, reapply the soapy water as necessary. Continue scrubbing until the bag is visibly clean.
Rinsing Away All the Soap Suds
After scrubbing, thoroughly rinse the lawn mower bag with clean water to remove all traces of soap. Use the garden hose to ensure that you reach all areas of the bag, both inside and out.
Pay close attention to seams and corners, where soap residue can easily accumulate. A thorough rinse is important to prevent any soap residue from irritating your skin or damaging your lawn mower.
Make sure all the soap is gone before you proceed to the drying stage.
Drying Your Lawn Mower Bag Properly
Allow the lawn mower bag to air dry completely before storing it. Hang it up in a well-ventilated area, preferably outdoors in direct sunlight. This will help prevent mold and mildew from forming.
Avoid using a clothes dryer or placing the bag in direct heat, as this can damage the fabric. Allow ample time for the bag to dry completely; this could take several hours or even a full day depending on the weather conditions.
A completely dry bag is less likely to develop unpleasant odors and will be ready for use the next time you mow your lawn.
Storing Your Clean Bag for Next Time
Once your lawn mower bag is completely dry, store it in a cool, dry place. Avoid storing it in damp or humid environments, as this can encourage mold and mildew growth.
Ideally, store it somewhere that is protected from direct sunlight and extreme temperatures. A shed or garage is usually a good option.
Proper storage will help extend the life of your lawn mower bag and keep it in good condition for future use.
Cleaning your lawn mower bag regularly is a simple yet effective way to maintain your mower’s performance and prolong the life of your equipment. By following these steps, you can keep your bag clean, fresh, and ready for the next mowing session. Remember, a clean bag is a happy bag!