Keeping your lawn mower blade clean isn’t just about aesthetics; it’s crucial for maintaining your mower’s performance and ensuring a clean, even cut. A clogged blade can lead to scalping, uneven cuts, and even damage to your mower’s engine. This guide will walk you through the entire process of cleaning your lawn mower blade, from safely removing it to properly storing it for next time. Let’s get started!
Contents
- Getting Started: Safety First!
- Gather Your Cleaning Supplies
- Removing the Lawn Mower Blade
- Cleaning the Blade’s Top Side
- Scrubbing the Blade’s Underside
- Sharpening (Optional, but Recommended!)
- Removing Grass Clippings & Debris
- Inspecting for Damage & Wear
- Reattaching the Blade Securely
- Storing Your Clean Blade Properly
Getting Started: Safety First!
Before you even think about touching your lawn mower blade, safety should be your top priority. Always disconnect the spark plug wire to prevent accidental starting. This is the single most important step to avoid injury. Double-check that the wire is securely disconnected and out of the way.
Next, wear appropriate safety gear. This includes sturdy work gloves to protect your hands from sharp edges and potentially rusty metal. Safety glasses are also a must to protect your eyes from flying debris. A dust mask might be a good idea too, especially if you’re dealing with a particularly dirty blade.
Finally, work in a well-ventilated area. You’ll be dealing with grass clippings and potentially some fuel residue, so good airflow is important. Choose a flat, stable surface to work on, preferably one that’s easy to clean up afterward.
Gather Your Cleaning Supplies
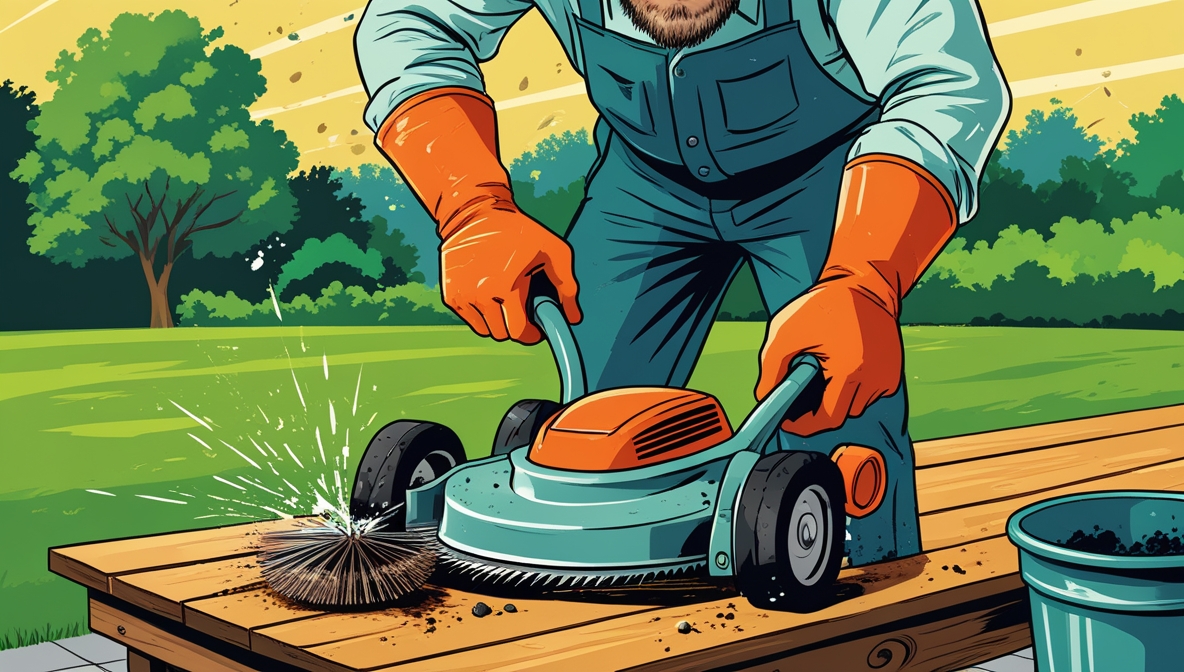
You won’t need a lot of fancy equipment to clean your lawn mower blade, but having the right tools makes the job easier and more efficient. Start with a stiff wire brush. This will be your primary tool for removing caked-on grass and dirt.
Next, grab a bucket of warm, soapy water. A degreasing dish soap works particularly well for cutting through stubborn grime and oil. You’ll also need some rags or shop towels for wiping down the blade. Consider having a garden hose nearby for rinsing.
Finally, a wrench that fits your mower’s blade bolt is essential for removing and reattaching the blade. Consult your mower’s manual if you’re unsure of the correct size. Having the right tools on hand makes the process go smoothly.
Removing the Lawn Mower Blade
Before you remove the blade, make absolutely sure the mower is turned off and the spark plug wire is disconnected. Then, using the appropriate wrench, carefully loosen the blade bolt. It might be tight, so you may need to use some muscle or a breaker bar if necessary.
Once the bolt is loose, carefully remove it and set it aside in a safe place. Now, gently remove the blade. It may be heavy and potentially sharp, so handle it with care. Lay the blade down on a clean, flat surface, making sure the sharp edge is facing away from you.
Remember to note the blade’s position on the mower before you remove it. This will help you reinstall it correctly later. Take a picture if it helps you remember the orientation.
Cleaning the Blade’s Top Side
Start by using the wire brush to remove any loose grass and dirt from the top side of the blade. Work in a back-and-forth motion, applying firm but gentle pressure. Don’t force the brush too hard, as you could damage the blade.
Once you’ve removed the loose debris, use a rag or shop towel dipped in warm, soapy water to wipe down the blade. Pay attention to any areas where grass or dirt is particularly stubborn. Rinse the blade with water from a hose and wipe it dry with a clean rag.
If there are any particularly stubborn clumps of grass, use a putty knife or a similar tool to gently scrape them off before brushing. This will make the cleaning process much more efficient.
Scrubbing the Blade’s Underside
The underside of the blade often accumulates the most grass and debris. Use the wire brush to thoroughly scrub this area, paying close attention to the cutting edge. This is where most of the build-up occurs.
Once the loose debris is removed, use the soapy water and rags to clean the underside. Again, focus on any stubborn areas. Rinsing with water and drying thoroughly is just as important as cleaning the top side.
A thorough cleaning of the underside is vital for maintaining the blade’s sharpness and ensuring a clean cut. Neglecting this step can lead to poor performance and potential damage to your lawn.
Sharpening (Optional, but Recommended!)
Sharpening your lawn mower blade is a great way to improve its cutting performance and prevent scalping. If you notice any nicks or dull spots, sharpening is recommended. You can do this using a file, a bench grinder, or a sharpening stone.
If you’re not comfortable sharpening the blade yourself, you can take it to a professional lawn mower repair shop. They have the tools and expertise to do a great job. A sharp blade provides a much cleaner cut and is less likely to damage your lawn.
Regular sharpening extends the life of your blade, saving you money in the long run. Aim to sharpen your blade at least once a year, or more often if you notice a decline in cutting performance.
Removing Grass Clippings & Debris
After cleaning the blade, don’t forget to clean the mower deck itself. Grass clippings and debris can accumulate in the deck, hindering its performance and potentially causing damage.
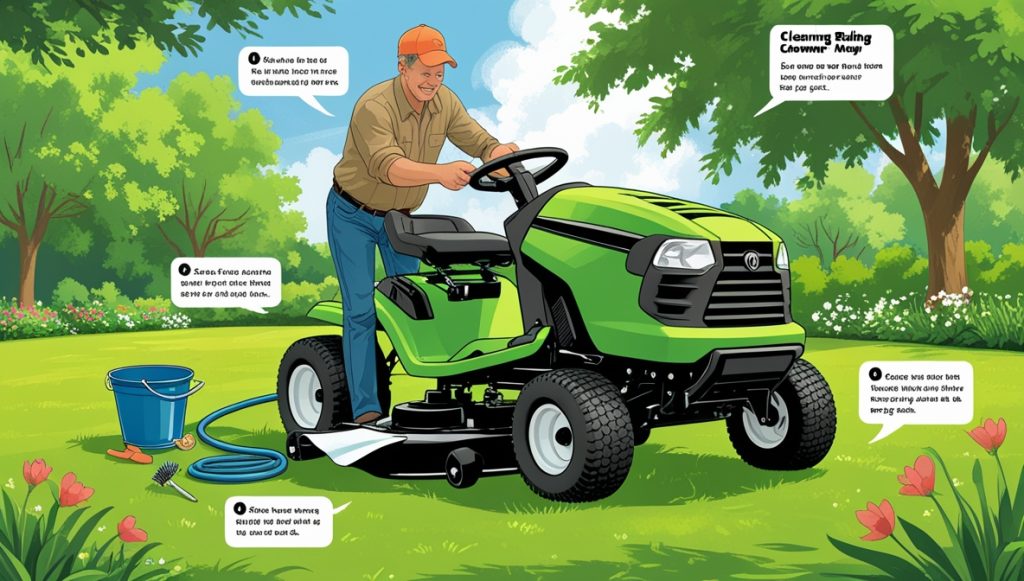
Use a stiff brush or a shop vacuum to remove any grass clippings from the mower deck. Pay attention to the corners and edges, where debris tends to accumulate. A garden hose can also be helpful for rinsing away stubborn debris.
A clean mower deck ensures optimal airflow and prevents clogging, leading to a more efficient mowing experience. Keeping the deck clean is just as important as cleaning the blade itself.
Inspecting for Damage & Wear
Before reattaching the blade, carefully inspect it for any signs of damage or excessive wear. Look for cracks, bends, or significant chipping along the cutting edge.
If you notice any significant damage, it’s best to replace the blade rather than trying to repair it. A damaged blade can cause uneven cuts, damage your lawn, and even pose a safety hazard.
Regular inspection of your blade helps you identify potential problems early on, preventing more serious issues down the line.
Reattaching the Blade Securely
Once you’ve cleaned and inspected the blade, it’s time to reattach it to the mower. Align the blade with its original position, making sure it’s securely seated.
Carefully replace the bolt and tighten it firmly using the wrench. Don’t overtighten, as this could damage the blade or the mower shaft. Refer to your mower’s manual for the recommended torque specifications.
Double-check that the blade is securely attached before starting the mower. A loose blade can be dangerous and lead to poor cutting performance.
Storing Your Clean Blade Properly
After cleaning, store your blade in a safe, dry place. This prevents rust and corrosion, extending its lifespan. You can consider applying a light coat of oil to the blade to further protect it from the elements.
If you have multiple blades, label them clearly to avoid confusion. Store blades away from children and pets to prevent accidental injury.
Proper storage ensures your blade is ready for use next time, saving you time and effort.
Cleaning your lawn mower blade is a simple yet essential maintenance task that significantly impacts your mower’s performance and longevity. By following these steps, you can keep your blade in top condition, ensuring a clean, even cut every time you mow. Remember, safety first!


