Finding a buried sprinkler head can be a frustrating experience, especially when your lawn is looking a little worse for wear. But don’t despair! With a little detective work and the right tools, you can locate that pesky head and get your sprinkler system back in top shape. This guide will walk you through the process, step by step, so you can get your lawn looking lush and green again.
Contents
- Suspect a Buried Sprinkler Head?
- Start with Your Sprinkler Map
- Visual Clues: Inspect the Lawn
- Feel for it: Manual Exploration
- Metal Detectors: A Helpful Tool
- Using a Garden Trowel Carefully
- Avoid Damaging Underground Pipes
- Marking the Location: Smart Moves
- Repairing or Replacing the Head
- Preventing Future Burials
Suspect a Buried Sprinkler Head?
Do you have a brown patch in your lawn that seems suspiciously dry, despite regular watering? Or perhaps your sprinkler system isn’t performing as expected, with one zone consistently underperforming. These are common indicators that a sprinkler head might be buried. Another sign is a noticeable dip or mound in the grass, suggesting something is obstructing the soil’s surface. If you’re seeing any of these signs, it’s time to start your investigation to find your buried sprinkler head.
The first step is to rule out other causes for a dry patch. Ensure your sprinkler is actually working by checking the valve and its water pressure. A clogged sprinkler head or a malfunctioning valve can also cause dry spots, so eliminate these possibilities before you assume burial.
Start with Your Sprinkler Map
Before you start digging, check if you have a sprinkler system map. Most professional installations will provide one, showing the location of all sprinkler heads, valves, and pipes. This map is your best friend; it can pinpoint the exact location of the suspected buried sprinkler head, saving you time and effort. If you can’t find your original map, try contacting the company that installed your system.
If you don’t have a map, don’t panic! You can still find the head, though it will require a bit more detective work. Start by examining the surrounding area for any signs of other sprinkler heads, which can help you estimate the spacing and pattern. Remember, sprinkler heads are usually placed at regular intervals.
Visual Clues: Inspect the Lawn
Carefully examine the affected area of your lawn. Look for subtle changes in the grass color or height. A buried sprinkler head often creates a slightly depressed or elevated area in the grass, even if it’s not immediately obvious. Look closely for any discoloration in the grass, a slight bulge, or a small depression—these can all be telltale signs.
Additionally, consider the surrounding landscaping. Are there any pavers, rocks, or other obstacles that might have shifted over time, potentially burying a sprinkler head? Pay close attention to any changes in the terrain, even minor ones, as they can offer valuable clues.
Feel for it: Manual Exploration
Once you’ve visually inspected the area, gently probe the soil with your hands. Start with a light touch, feeling for any hard objects beneath the surface. A buried sprinkler head will feel distinctly different from the surrounding soil. Work slowly and methodically, using your fingers to explore the area systematically.
Remember to be gentle to avoid damaging the sprinkler head or any underground pipes. If you feel something hard, stop and carefully investigate further. Don’t force anything; instead, move on to the next step for a more precise approach.
Metal Detectors: A Helpful Tool
If manual exploration doesn’t yield results, consider using a metal detector. Sprinkler heads are typically made of metal, making them easily detectable with this tool. Follow the manufacturer’s instructions for operating the detector and scan the suspected area methodically. A consistent signal indicates the probable location of the buried sprinkler head.
Metal detectors are particularly helpful in areas with dense vegetation or thick layers of soil. They can significantly reduce the time and effort required to locate the head, especially when dealing with a large area. Remember to always exercise caution while using a metal detector to avoid damaging underground utilities.
Using a Garden Trowel Carefully
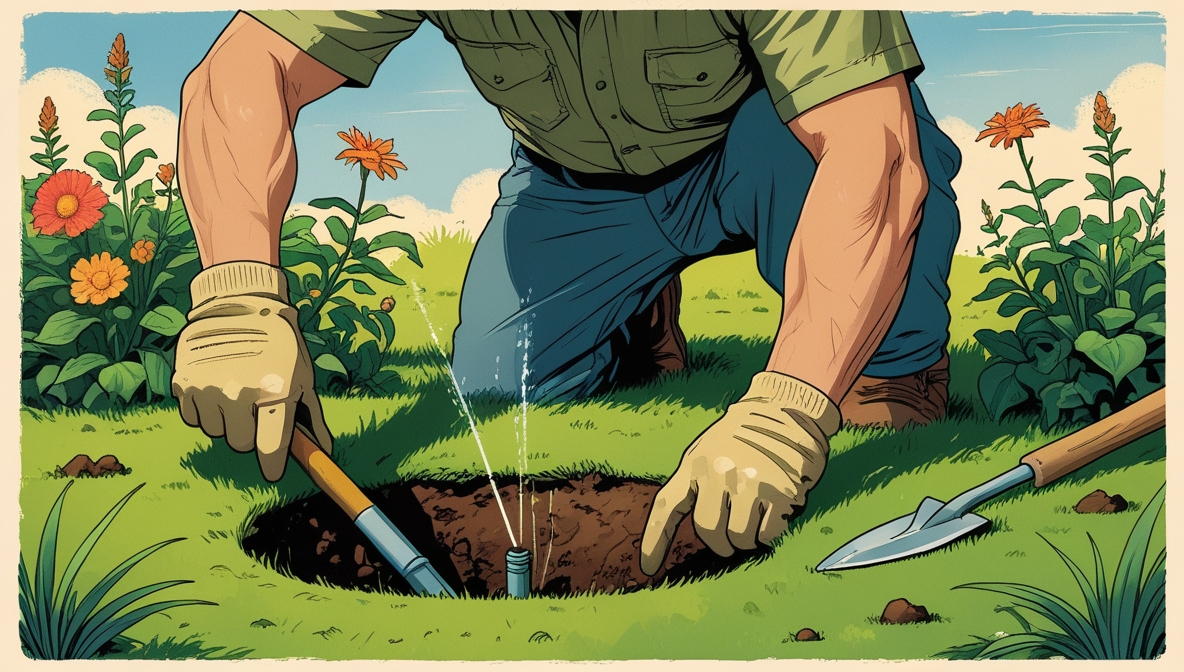
Once you’ve pinpointed the probable location of the buried sprinkler head, use a garden trowel to carefully excavate the area. Work slowly and gently, removing soil in small increments. Avoid using sharp tools that could damage the sprinkler head or surrounding pipes. Use the trowel to gently loosen and lift the soil, avoiding sudden forceful movements.
Keep in mind that the sprinkler head might be buried at various depths. Be patient and persistent, and continue digging until you locate the head. As you dig, keep checking for the head regularly, ensuring you don’t accidentally damage it with the trowel.
Avoid Damaging Underground Pipes
When digging near your sprinkler system, it’s crucial to avoid damaging any underground pipes. Before you start digging, mark the approximate location of any known pipes using flags or markers. Exercise extra caution when working near the suspected location of the buried sprinkler head. If you’re unsure about the location of underground pipes, consider calling a professional.
If you accidentally damage a pipe, turn off the water immediately to prevent further damage and water waste. Contact a professional plumber or sprinkler repair technician to repair the damaged pipe. Preventing damage is always better than costly repairs.
Marking the Location: Smart Moves
Once you’ve successfully located and uncovered the buried sprinkler head, mark its location clearly. You can use a brightly colored marker, a small flag, or even a permanent marker on a nearby object. This will help you easily locate the head for future maintenance or repairs. Accurate marking can prevent accidental damage during future landscaping or gardening activities.
Consider adding the location to your sprinkler map if you have one, or creating a new map if you don’t. This will help you keep track of all your sprinkler heads and their locations for future reference. A well-maintained map is invaluable for preventing future burial issues.
Repairing or Replacing the Head
Once you’ve located the buried sprinkler head, inspect it for damage. If it’s simply buried and not damaged, you can simply adjust its position and ensure it’s properly aligned. However, if it’s damaged, you might need to replace it. Replacing a sprinkler head is relatively straightforward and can often be done with basic tools.
When replacing, ensure you use a compatible sprinkler head. Consult your sprinkler system manual or contact a professional if you are unsure about compatibility. Properly installed and aligned sprinkler heads ensure even water distribution across your lawn.
Preventing Future Burials
To prevent future sprinkler head burials, regularly inspect your lawn and sprinkler system. Check for any signs of soil shifting or accumulation, and address them promptly. Avoid excessive tilling or digging around your sprinkler heads. Consider adding a layer of mulch or gravel around the heads to help prevent soil buildup.
Regular maintenance is key to preventing future problems. This includes routinely inspecting your sprinkler heads for proper function and alignment. A little preventative maintenance can save you a lot of time and frustration in the long run.
Finding a buried sprinkler head can be a challenging task, but with careful observation, the right tools, and a methodical approach, it’s definitely achievable. Remember to always prioritize safety and avoid damaging underground pipes. By following these steps, you can restore your sprinkler system’s efficiency and enjoy a healthy, vibrant lawn.