So, you’ve got your new weed wacker and a yard that needs taming? Fantastic! But before you can start conquering those weeds, you need to know how to load it up. This guide will walk you through every step, from mixing the fuel to loading the trimmer line, ensuring you’re ready to tackle any overgrown area. Let’s get started!
Contents
- Getting Started: Fuel and Safety First!
- Choosing the Right Fuel Mix
- Mixing Fuel: A Step-by-Step Guide
- Filling the Fuel Tank Safely
- Prime Time: Getting Ready to Start
- The First Pull: Starting Your Weed Wacker
- Troubleshooting Starting Problems
- Attaching the Cutting Head and Loading the Trimmer Line
- Ready to Weed Whack! Let’s Go!
Getting Started: Fuel and Safety First!
First things first: safety! Weed wacker fuel is flammable, so you’ll want to work in a well-ventilated area, away from any open flames or sparks. Wear safety glasses to protect your eyes from flying debris. Additionally, make sure you have a fire extinguisher nearby – just in case. It’s always better to be prepared!
Next, gather your supplies: your weed wacker, the correct fuel mix (we’ll cover that next!), a funnel (to avoid spills!), and a clean rag for wiping up any accidental spills. Having everything ready beforehand makes the process much smoother and safer.
Choosing the Right Fuel Mix
Your weed wacker’s manual will specify the exact fuel-to-oil ratio. This is crucial; using the wrong mix can severely damage your engine. Typically, it’s a mix of gasoline and 2-cycle engine oil. Don’t guess! Always check your manual.
Failing to use the correct fuel mix can lead to costly repairs or even a complete engine failure. Therefore, take the time to find the right ratio for your specific model. It’s a small step that prevents big problems down the line.
Mixing Fuel: A Step-by-Step Guide
Start by measuring the correct amount of gasoline into a clean, approved fuel container. Then, carefully add the specified amount of 2-cycle engine oil. Use a measuring cup for accuracy. Never mix fuel directly in the weed wacker’s tank.
Next, securely close the container’s lid and shake it vigorously for at least 30 seconds to ensure the fuel and oil are thoroughly mixed. This creates a homogeneous blend, preventing engine damage caused by uneven lubrication. Once mixed, you’re ready to fuel your weed wacker.
Filling the Fuel Tank Safely
With your fuel mix ready, carefully pour it into the weed wacker’s fuel tank using a funnel. This minimizes spills and keeps the area clean. Avoid overfilling the tank; leave some space at the top to allow for expansion.
After filling, firmly replace the fuel cap. Wipe up any spills immediately with a clean rag. Remember, fuel is flammable, so taking precautions is key. Now, you’re ready to prime your weed wacker for starting.
Prime Time: Getting Ready to Start
Before pulling the starter cord, you’ll likely need to prime your weed wacker. This involves using the primer bulb (usually a small rubber bulb on the carburetor) to pump fuel into the engine. Consult your manual for the specific number of pumps required.
Priming ensures that sufficient fuel reaches the engine for a smooth start. Too little priming, and it might not start; too much, and it might flood the engine. Follow your manual’s instructions carefully for optimal results.
The First Pull: Starting Your Weed Wacker
With the weed wacker primed, hold it securely and pull the starter cord firmly but smoothly. Avoid jerky movements. If it doesn’t start on the first pull, don’t worry; give it a few more tries, making sure the choke is in the correct position (check your manual).
If you continue to have trouble starting, refer to the troubleshooting section below. Remember, practice makes perfect. With a little patience, you’ll master the starting process in no time.
Troubleshooting Starting Problems
If your weed wacker won’t start, first check the fuel level and ensure you have a good fuel-air mix. Then, verify that the spark plug is properly connected and not fouled. A fouled spark plug will prevent ignition.
If the problem persists, check your air filter for clogs. A clogged air filter restricts airflow and can hinder starting. If you’ve checked these things and still can’t start it, consult your weed wacker’s manual or seek professional assistance.
Attaching the Cutting Head and Loading the Trimmer Line
Before attaching the cutting head, ensure the weed wacker is turned off and the fuel is switched off. Then, securely attach the cutting head according to the manufacturer’s instructions. This step is crucial for safe operation.
Now for the trimmer line! Most weed whackers use a spool system. Open the spool cover, carefully insert the new trimmer line, and follow the instructions on your specific model for winding and feeding the line. Usually, there’s a small notch or guide to help you.
Ready to Weed Whack! Let’s Go!
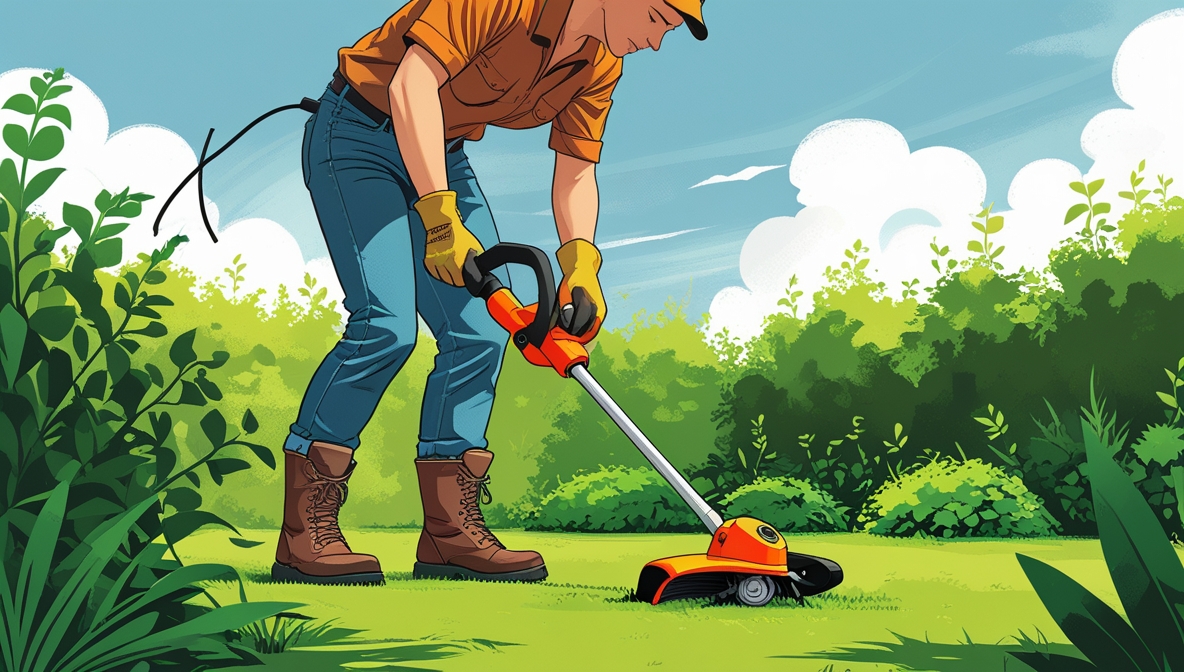
With the fuel mixed, the weed wacker primed, and the trimmer line loaded, you’re finally ready to tackle those weeds! Remember to always wear safety glasses and appropriate clothing. Start slowly and get a feel for the machine before tackling tougher areas.
Enjoy the satisfaction of a neatly trimmed lawn! Remember to always consult your weed wacker’s manual for specific instructions and safety precautions. Happy weeding!
Loading a {title} might seem daunting at first, but with a little knowledge and careful attention to detail, it’s a straightforward process. By following these steps, you’ll be ready to tackle any overgrown area with confidence. Remember safety first, and always consult your owner’s manual for specific instructions regarding your model. Happy weeding!
