Tired of battling a patchy, struggling lawn? Want a low-maintenance, environmentally friendly alternative? Then consider replacing those bare spots, or even your entire lawn, with clover! This guide will walk you through how to regrow a grass area with clover, offering a vibrant, resilient, and beautiful ground cover. Let’s get started!
Contents
- Getting Started: Prep Your Patch
- Assessing Your Existing Lawn
- Choosing the Right Clover Type
- Preparing the Soil for Success
- Seeding Your Clover: A Step-by-Step Guide
- Watering Your New Clover Patch
- Weed Control: Keeping it Clover-y
- Maintaining Your Clover Lawn
- Dealing with Pests and Diseases
- Enjoying Your Lush Clover Lawn
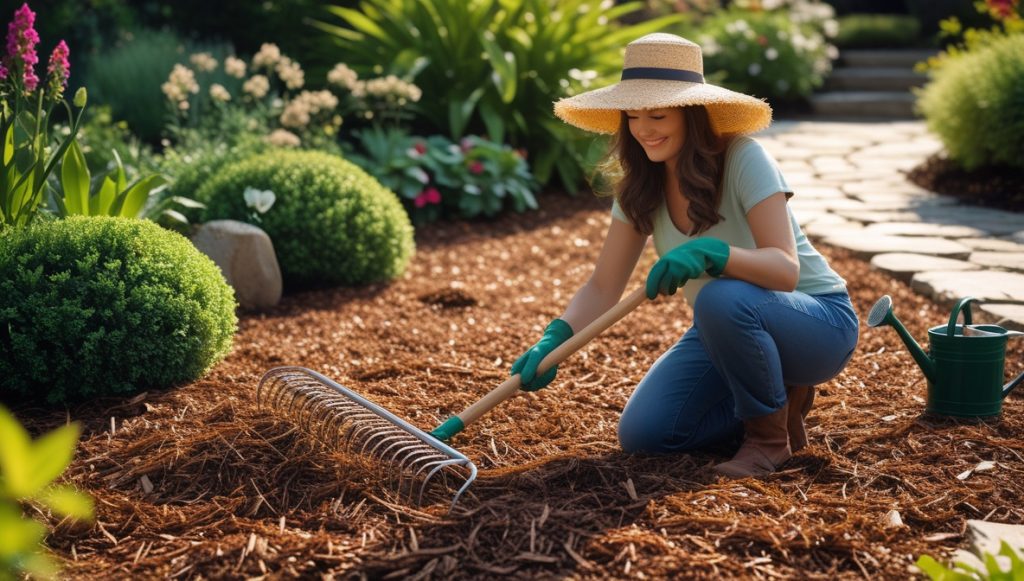
Getting Started: Prep Your Patch
First, identify the area you want to transform. Measure its size to estimate the amount of clover seed you’ll need. Next, clear the area of any debris, like rocks, sticks, and old grass clippings. A clean slate ensures the clover seeds have the best chance of germinating. This initial cleanup is crucial for a successful clover lawn.
Then, consider the overall condition of the surrounding lawn. If your existing grass is healthy, you might only need to focus on the patchy areas. However, if the entire lawn is struggling, you may want to consider a complete clover conversion. This initial assessment will inform your next steps and ensure you’re working with a solid foundation.
Assessing Your Existing Lawn
Before you dive into seeding, take a close look at your current lawn. Is it mostly grass, or is it already partially covered with weeds? A heavily weeded lawn will require more aggressive weed control before introducing clover. This is a crucial step in determining your strategy.
Furthermore, evaluate the soil’s health. Is it compacted? Does it drain well? Poor soil conditions can hinder clover growth, so amending the soil might be necessary. Addressing these issues upfront will significantly increase your chances of success.
Choosing the Right Clover Type
Several clover types are suitable for lawns, each with its own characteristics. White clover (Trifolium repens) is a popular choice, known for its low-growing habit and tolerance of foot traffic. Red clover (Trifolium pratense) is taller and boasts beautiful pink flowers, but it’s less tolerant of heavy foot traffic.
Consequently, consider your needs and preferences. Do you need a highly durable lawn that can withstand foot traffic, or are you looking for a more decorative option? Research different varieties to find the best fit for your lifestyle and climate. Choosing the right clover is key to a thriving lawn.
Preparing the Soil for Success
Once you’ve cleared the area, it’s time to improve the soil. Perform a soil test to determine its pH level and nutrient content. Clover thrives in slightly acidic to neutral soil (pH 6.0-7.0). Amend the soil with compost or other organic matter to improve drainage and fertility.
Subsequently, loosen the soil to a depth of about 4-6 inches using a garden fork or tiller. This allows the clover seeds to make good contact with the soil, improving germination rates. Well-prepared soil is the foundation for a healthy and vigorous clover lawn.
Seeding Your Clover: A Step-by-Step Guide
Start by scattering the clover seeds evenly over the prepared area. You can use a broadcast spreader for a more uniform distribution. Alternatively, you can spread the seeds by hand, ensuring even coverage. Follow the seeding rate recommendations on the seed packet for optimal results.
After sowing, lightly rake the seeds into the soil. Don’t bury them too deeply; a light covering is sufficient. Finally, gently tamp down the soil to ensure good seed-to-soil contact. This simple process sets the stage for successful germination.
Watering Your New Clover Patch
Consistent watering is crucial for germination and establishment. Water deeply and regularly, especially during dry spells. Aim for about an inch of water per week, adjusting based on rainfall and weather conditions. Avoid overwatering, which can lead to fungal diseases.
Moreover, use a gentle spray nozzle to avoid washing away the seeds. Consistent moisture encourages healthy root development and helps the clover seedlings establish a strong root system. Proper watering is fundamental to the success of your new clover lawn.
Weed Control: Keeping it Clover-y
While clover is naturally competitive, some weeds might still emerge. Hand-pulling weeds is the most environmentally friendly approach, especially in the early stages. For persistent weeds, consider using a selective herbicide specifically designed for clover lawns. Always read and follow the label instructions carefully.
In addition, a thick, healthy clover stand will naturally suppress weed growth. Maintaining a healthy lawn through proper watering and fertilization will help keep weeds at bay. Proactive weed control ensures your clover lawn remains vibrant and weed-free.
Maintaining Your Clover Lawn
Regular mowing is essential, but be gentle! Set your mower blades high (around 2-3 inches) to avoid scalping the clover. Avoid mowing when the clover is wet, as this can damage the plants. Regular mowing helps maintain a neat appearance and encourages denser growth.
Furthermore, consider fertilizing your clover lawn once or twice a year with a low-nitrogen fertilizer. Clover is a nitrogen-fixing plant, so it doesn’t require as much nitrogen as traditional grasses. Balanced fertilization promotes healthy growth without encouraging excessive vegetative growth.
Dealing with Pests and Diseases
Clover is relatively pest and disease resistant, but problems can occasionally arise. Common pests include aphids and clover mites. Inspect your lawn regularly for signs of infestation. If pests become a problem, consider using insecticidal soap or neem oil as a natural control method.
Similarly, fungal diseases can occur in poorly drained or overly wet conditions. Ensure proper drainage and avoid overwatering to minimize the risk of disease. Early detection and prompt treatment are key to preventing widespread damage.
Enjoying Your Lush Clover Lawn
Finally, relax and admire your beautiful, low-maintenance clover lawn! Enjoy the vibrant green color, the attractive flowers (depending on the clover type), and the environmental benefits. Your efforts have resulted in a stunning and sustainable landscape. Sit back, relax, and enjoy the fruits of your labor!
Converting a grass area to clover offers many benefits, from reduced maintenance to environmental friendliness. By following these steps, you can successfully create a thriving and beautiful clover lawn that will bring you years of enjoyment. Remember, patience is key – give your new clover lawn time to establish itself, and you’ll be rewarded with a lush, healthy, and sustainable landscape.