So, your once-vibrant lawn is now sporting unsightly patches of dead clover? Don’t despair! Getting rid of those brown, withered spots is easier than you think. This guide walks you through various methods for {how to remove dead clover}, from simple hand-pulling to using garden tools and even considering herbicides as a last resort. Let’s get those clover patches banished and restore your lawn’s beauty!
Contents
- Identifying Your Dead Clover Patches
- Manual Removal: The DIY Approach
- Raking Out the Dead Stuff
- The Power of a Good Garden Hoe
- Using a Turf Rake for Larger Areas
- Dealing with Stubborn Clover Roots
- Preventing Future Clover Growth
- Mulching to Suppress Weed Seeds
- Choosing the Right Herbicides (If Needed)
- Maintaining a Healthy, Clover-Free Lawn
Identifying Your Dead Clover Patches
Before you start yanking weeds, make sure you’re actually dealing with dead clover. Dead clover will appear brown, brittle, and easily crumbles when touched. It will lack the vibrant green color of healthy clover. Distinguishing it from other dead grasses or weeds might require a closer look; dead clover often maintains its characteristic three-leaf shape, even in its dried-out state.
If you’re unsure, gently tug on a suspected dead clover plant. If it comes away easily from the soil, it’s likely dead. If it’s resistant, it might still be alive, or you might be dealing with a different plant altogether. A little careful observation goes a long way!
Manual Removal: The DIY Approach
For small patches of dead clover, manual removal is the simplest and most eco-friendly approach. Simply bend down, grasp the dead clover plants firmly at the base, and gently pull them from the soil. Try to get as much of the root system as possible to prevent regrowth.
This method is best suited for small areas and when the soil is relatively moist. Moist soil makes it easier to pull out the roots without breaking them off. However, be patient; this approach can be time-consuming for larger infestations.
Raking Out the Dead Stuff
Once you’ve manually removed the majority of the dead clover, a simple garden rake can help clear away the remaining debris. Use a metal rake with stiff tines to effectively loosen and lift the dead clover from the lawn. Work in overlapping strokes to ensure thorough coverage.
Raking also helps to smooth out the lawn surface, preparing it for reseeding or overseeding if needed. Remember to dispose of the raked-up clover properly, either by composting it or adding it to your yard waste bin.
The Power of a Good Garden Hoe
For tougher dead clover patches that resist manual removal, a garden hoe proves invaluable. The sharp blade of a hoe allows you to slice through the soil just below the surface, severing the clover roots and making removal much easier. Work carefully to avoid damaging the healthy grass surrounding the dead clover.
Use a chopping or scuffling motion to cut through the roots, then follow up with a rake to collect the loosened clover. This approach is particularly effective for larger areas where raking alone might not be sufficient.
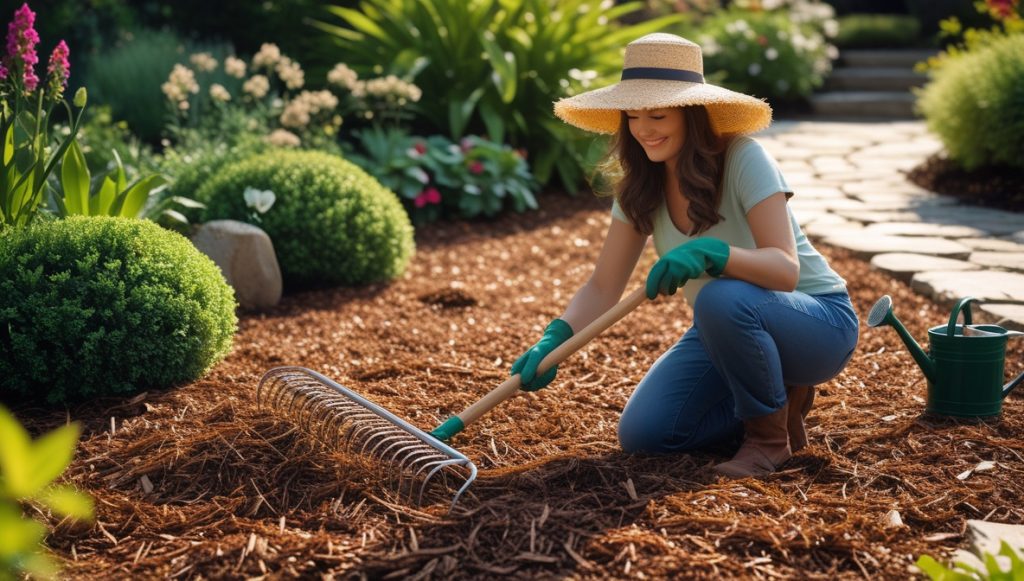
Using a Turf Rake for Larger Areas
When tackling extensive areas of dead clover, a turf rake is your best friend. This specialized rake has long, springy tines designed to penetrate the thatch layer and loosen compacted soil, effectively removing large amounts of dead clover and other debris.
The turf rake aerates the soil as it removes the dead material, improving drainage and promoting healthier grass growth. Follow up with a regular rake to gather the loosened debris and leave your lawn looking neat and tidy.
Dealing with Stubborn Clover Roots
Sometimes, despite your best efforts, stubborn clover roots remain in the soil. For these persistent offenders, consider using a garden fork to carefully loosen the soil around the remaining roots before attempting to remove them. This will make the removal process easier and less damaging to the surrounding grass.
Alternatively, you can let nature take its course. Over time, decomposition will break down the remaining roots. However, this approach might leave your lawn looking patchy until the grass fills in the gaps.
Preventing Future Clover Growth
Preventing future clover growth is crucial for maintaining a healthy, weed-free lawn. This involves several strategies, including regular lawn maintenance and proper fertilization. A thick, healthy lawn provides natural competition, making it difficult for clover to establish itself.
Ensure your lawn receives adequate sunlight and water. Clover thrives in shady, damp areas. Addressing these conditions will naturally discourage clover growth.
Mulching to Suppress Weed Seeds
Applying a layer of mulch around your plants can help suppress weed seeds, including clover seeds. Organic mulches, such as wood chips or shredded bark, create a barrier that prevents seeds from germinating and reaching the soil surface.
The layer of mulch also helps retain soil moisture, which benefits your plants while discouraging weed growth. However, be cautious not to apply mulch too thickly, as this can suffocate your grass.
Choosing the Right Herbicides (If Needed)
If all else fails, you can resort to herbicides. However, use them cautiously and only as a last resort. Choose a selective herbicide specifically designed for clover control, ensuring it’s safe for your type of grass. Always follow the manufacturer’s instructions carefully.
Applying herbicides requires precision; avoid spraying onto healthy grass. Consider spot-treating affected areas rather than blanket spraying your entire lawn. Remember, herbicides can harm beneficial insects and pets, so use them responsibly.
Maintaining a Healthy, Clover-Free Lawn
Maintaining a healthy, clover-free lawn is an ongoing process. Regular mowing at the correct height for your grass type, proper fertilization, and watering practices are key. Aerating your lawn periodically also helps improve soil drainage and reduces thatch buildup, conditions that clover thrives in.
By consistently following these steps, you’ll not only remove existing dead clover but also prevent future infestations, ensuring a beautiful and vibrant lawn for years to come.
Removing dead clover might seem daunting at first, but with the right approach and a little patience, you can successfully restore your lawn’s beauty. Remember to choose the method that best suits your situation and always prioritize responsible lawn care practices. Happy gardening!