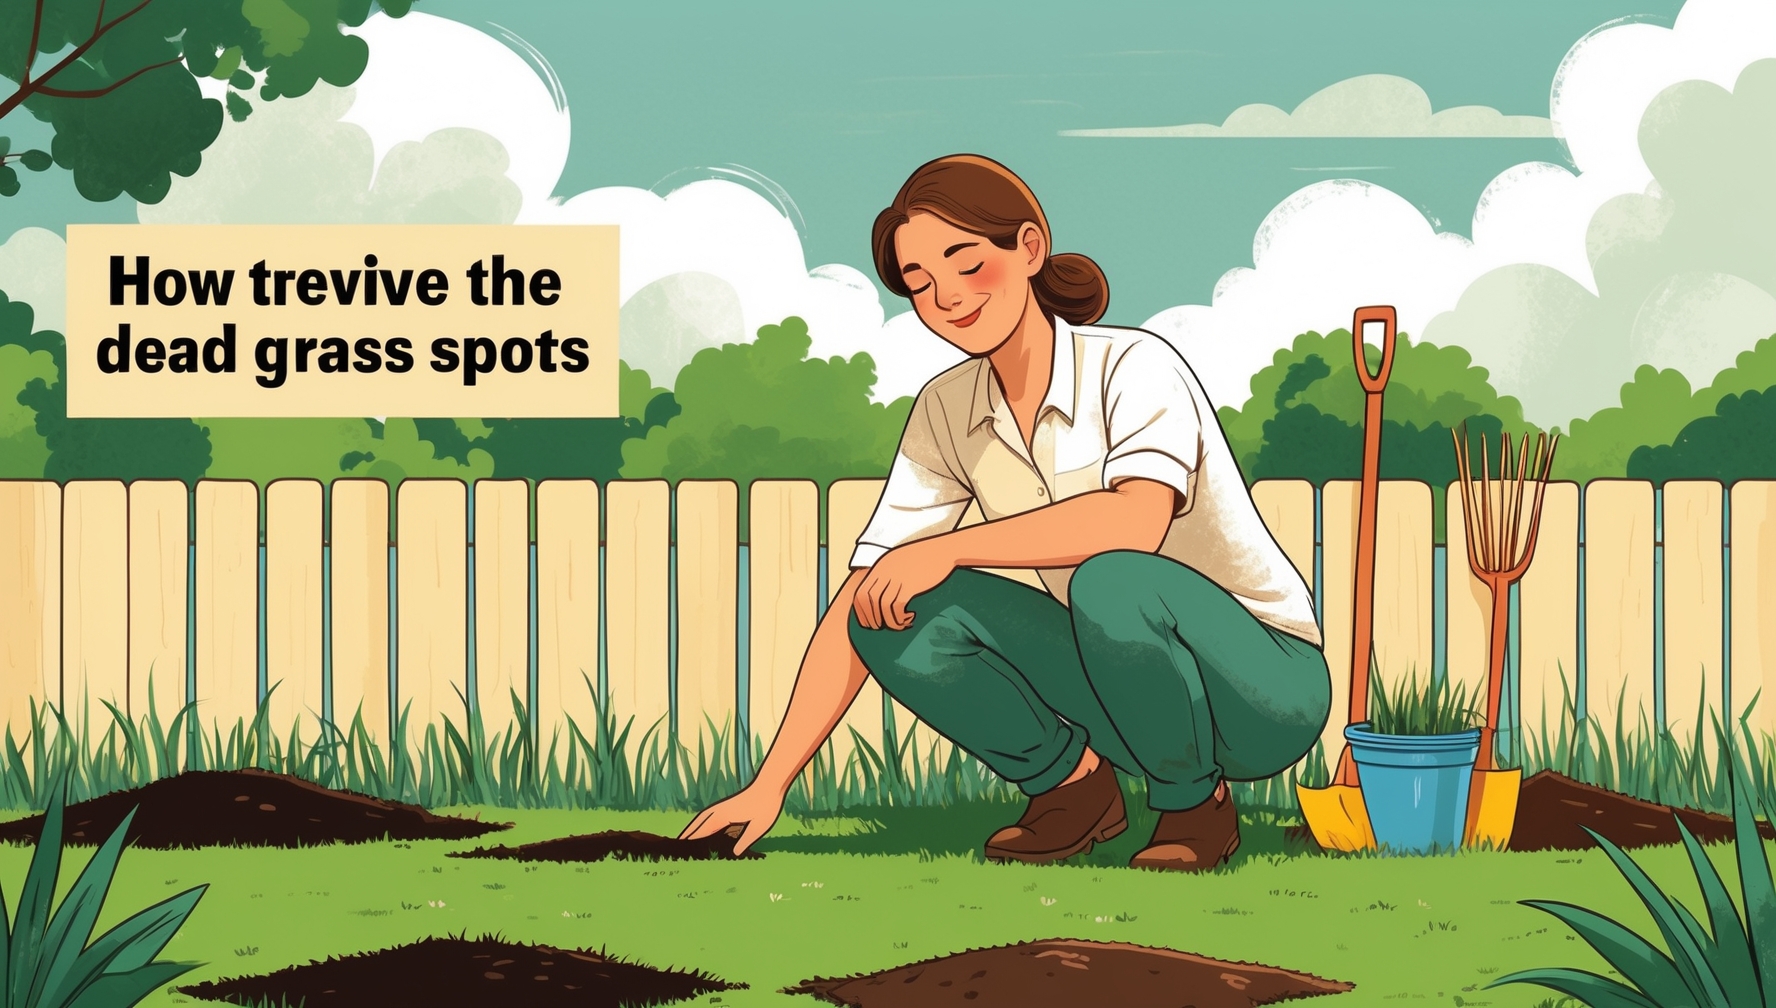
A patchy lawn can be disheartening, but don’t despair! Dead grass spots, while unsightly, are often repairable with a little patience and the right approach. This beginner’s guide walks you through the process of reviving those barren patches, transforming your lawn from drab to fab. We’ll cover everything from identifying the problem to maintaining your newly seeded area, ensuring a lush, healthy lawn for years to come.
Contents
- Assessing the Damage: Identifying the Problem
- Removing Dead Grass: A Clean Slate
- Soil Testing: Understanding Your Lawn’s Needs
- Choosing the Right Soil Amendment
- Preparing the Soil: Essential Steps
- Selecting the Best Grass Seed for Replanting
- Sowing the Seed: Techniques for Success
- Watering Your New Grass: Crucial Hydration
- Maintaining New Growth: Post-Planting Care
- Preventing Future Damage: Long-Term Solutions
Assessing the Damage: Identifying the Problem
First, carefully examine the dead grass spots. Determine the size and extent of the damage. Are there just a few small patches, or is a significant portion of your lawn affected? Note the appearance of the dead grass; is it brown and brittle, or is it exhibiting signs of disease, such as discoloration or fungal growth? Consider the surrounding area – are other plants showing similar symptoms? This initial assessment helps determine the underlying cause, guiding your repair strategy. For instance, extensive damage might suggest a broader issue like poor soil drainage or a pest infestation, requiring a more comprehensive solution than simply reseeding.
Next, try to pinpoint the potential cause of the dead grass. Common culprits include pet urine, disease, insufficient sunlight, compacted soil, poor drainage, or insufficient nutrients. Consider recent events, such as heavy foot traffic, herbicide application, or extreme weather conditions. Understanding the root cause will help you choose the appropriate repair method and prevent future occurrences. Careful observation and a little detective work will significantly improve the chances of long-term success.
Removing Dead Grass: A Clean Slate
Before you can reseed, you must remove the dead grass. This ensures proper seed-to-soil contact, crucial for successful germination. Use a garden rake or a dethatcher to gently loosen and remove the dead grass and thatch. Thatch is a layer of dead and decaying organic matter that can hinder seed germination and root development. Avoid using harsh tools that could damage the underlying soil. Remember, we aim for a clean, prepared surface ready for new growth.
Furthermore, for larger areas or heavily thatched sections, consider renting a power rake or dethatcher for more efficient removal. Once the dead grass and thatch are removed, carefully rake the area smooth to create an even surface for seeding. This will promote uniform germination and a more aesthetically pleasing lawn. Removing the dead grass is not merely about aesthetics; it’s a critical step in creating the ideal environment for new grass to thrive.
Soil Testing: Understanding Your Lawn’s Needs
Understanding your soil’s composition is paramount for successful lawn repair. A simple soil test will reveal its pH level and nutrient content. Many garden centers and agricultural extension offices offer affordable soil testing services. Alternatively, you can purchase home soil testing kits. The results will indicate whether your soil is acidic, alkaline, or neutral, and whether it’s deficient in essential nutrients like nitrogen, phosphorus, and potassium.
Subsequently, the soil test results will guide your choice of soil amendments. For example, if your soil is acidic, you’ll need to add lime to raise the pH. If it’s deficient in nutrients, you’ll need to add fertilizer. Ignoring the soil test results can lead to poor seed germination, weak growth, and ultimately, a disappointing outcome. Therefore, investing in a soil test is a worthwhile investment in your lawn’s long-term health.
Choosing the Right Soil Amendment
Based on your soil test results, select the appropriate soil amendment. This could include lime to raise the pH, gypsum to improve drainage, or a complete fertilizer to provide essential nutrients. Read the product labels carefully to understand the application rates and follow the instructions precisely. Over-application can harm your lawn, while under-application may not yield the desired results. Remember, a balanced approach is key.
Moreover, consider using organic soil amendments such as compost or well-rotted manure to improve soil structure and fertility. These organic materials enhance water retention, aeration, and nutrient availability, creating a healthier environment for your new grass. Choose amendments that suit your soil’s specific needs and complement your chosen grass seed type. A well-amended soil provides the foundation for a thriving lawn.
Preparing the Soil: Essential Steps
Once you’ve chosen your soil amendment, work it into the soil using a garden rake or tiller. For smaller areas, a rake is sufficient. For larger areas, a tiller might be more efficient. Ensure the amendment is evenly distributed throughout the area to be seeded. The depth of tilling should be shallow, typically 2-3 inches, to avoid disturbing the existing root systems of surrounding healthy grass.
In addition, lightly rake the area again to create a fine, level seedbed. This ensures good seed-to-soil contact, which is crucial for successful germination. Remove any rocks, debris, or clumps of soil that might impede seed germination or root development. A well-prepared seedbed is the cornerstone of a successful lawn repair project.
Selecting the Best Grass Seed for Replanting
Choosing the right grass seed is critical for a successful lawn repair. Consider your climate, sunlight exposure, and soil type when making your selection. Cool-season grasses, such as fescue, ryegrass, and bluegrass, thrive in cooler climates and shady areas. Warm-season grasses, such as Bermuda grass and Zoysia grass, prefer warmer climates and sunny locations. Select a seed mix appropriate for your region and conditions.
Furthermore, look for grass seed blends that are specifically designed for repair or overseeding. These blends often contain finer seeds that are easier to sow and establish in existing lawns. Consider the grass type currently in your lawn; choosing a similar type will ensure a uniform appearance. Read reviews and compare different brands to find a high-quality seed that suits your needs and budget.
Sowing the Seed: Techniques for Success
Sow the seed evenly across the prepared area. You can broadcast the seed by hand or use a seed spreader for larger areas. If broadcasting by hand, divide the seed into two halves and sow one half in one direction and the other half in a perpendicular direction to ensure even distribution. Follow the seeding rate recommended on the seed packet. Over-seeding won’t necessarily lead to a better result, and it can even waste seed.
After sowing, gently rake the seed into the soil to ensure good seed-to-soil contact. Avoid burying the seed too deeply; a light covering of soil is sufficient. You can then lightly roll the area with a lawn roller to improve seed-to-soil contact further and to help settle the seed. This is especially beneficial on sloped areas.
Watering Your New Grass: Crucial Hydration
Consistent watering is crucial for successful germination and establishment. Water gently and frequently to keep the soil moist but not soggy. Avoid heavy watering, which can wash away the seed or compact the soil. Water deeply enough to reach the seed, typically 1/2 to 1 inch of water per watering. The frequency of watering will depend on your climate and soil conditions.
Moreover, monitor the soil moisture regularly and adjust your watering schedule accordingly. In hot, dry conditions, you may need to water more frequently. In cooler, wetter conditions, you may be able to water less often. Consistent moisture is key to encouraging strong root development and healthy growth. Use a watering can or a sprinkler system to distribute water evenly.
Maintaining New Growth: Post-Planting Care
Once the grass has germinated and established, gradually reduce the frequency of watering. Encourage deeper root growth by allowing the soil to dry slightly between waterings. Avoid walking on the new grass until it’s well-established to prevent damage. Fertilize according to the package instructions on your chosen fertilizer to promote healthy growth.
Additionally, monitor for weeds and pests. Remove weeds promptly to prevent competition for resources. If pests become a problem, consult a local garden center or pest control professional for advice. Regular mowing, once the grass has reached a height of 3-4 inches, will help maintain a healthy and even lawn. Keep your mower blades sharp to prevent tearing the grass blades.
Preventing Future Damage: Long-Term Solutions
Preventing future damage requires addressing the underlying causes of the dead grass spots. This might involve improving soil drainage, addressing nutrient deficiencies, or managing pet waste. Consider installing a drainage system if poor drainage is a recurring problem. Regular soil testing and fertilization will help maintain healthy soil conditions. Train pets to relieve themselves in designated areas to avoid urine burn.
Furthermore, proper mowing techniques, such as avoiding scalping and maintaining sharp blades, can help prevent stress on the lawn. Regular aeration can improve air circulation and water penetration, promoting healthy root growth. By addressing these long-term solutions, you can significantly reduce the likelihood of future dead grass spots and enjoy a lush, healthy lawn for years to come.
Repairing dead grass spots requires a multifaceted approach. By carefully assessing the damage, preparing the soil properly, selecting the right seed, and implementing a consistent maintenance plan, you can successfully revive your lawn. Remember that patience and persistence are key to achieving a beautiful, healthy lawn. Enjoy the process and the rewards of a revitalized green space!


