A damaged lawn mower cord can quickly halt your yard work. Fortunately, repairing a lawn mower cord is often a straightforward task that saves you the cost and hassle of buying a replacement. This beginner’s guide will walk you through the process, step-by-step, covering various types of damage and repair techniques. Whether you’re dealing with a severed cord, frayed wires, or a broken plug, you’ll find the solutions here. Let’s get started!
Contents
- Assessing the Damaged Lawn Mower Cord
- Identifying the Type of Cord Damage
- Gathering Necessary Repair Materials
- Preparing the Cord for Repair
- Splicing a Cut Lawn Mower Cord
- Repairing a Frayed Lawn Mower Cord
- Fixing a Broken Lawn Mower Plug
- Securing the Repair with Electrical Tape
- Testing the Repaired Lawn Mower Cord
- Preventing Future Cord Damage
Assessing the Damaged Lawn Mower Cord
First, you need to carefully examine the entire cord, from the plug to the mower itself. Look for any obvious signs of damage, such as cuts, frays, exposed wires, or kinks. Pay close attention to the areas near the plug and where the cord enters the mower housing, as these are common points of wear and tear. A visual inspection is crucial for determining the best repair method.
Next, unplug the cord from the power outlet before starting any repairs. This is a crucial safety precaution to prevent electric shock. Once unplugged, gently lay the cord out on a clean, flat surface. This allows for a thorough inspection and easier access to the damaged area. Avoid pulling or tugging on the cord during this process, as this could worsen the damage.
Identifying the Type of Cord Damage
Having carefully inspected the cord, you now need to identify the precise nature of the damage. This will dictate the appropriate repair method. Common types of damage include clean cuts, where the cord is severed completely; fraying, where the outer insulation is worn away, exposing the internal wires; and broken plugs, where the connection between the cord and the plug itself has failed.
Furthermore, consider the extent of the damage. A small nick in the outer insulation might only require a simple repair, while a significant cut or extensive fraying may require more involved splicing. Accurate identification of the damage ensures you choose the correct repair materials and technique, leading to a safe and effective repair.
Gathering Necessary Repair Materials
Before beginning the repair, gather the necessary materials. For most repairs, you’ll need a sharp knife or wire strippers, electrical tape, and possibly a wire connector or heat-shrink tubing. Electrical tape is essential for insulating the repaired sections and preventing short circuits.
In addition, consider having a pair of pliers to help with stripping the insulation and a small screwdriver if you need to work on the plug. Heat-shrink tubing provides a more durable and weatherproof seal than electrical tape alone, especially for outdoor applications like lawn mower cords. Having these materials readily available simplifies the repair process.
Preparing the Cord for Repair
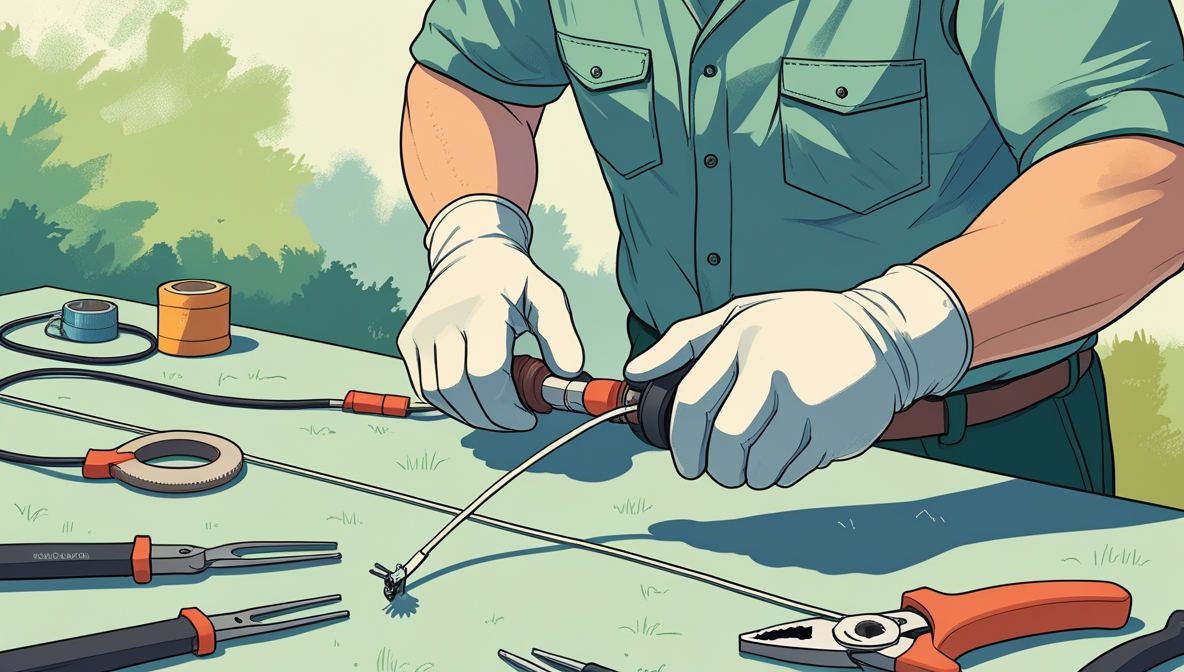
Once you’ve identified the damage and gathered your materials, prepare the cord for repair. If the cord is cut, carefully cut away any frayed or damaged sections until you reach clean, undamaged wire. Use your knife or wire strippers to carefully remove a small amount of the outer insulation from the ends of the cut wires, exposing about ½ inch of the inner copper wires.
Similarly, if the cord is frayed, carefully trim away the frayed insulation until you reach sound wire. Be cautious not to cut into the inner copper wires. If you accidentally cut the wires, you will need to extend the damaged section to find undamaged wiring before proceeding. Cleanliness is crucial during this step to prevent further damage and ensure a secure connection.
Splicing a Cut Lawn Mower Cord
To splice a cut lawn mower cord, you’ll need a wire connector or you can carefully twist the exposed copper wires together. If using a connector, insert the wires into the connector and secure it according to the manufacturer’s instructions. Ensure the wires are tightly connected to prevent any loose connections that could cause sparks or failure.
After the wires are securely joined, thoroughly wrap the connection with electrical tape, overlapping each layer to create a waterproof seal. Multiple layers of tape are recommended to ensure durability and longevity. For extra protection, consider using heat-shrink tubing over the electrical tape to further insulate the splice and protect it from moisture and abrasion.
Repairing a Frayed Lawn Mower Cord
Repairing a frayed lawn mower cord involves carefully removing the damaged insulation and then re-insulating the exposed wires. Begin by carefully trimming away the frayed insulation using a sharp knife or wire strippers. Again, be cautious not to nick the copper wires beneath.
Next, wrap the exposed wires with electrical tape, ensuring complete coverage. Multiple layers of tape are necessary to provide adequate insulation and protection from moisture. For added protection against moisture and abrasion, consider wrapping the repaired section with heat-shrink tubing after applying the electrical tape. This provides an extra layer of protection.
Fixing a Broken Lawn Mower Plug
A broken lawn mower plug usually requires replacing the entire plug. Begin by carefully removing the damaged plug from the cord. You may need to use a small screwdriver to release the plug’s retaining clips. Next, strip back a small amount of the outer insulation from the cord ends to expose the internal wires.
Then, attach the new plug, carefully matching the wires to the correct terminals within the plug. Secure the wires and the plug housing. Consult the instructions that came with the replacement plug for specific wiring instructions. Always double-check your connections before testing the repaired cord.
Securing the Repair with Electrical Tape
Regardless of the repair method, securing the repair with electrical tape is crucial. Apply multiple layers of electrical tape, overlapping each layer to create a watertight seal. Ensure the tape covers the entire repaired section, including any exposed wires or connectors.
The electrical tape acts as a protective barrier, preventing moisture from reaching the exposed wires and causing short circuits. Properly applied electrical tape is essential for the longevity and safety of the repaired cord. For added protection in damp environments, consider adding a layer of heat-shrink tubing over the electrical tape.
Testing the Repaired Lawn Mower Cord
Before using the repaired lawn mower cord, thoroughly test it to ensure the repair is successful and safe. Plug the cord into a known working outlet. If the mower starts and runs without any issues, the repair was successful. However, if you experience any problems such as sparking, the mower not starting, or a tripped breaker, there’s likely a problem with the repair.
If the test reveals issues, carefully inspect the repair for any loose connections or inadequate insulation. Re-do the repair as needed, ensuring all connections are secure and well-insulated. Safety is paramount, so never use a cord that shows signs of damage or malfunction.
Preventing Future Cord Damage
To prevent future cord damage, handle the cord carefully. Avoid sharp bends, kinks, and excessive pulling or tugging. When storing the lawn mower, coil the cord neatly and avoid crushing or damaging it. Regularly inspect the cord for signs of wear and tear, addressing minor issues before they become major problems.
Furthermore, consider using a cord protector or sleeve to protect the cord from abrasion and damage, especially in high-traffic areas. By following these simple preventative measures, you can significantly extend the lifespan of your lawn mower cord and reduce the need for future repairs.
Repairing a damaged lawn mower cord is a relatively simple task that can save you money and time. By following these steps and prioritizing safety, you can effectively repair various types of cord damage and keep your lawn mower running smoothly. Remember to always prioritize safety and double-check your work before using the repaired cord. Happy mowing!


