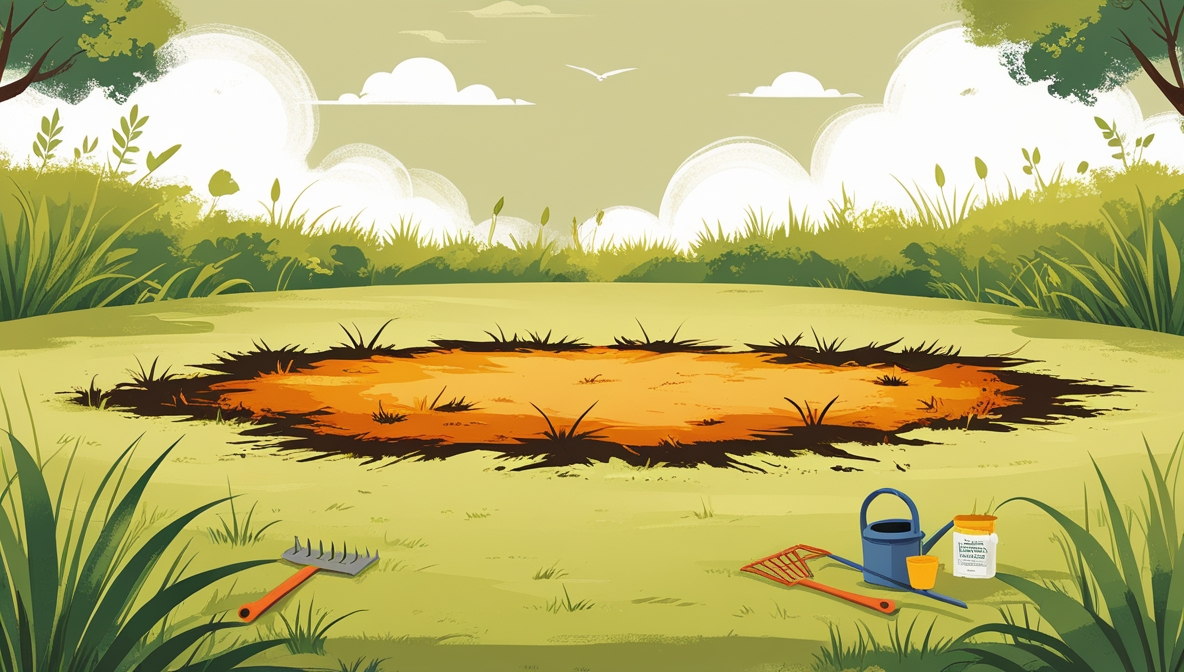
Scorched grass, that unsightly brown patch in your otherwise vibrant lawn, can be a disheartening sight. However, with the right approach and a little patience, you can often revive your lawn and restore its lush green beauty. This beginner’s guide will walk you through the process of repairing scorched grass, step-by-step, helping you identify the cause, implement effective remedies, and prevent future damage. Let’s get started on bringing your lawn back to life!
Contents
- Assessing the Damage: Scorch Severity
- Identifying the Scorch’s Cause
- Watering Strategies for Revival
- Removing Dead or Damaged Grass
- Aerating for Improved Water Penetration
- Applying Fertilizer: The Right Nutrients
- Overseeding for Fuller Coverage
- Weed Control: Preventing Competition
- Protecting from Future Scorching
Assessing the Damage: Scorch Severity
First, you need to evaluate the extent of the damage. Carefully examine the affected area. Is it a small, localized patch, or does it cover a significant portion of your lawn? The size of the scorched area will influence the repair strategy. Look closely at the grass blades themselves; are they simply browned and dry, or are they completely withered and brittle? Severely scorched grass may require more intensive intervention than mildly affected areas. Take note of the color; light brown might indicate temporary stress, while dark brown or black suggests more serious damage. This initial assessment helps determine the best course of action.
Furthermore, consider the surrounding healthy grass. Is there a clear demarcation between the scorched area and the healthy lawn? This can provide clues about the cause of the scorching. A gradual transition might suggest a gradual decline in soil conditions, while a sharp boundary could point to a localized problem like a chemical spill or pet urine. Documenting the severity with photos can be helpful for tracking progress during the repair process. Remember, accurate assessment is crucial for effective treatment.
Identifying the Scorch’s Cause
Once you’ve assessed the damage, the next crucial step is pinpointing the cause. Common culprits include insufficient watering, fertilizer burn, herbicide damage, pet urine, disease, or even extreme heat. Carefully consider your recent lawn care practices. Have you recently applied fertilizer or herbicides? If so, did you follow the instructions carefully? Over-fertilization is a common cause of scorching, as is using herbicides incorrectly. Check for signs of pest or disease infestation; discolored or wilted patches could indicate a more serious underlying problem.
In addition to your lawn care practices, consider environmental factors. Prolonged periods of intense heat and sun can scorch grass, especially if the soil is dry. Similarly, poor drainage can lead to waterlogged soil, which can suffocate grass roots and cause scorching. If you have pets, their urine can burn the grass, especially if they frequently use the same spots. By systematically eliminating possibilities, you can identify the root cause of the scorching and tailor your repair strategy accordingly.
Watering Strategies for Revival
Proper watering is paramount to reviving scorched grass. However, avoid the temptation to suddenly flood the affected area. Instead, start with a slow, deep watering. This allows the water to penetrate the soil gradually, reaching the roots without running off. Water deeply and less frequently rather than shallowly and often; this encourages deeper root growth, making the grass more drought-tolerant in the future. Use a soaker hose or drip irrigation system to deliver water directly to the roots, minimizing water loss through evaporation.
Moreover, monitor the soil moisture regularly. Stick your finger a couple of inches into the ground; if the soil feels dry, it’s time to water. Avoid watering during the hottest part of the day, as much of the water will evaporate before reaching the roots. Early morning or late evening is ideal. The frequency of watering will depend on your climate, soil type, and grass species. Adjust your watering schedule as needed, based on the soil’s moisture level and the weather conditions. Consistency is key; regular, deep watering is far more effective than sporadic, shallow watering.
Removing Dead or Damaged Grass
After you’ve established a consistent watering schedule, it’s time to address the dead or severely damaged grass. Use a rake or thatch rake to gently remove the brown, brittle blades. This allows for better air circulation and ensures that new grass seeds have a better chance of germinating. Avoid aggressively pulling up healthy grass; focus solely on removing the dead material. A dethatching rake can be particularly helpful in removing thatch, a layer of dead grass and organic matter that can hinder water penetration and nutrient uptake.
Subsequently, you may need to use a lawn aerator to improve soil penetration further. This step helps loosen compacted soil and allows for better water and nutrient absorption. For small areas, a manual aerator can suffice; for larger areas, a power aerator may be more efficient. Remember, removing dead grass and improving soil structure are crucial steps in preparing the area for reseeding or other restorative measures. This process allows for better penetration of water, fertilizer, and air, creating a more conducive environment for healthy grass growth.
Aerating for Improved Water Penetration
Compacted soil is a common problem that prevents water and nutrients from reaching grass roots. Aerating helps alleviate this issue. Aerating involves creating small holes in the soil, allowing for better air, water, and nutrient penetration. You can use a core aerator, which removes small plugs of soil, or a spike aerator, which creates smaller holes. Core aeration is generally more effective, especially for compacted soil. Consider the size of your lawn when choosing an aerator; manual aerators are suitable for small areas, while power aerators are better for larger lawns.
Following aeration, water the lawn thoroughly. This helps settle the soil and allows the newly created holes to remain open. Aerating is best done in the spring or fall, when the soil is moist but not waterlogged. Avoid aerating during periods of extreme heat or drought, as this can stress the grass further. The improved soil structure resulting from aeration will facilitate better water penetration, leading to healthier, more vigorous grass growth. This is particularly beneficial for scorched areas, where water absorption might be impaired.
Applying Fertilizer: The Right Nutrients
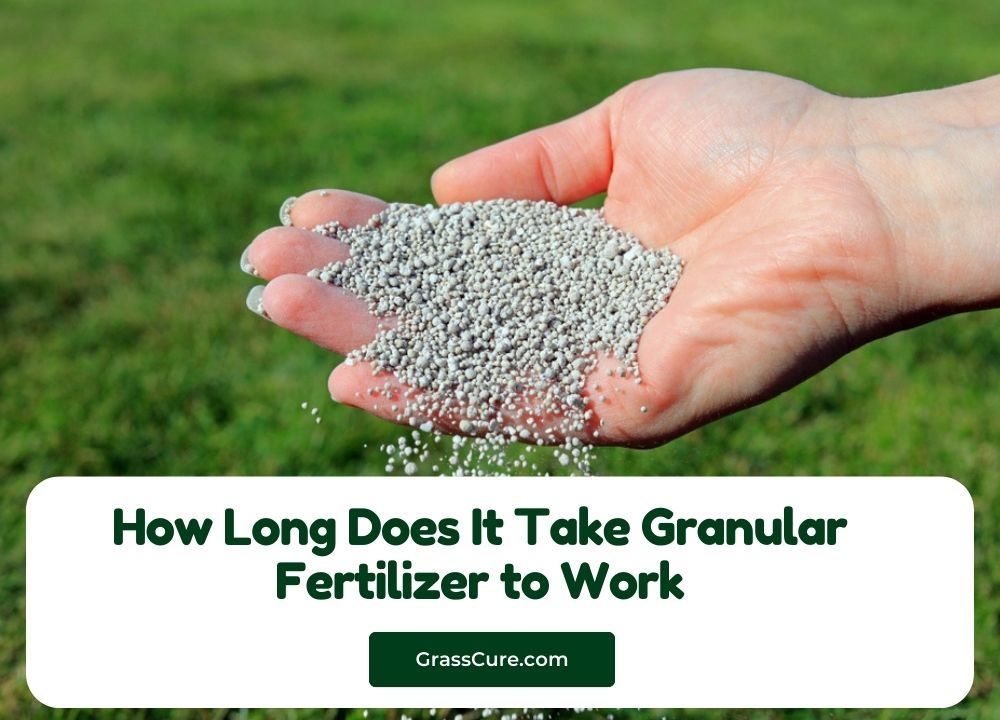
Once you’ve addressed the dead grass and improved soil structure, it’s time to nourish your lawn with the right nutrients. Choose a fertilizer specifically formulated for lawns, and follow the instructions carefully. Avoid over-fertilizing, as this can lead to fertilizer burn, which is a common cause of scorching. A soil test can help determine the specific nutrient deficiencies in your soil, allowing you to apply a fertilizer tailored to your lawn’s needs. This targeted approach ensures that you’re providing the right nutrients in the right amounts.
Furthermore, consider the type of fertilizer. Slow-release fertilizers provide a gradual release of nutrients over time, reducing the risk of burn. Apply the fertilizer evenly across the entire lawn, including the scorched areas. After applying the fertilizer, water the lawn thoroughly to help the nutrients penetrate the soil. Regular fertilization, combined with proper watering and aeration, will contribute to a healthier, more resilient lawn, less susceptible to scorching. Remember, proper fertilization is a crucial part of long-term lawn care.
Overseeding for Fuller Coverage
Overseeding involves sowing new grass seeds over your existing lawn to fill in bare patches and thicken the turf. This is particularly beneficial for severely scorched areas where significant grass loss has occurred. Choose a grass seed mix that’s appropriate for your climate and soil type. Before overseeding, prepare the soil by removing any dead grass and debris. Lightly rake the surface to create a seedbed. Sow the seeds evenly across the affected area, following the instructions on the seed packet.
After overseeding, lightly cover the seeds with soil or a thin layer of mulch. Water the area gently and regularly, keeping the soil moist but not waterlogged. Avoid heavy foot traffic until the seeds have germinated and established themselves. Overseeding will help to fill in the bare patches left by the scorched grass, resulting in a fuller, more uniform lawn. This step is crucial for restoring the density and aesthetic appeal of your lawn after significant damage.
Weed Control: Preventing Competition
Weeds compete with your grass for water, nutrients, and sunlight. Controlling weeds is essential for a healthy lawn, especially after repairing scorched areas. Regular weeding is important, removing weeds by hand or using a hoe. For more persistent weeds, you may need to use a herbicide. Always follow the instructions carefully and choose a herbicide that’s appropriate for your grass type and the weeds you’re targeting. Avoid using herbicides near the time you are overseeding.
Additionally, consider using pre-emergent herbicides to prevent weed seeds from germinating. These are applied before weeds emerge, preventing them from establishing themselves in the first place. Mulching can also help suppress weed growth by blocking sunlight. A healthy, dense lawn is less susceptible to weed invasion. By controlling weeds effectively, you’ll create a more favorable environment for your grass to thrive, reducing competition for resources and promoting a lush, green lawn.
Protecting from Future Scorching
Preventing future scorching requires a proactive approach. Regular watering is crucial, ensuring that your lawn receives adequate moisture, especially during dry periods. Avoid over-fertilizing, as this can lead to fertilizer burn. Choose a fertilizer appropriate for your grass type and soil conditions. Regular mowing at the correct height helps maintain a healthy lawn. Avoid mowing too short, as this can stress the grass and make it more susceptible to scorching.
Furthermore, consider your lawn’s sun exposure. If your lawn receives intense sun throughout the day, consider providing some shade during the hottest part of the day. This can be achieved by planting trees or shrubs or using shade cloth. Regular soil testing can help identify nutrient deficiencies, allowing you to address them before they


