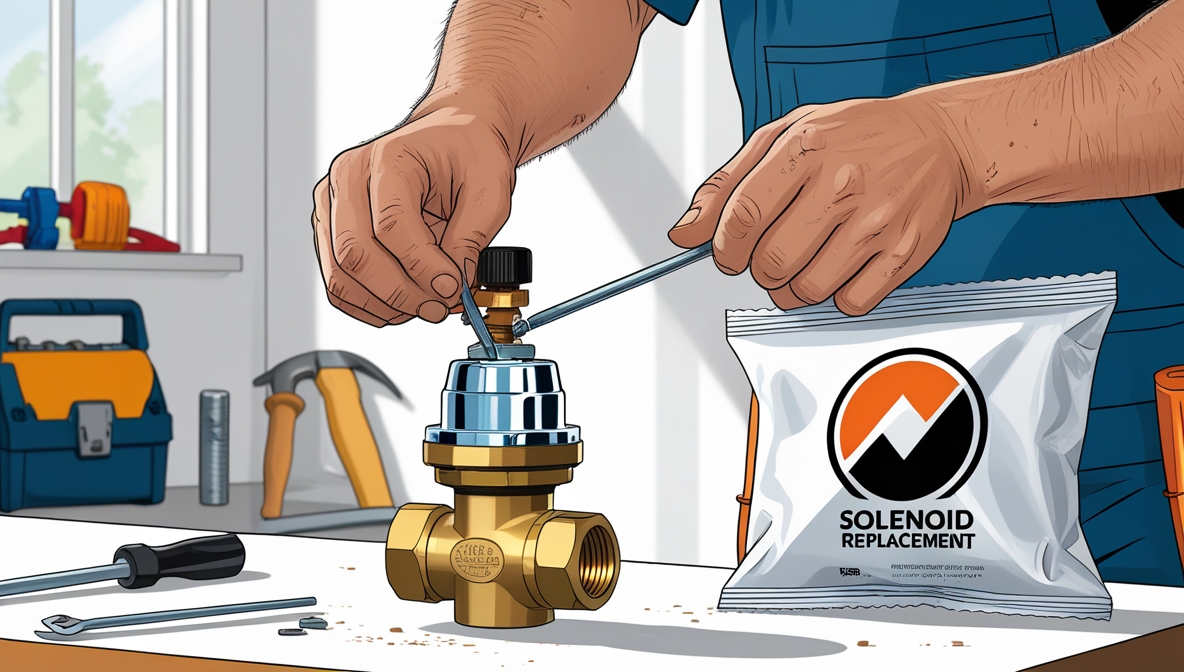
Replacing a sprinkler valve solenoid might seem daunting, but with a methodical approach and the right tools, it’s a manageable DIY project. This beginner’s guide walks you through each step, ensuring a smooth and successful replacement. This will save you money on costly professional repairs and give you a better understanding of your sprinkler system. Let’s get started!
Contents
- Assessing Your Sprinkler System
- Identifying the Faulty Solenoid
- Gathering Necessary Tools & Parts
- Turning Off the Water Supply
- Removing the Old Solenoid Valve
- Inspecting the Valve Body & Seals
- Installing the New Solenoid Valve
- Reconnecting the Wiring & Piping
- Restoring Water Supply & Testing
- Troubleshooting & Final Checks
Assessing Your Sprinkler System
Before you begin replacing a sprinkler valve solenoid, it’s crucial to understand your sprinkler system’s layout. Locate your main water valve, typically a large valve near the water meter or where the water line enters your property. This valve will be used to shut off the entire system. Next, identify the individual sprinkler zones. Each zone is controlled by a valve, usually located in a valve box, often buried underground. Observe the operation of each zone to pinpoint the malfunctioning one. Take note of the valve’s location and its connection points for water and electrical wiring. This initial assessment saves time and prevents unnecessary work later on.
Furthermore, familiarize yourself with the type of valve you have. Common types include diaphragm valves and piston valves. Understanding the valve type will help you choose the correct replacement solenoid. Take pictures or make sketches of the existing wiring and piping connections. This documentation will be invaluable when reassembling everything. Finally, check the manufacturer’s information on your existing valve, if possible. This information can be helpful in selecting the correct replacement part.
Identifying the Faulty Solenoid
Once you’ve assessed your sprinkler system, pinpoint the specific zone that’s not working correctly. Manually check each valve box to ensure the problem lies within the solenoid and not with a clogged sprinkler head or a broken pipe. If a zone isn’t activating, the solenoid might be the culprit. You can often hear a clicking sound from a functioning solenoid when the system activates. The absence of this sound, or a continuous humming sound, often indicates a faulty solenoid. Carefully examine the valve box for any obvious signs of damage, such as leaks or broken wires.
To further isolate the problem, try activating the problematic zone using your sprinkler controller. If the zone still doesn’t function, it’s highly likely the solenoid is at fault. However, before condemning the solenoid, consider other possibilities, such as a tripped breaker or a problem with the controller itself. If other zones are working properly, it strongly suggests the issue is localized to the solenoid in question. Thoroughly testing each possibility will prevent unnecessary solenoid replacements.
Gathering Necessary Tools & Parts
Before starting the repair, gather all the necessary tools and parts. You’ll need a screwdriver (likely both Phillips and flathead), pliers (needle-nose and regular), adjustable wrench, wire strippers/cutters, and possibly a pipe wrench depending on the valve’s connection type. A bucket or container is also essential to catch any spilled water. Remember to wear safety glasses to protect your eyes from debris and water spray. Having all these tools readily available will streamline the process.
Equally important is acquiring the correct replacement solenoid valve. Note the manufacturer, model number, and voltage of your existing solenoid before purchasing a replacement. This ensures compatibility and avoids further complications. You might also consider purchasing new O-rings or seals for the valve body, as these often degrade over time and contribute to leaks. Having spare parts on hand will prevent unexpected delays and ensure a complete and successful repair.
Turning Off the Water Supply
Before attempting any repairs, always prioritize safety. Turn off the water supply to the entire sprinkler system. Locate your main water valve and turn it completely clockwise to shut off the water. This prevents flooding and potential damage to your property. To double-check that the water is off, open a sprinkler head or faucet connected to the system. No water should flow. This step is critical for preventing accidents and water damage.
After turning off the main water valve, wait for a few minutes to allow any remaining water pressure in the lines to dissipate. This will minimize the risk of water spraying out when you disconnect the pipes. If your system has a backflow preventer, be aware of its location and operation. It’s usually located near the main water valve and should not be tampered with unless you are familiar with its function. This precaution ensures a safe and dry working environment.
Removing the Old Solenoid Valve
With the water supply turned off, you can now begin removing the old solenoid valve. First, disconnect the electrical wires connected to the solenoid. Carefully note the wiring configuration before disconnecting to ensure proper reconnection later. Take pictures or make a diagram. Next, disconnect the water pipes connected to the valve. Use your adjustable wrench to loosen the pipe connections, carefully collecting any spilled water in your bucket. Be gentle to avoid damaging the pipes or the valve body.
Once the pipes are disconnected, you can remove the solenoid valve itself. Depending on the valve’s design, it might be secured by screws or clamps. Carefully remove these fasteners, taking note of their placement. Lift the valve out of the valve box. Inspect the valve carefully before discarding it. This will provide valuable insights into the cause of the failure and help to prevent similar issues in the future.
Inspecting the Valve Body & Seals
Before installing the new solenoid valve, thoroughly inspect the valve body for any signs of damage, cracks, or corrosion. If you find any significant damage, you might need to replace the entire valve body, not just the solenoid. Pay close attention to the valve’s internal components and seals. Replace any worn or damaged O-rings or seals to ensure a watertight seal. These small components are crucial for preventing leaks and maintaining the system’s efficiency.
Clean the valve body thoroughly to remove any debris or sediment that may have accumulated. A stiff brush and some water can be sufficient. If there is significant corrosion, consider using a wire brush to clean the surface. Ensure the valve body is completely dry before proceeding to the installation of the new solenoid. This thorough inspection prevents future problems and ensures a long-lasting repair.
Installing the New Solenoid Valve
With the valve body inspected and cleaned, it’s time to install the new solenoid valve. Carefully align the new solenoid with the valve body and secure it using the original screws or clamps. Ensure it’s firmly seated and properly aligned. Before connecting the pipes and wiring, double-check the orientation of the solenoid to ensure proper operation. This step is critical for the correct functioning of the sprinkler system.
Next, reconnect the water pipes. Tighten the connections securely using your adjustable wrench, but avoid over-tightening, which could damage the pipes or the valve. Once the pipes are connected, carefully inspect the connections for any leaks. If you notice any leaks, tighten the connections further or replace any damaged O-rings or seals. This meticulous approach prevents water damage and ensures a reliable repair.
Reconnecting the Wiring & Piping
After installing the new solenoid, carefully reconnect the electrical wiring. Refer to your notes or pictures from earlier to ensure the correct wiring configuration. Connect the wires securely, ensuring a good electrical connection. Use wire nuts to secure the connections and prevent loose wires. Once the wiring is complete, visually inspect the connections to ensure they are secure and properly insulated. This prevents short circuits and ensures the safe operation of the system.
Finally, double-check all the water pipe connections for leaks. If you find any leaks, immediately tighten the connections or replace any damaged O-rings or seals. Once you’re confident there are no leaks, you can proceed to restore the water supply. This final check prevents costly water damage and ensures the longevity of your sprinkler system.
Restoring Water Supply & Testing
With the new solenoid installed and all connections secured, it’s time to restore the water supply. Slowly turn the main water valve counterclockwise to turn the water back on. Listen carefully for any unusual sounds, such as hissing or gurgling, which might indicate a leak. Visually inspect all connections for any signs of leaks. Immediately turn off the water if you detect any leaks.
After ensuring there are no leaks, test the newly installed solenoid. Activate the sprinkler zone using your sprinkler controller. Observe the operation of the zone carefully. If the zone functions correctly, the repair is complete. If the zone still doesn’t function, refer to the troubleshooting section. This final test verifies the successful completion of the repair.
Troubleshooting & Final Checks
If the sprinkler zone still doesn’t function after replacing the solenoid, several issues might exist. First, verify that the power is reaching the solenoid. Check the breaker and the wiring connections. A faulty wire or a tripped breaker could prevent the solenoid from activating. Next, ensure the solenoid is correctly oriented and firmly seated in the valve body. Incorrect installation could lead to malfunction.
If the problem persists, consider the possibility of a faulty sprinkler controller or a clogged sprinkler head. Test other zones to rule out problems with the controller. Check the sprinkler heads for blockages. If the problem is not easily solved, it may be necessary to consult a professional sprinkler repair technician. This methodical troubleshooting approach helps identify and solve the problem efficiently.
Replacing a sprinkler valve solenoid is a straightforward process if approached systematically. By following these steps and taking necessary precautions, you can successfully repair your sprinkler system and save money on professional service calls. Remember to always prioritize safety and double-check your work at each stage. Happy Sprinkling!


