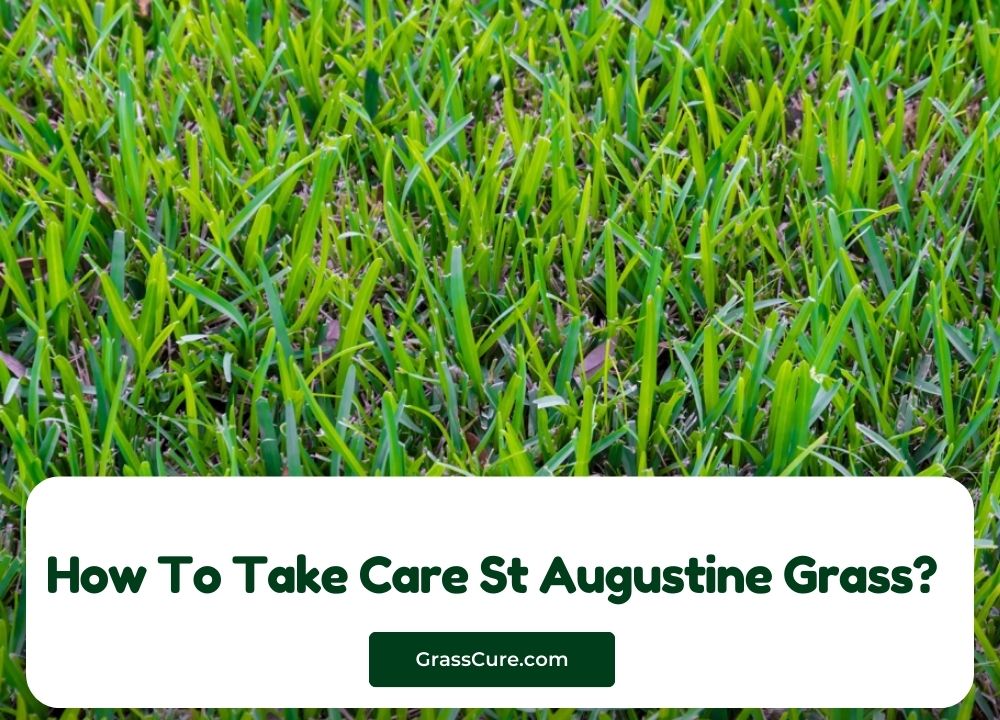
St. Augustine grass is a popular choice for homeowners and landscapers alike, renowned for its lush, vibrant green appearance and ability to thrive in warm climates. This hardy turf variety is ideal for residential lawns, golf courses, and recreational areas, providing a beautiful backdrop for outdoor activities. However, to maintain its health and beauty, proper care is essential. In this post, we’ll explore effective strategies for taking care of St. Augustine grass, covering everything from soil preparation and watering practices to pest management and seasonal care tips. Whether you’re a seasoned gardener or a newcomer, these insights will help you cultivate a thriving lawn that enhances your outdoor space.
How To Take Care St Augustine Grass Step By Step Guide
Understanding St. Augustine Grass
St. Augustine grass (Stenotaphrum secundatum) is a warm-season turfgrass known for its lush appearance and ability to adapt to various environments. It features broad, thick blades with a rich, dark green color, making it a popular choice for homeowners looking to create a beautiful lawn. Here are some key characteristics and considerations:
Characteristics
- Texture: St. Augustine grass has a coarse texture that feels soft underfoot, providing an inviting surface for lawns and play areas.
- Growth Habits: This grass type grows in a dense, spreading manner, forming a thick mat that helps choke out weeds and resist wear.
- Color: Its vibrant green hue remains attractive throughout the growing season, enhancing the overall aesthetic of any landscape.
Ideal Climate and Soil Conditions
- Climate: St. Augustine grass thrives in warm, humid climates, making it suitable for southern regions of the United States. It prefers temperatures between 80°F and 95°F (27°C to 35°C) but can tolerate brief periods of cooler weather.
- Soil: It grows best in well-draining soils rich in organic matter. While it can adapt to various soil types, maintaining a slightly acidic to neutral pH (around 6.0 to 7.0) promotes optimal growth.
Common Uses
- Residential Lawns: Its thick, lush growth provides an ideal playing surface for families and pets, making it a favored choice for home lawns.
- Golf Courses and Parks: St. Augustine grass is often used in public and recreational spaces due to its resilience and aesthetic appeal.
Soil Preparation
Proper soil preparation is crucial for the successful establishment and maintenance of St. Augustine grass. Taking the time to assess and amend your soil can lead to a healthier lawn that thrives for years. Here are the essential steps to prepare your soil for planting St. Augustine grass:
1. Soil Testing
- Why Test? Conduct a soil test to determine the pH level and nutrient content of your soil. This information will guide you in making necessary amendments.
- How to Test: Use a DIY soil test kit or send a sample to a local extension office for analysis.
2. Ideal Soil Conditions
- pH Levels: St. Augustine grass prefers a slightly acidic to neutral pH, ideally between 6.0 and 7.0. If your soil is too acidic or alkaline, you may need to amend it accordingly.
- Nutrient Levels: Look for deficiencies in essential nutrients such as nitrogen, phosphorus, and potassium.
3. Soil Amendments
Organic Matter: Incorporate compost or well-rotted manure to improve soil structure, enhance nutrient availability, and promote beneficial microbial activity.
pH Adjustments: If needed, add lime to raise the pH or sulfur to lower it, based on your soil test results.
Fertilizers: Based on nutrient analysis, apply a starter fertilizer that meets the recommended N-P-K ratio for St. Augustine grass.
4. Tillage and Aeration
- Tilling: Turn the soil to a depth of about 4 to 6 inches to mix in amendments and break up compacted layers. This encourages root penetration and water absorption.
- Aeration: If your soil is compacted, consider aerating it using a core aerator to improve drainage and root growth.
5. Leveling the Soil
- Smoothing: Rake the soil to remove any debris, rocks, or large clumps. This creates a smooth surface for planting and helps prevent water pooling.
- Grading: Ensure proper drainage by grading the soil away from buildings and structures. This helps prevent water accumulation, which can lead to root rot.
6. Moisture Management
- Watering: Lightly water the prepared soil to help settle it and activate any amendments. Avoid overwatering, which can lead to compaction.
Planting St. Augustine Grass
Successfully planting St. Augustine grass requires careful timing, preparation, and technique. Here’s a step-by-step guide to ensure a smooth planting process, whether you choose to use sod or plugs:
1. Best Time to Plant
- Timing: The optimal time for planting St. Augustine grass is during the warm months, typically in late spring or early summer (May to July) when soil temperatures are consistently above 70°F (21°C). This encourages quick establishment and growth.
2. Choosing the Right Method
- Sod: This is the most common method for establishing St. Augustine grass. Sod provides an instant lawn and minimizes weed competition.
- Plugs: Using plugs involves planting small sections of grass, which is a more cost-effective method but takes longer to establish a full lawn. Plugs are spaced about 12 inches apart to allow for spreading.
3. Preparing the Site
- Clear the Area: Remove any existing grass, weeds, or debris from the planting site. Use a hoe, rake, or herbicide for effective weed removal.
- Soil Amendments: Ensure the soil has been tested and amended as discussed in the previous section. Prepare the soil as described to ensure good drainage and nutrient availability.
4. Planting Sod
- Installation: Lay the sod pieces in a staggered pattern, similar to bricks, to create a more stable surface. Ensure that the edges of the sod pieces are tightly fitted to avoid gaps.
- Seaming: Press down the seams with your foot to ensure good contact with the soil and minimize air pockets.
- Rolling: After laying the sod, use a roller to press it down further into the soil, enhancing root-to-soil contact.
5. Planting Plugs
- Spacing: Use a shovel or plugger to create holes for the plugs, spacing them about 12 inches apart. This allows room for the grass to spread.
- Inserting Plugs: Place the plugs in the holes, ensuring they are level with the surrounding soil. Press down gently to eliminate air pockets.
6. Watering After Planting
- Initial Watering: Immediately after planting, thoroughly water the area to help settle the soil and encourage root establishment.
- Ongoing Watering: Maintain consistent moisture during the first few weeks. Water deeply but infrequently to encourage deep root growth. Aim for about 1 to 1.5 inches of water per week, adjusting for rainfall.
7. Post-Planting Care
- Avoid Traffic: Minimize foot traffic on the newly planted area for the first few weeks to allow the grass to establish its roots.
- First Mowing: Wait until the grass reaches a height of about 3 inches before mowing for the first time. Set the mower to a higher setting to avoid stressing the new grass.
Watering Practices
Proper watering is essential for the health and vitality of St. Augustine grass. This warm-season grass thrives in humid conditions but requires careful management of moisture to establish deep roots and resist stress. Here’s a guide to effective watering practices for St. Augustine grass:
1. Establishing a Watering Schedule
- Initial Phase: During the first 2 to 3 weeks after planting, water daily to keep the soil consistently moist but not soggy. This encourages root establishment.
- Transition to Deep Watering: After the initial establishment period, transition to watering deeply and less frequently. Aim for 2 to 3 times per week, depending on weather conditions.
2. Amount of Water
- Depth of Watering: Aim to deliver about 1 to 1.5 inches of water per week, including rainfall. This promotes deep root growth, making the grass more resilient to drought.
- Measurement: Use a rain gauge or a small container (like a tuna can) placed in the yard to measure how much water is applied during each watering session.
3. Watering Techniques
- Early Morning Watering: Watering early in the morning (between 4 AM and 10 AM) is ideal. This allows the grass to absorb moisture before the heat of the day and minimizes evaporation.
- Avoid Evening Watering: Watering in the evening can leave grass blades wet overnight, increasing the risk of fungal diseases.
4. Signs of Under-Watering
- Color Change: Grass may turn a dull green or bluish tint.
- Footprint Test: If footprints remain visible after walking on the grass, it may indicate that the lawn needs water.
- Brown Tips: The tips of grass blades may begin to turn brown or crisp.
5. Signs of Over-Watering
- Pooling Water: Water that collects on the surface or does not drain indicates over-watering.
- Mushy Grass: If the grass feels spongy or mushy underfoot, it may be over-watered.
- Disease Symptoms: Excess moisture can lead to diseases such as brown patch or root rot, which manifest as dark or slimy patches in the lawn.
6. Adjusting for Weather Conditions
- Rainfall: Monitor rainfall and adjust your watering schedule accordingly. If your area receives significant rain, reduce or skip supplemental watering.
- Heat Waves: During prolonged periods of extreme heat, consider increasing watering frequency to help the grass cope with stress.
7. Irrigation Systems
- Automatic Sprinklers: If using an automatic sprinkler system, set timers to ensure proper watering times. Ensure that the system is adjusted for even coverage across the lawn.
- Soaker Hoses: Consider using soaker hoses for more efficient watering, delivering moisture directly to the root zone.
Mowing Techniques
Mowing is an essential part of maintaining a healthy St. Augustine grass lawn. Proper mowing techniques promote growth, enhance appearance, and help prevent disease. Here are some key guidelines for mowing St. Augustine grass effectively:
1. Ideal Mowing Height
- Recommended Height: For St. Augustine grass, the optimal mowing height is between 2.5 to 4 inches. Keeping the grass at this height encourages deeper root growth and helps shade the soil, reducing weed germination.
- Adjusting Height: If your lawn is stressed (due to heat or drought), consider raising the mowing height to 4 inches to provide more shade and reduce water loss.
2. Mowing Frequency
- Regular Schedule: Mow regularly, typically every 1 to 2 weeks during the growing season. Frequency may increase during periods of rapid growth (spring and early summer) and decrease during slower growth periods (late summer and fall).
- Avoid Scalping: Never remove more than one-third of the grass blade in a single mowing session. Scalping can stress the grass and make it vulnerable to diseases and pests.
3. Mowing Equipment
- Sharp Blades: Ensure your mower blades are sharp. Dull blades tear the grass rather than cut it, leading to ragged edges that can become entry points for diseases.
- Mower Type: Use a rotary mower, which is well-suited for St. Augustine grass. If you have a larger area, consider a self-propelled mower for easier maneuverability.
4. Mowing Patterns
- Change Directions: Vary your mowing pattern each time you mow (e.g., alternate between vertical and horizontal lines). This prevents soil compaction and encourages upright growth.
- Diagonal Mowing: Occasionally mowing diagonally can add to the aesthetic appeal of your lawn.
5. Grass Clippings Management
- Leave Clippings: If the clippings are small and evenly distributed, leave them on the lawn. This practice provides nutrients back to the soil and helps retain moisture.
- Collection: If clippings are long or clump together, collect them to prevent thatch buildup and maintain a tidy appearance.
6. Mowing During Optimal Conditions
- Dry Grass: Mow when the grass is dry to avoid clumping and uneven cutting. Wet grass can lead to a poor cut and potential lawn disease.
- Time of Day: Mow during cooler parts of the day, such as early morning or late afternoon, to reduce stress on the grass.
7. Post-Mowing Care
- Watering: After mowing, allow the grass to recover before watering again. This helps to strengthen the grass and improves drought resistance.
- Monitoring: Keep an eye on your lawn for any signs of stress or disease after mowing, and adjust your care routine as necessary.
Fertilization Guidelines
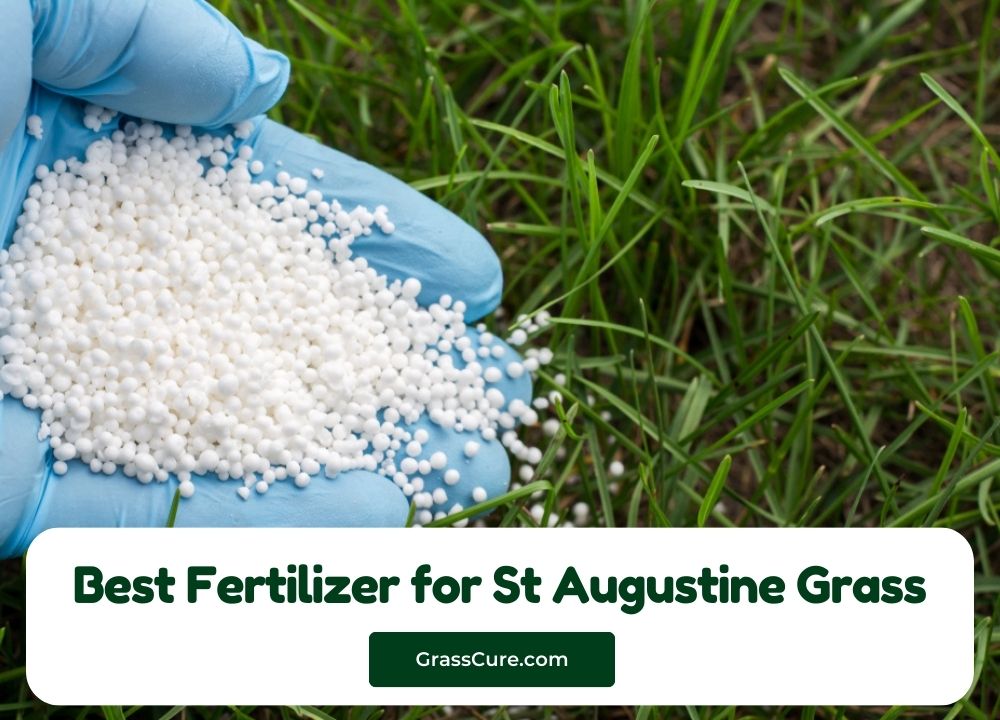
Fertilization is a critical component of maintaining a healthy St. Augustine grass lawn. Proper nutrient management ensures robust growth, rich color, and resilience against pests and diseases. Here’s a comprehensive guide to fertilizing St. Augustine grass effectively:
1. Understanding Nutrient Needs
- Key Nutrients: St. Augustine grass requires three primary nutrients: nitrogen (N), phosphorus (P), and potassium (K). Each plays a vital role in growth:
- Nitrogen (N): Promotes lush, green foliage and overall growth.
- Phosphorus (P): Supports root development and enhances flowering.
- Potassium (K): Improves drought resistance and overall stress tolerance.
2. Soil Testing
- Before Fertilizing: Conduct a soil test to determine the nutrient content and pH level of your soil. This will help you choose the right fertilizer and application rates.
- Adjusting Soil pH: If the pH is outside the ideal range (6.0 to 7.0 for St. Augustine grass), consider applying lime to raise it or sulfur to lower it as needed.
3. Choosing the Right Fertilizer
- N-P-K Ratio: Select a fertilizer with an appropriate N-P-K ratio. For St. Augustine grass, a balanced fertilizer like 15-3-15 or 16-4-8 is often recommended.
- Slow-Release vs. Fast-Release: Consider using slow-release fertilizers that provide nutrients over an extended period, reducing the risk of nutrient leaching and promoting steady growth.
4. Application Timing
- Spring Feeding: Fertilize in late spring (around May) when the grass begins to actively grow. This initial feeding encourages vigorous growth and green color.
- Mid-Season Boost: A second application can be made in mid-summer (July) to support growth during the peak growing season.
- Fall Application: If desired, a light fall application in early September can help prepare the grass for winter dormancy.
5. Application Methods
- Granular Fertilizer: Use a broadcast spreader to apply granular fertilizer evenly across the lawn. Be sure to follow the manufacturer’s instructions for application rates.
- Liquid Fertilizer: If using a liquid fertilizer, mix according to the instructions and apply with a sprayer. Ensure even coverage to avoid burning the grass.
- Watering After Application: Water the lawn lightly after fertilization to help activate the nutrients and prevent burning the grass.
6. Signs of Nutrient Deficiency
- Nitrogen Deficiency: Yellowing of older leaves (older blades turning yellow while younger blades remain green).
- Phosphorus Deficiency: Stunted growth and dark green or purplish discoloration in older leaves.
- Potassium Deficiency: Yellowing or browning along leaf edges and increased susceptibility to drought stress.
7. Monitoring and Adjusting
- Observe Growth: After fertilizing, monitor your lawn for improved growth and color. Adjust future fertilization rates and timing based on how your lawn responds.
- Avoid Over-Fertilization: Excessive fertilization can lead to rapid growth, increased mowing, and susceptibility to pests and diseases. Always adhere to recommended rates.
Pest and Disease Management
Effective pest and disease management is essential for maintaining a healthy St. Augustine grass lawn. By recognizing common issues and implementing preventive measures, you can protect your lawn from damage and ensure it thrives. Here’s a guide to managing pests and diseases affecting St. Augustine grass:
1. Common Pests
Chinch Bugs
Identification: Small (about 1/8 inch) black insects with white wings; they suck sap from grass blades, leading to yellowing and browning patches.
Management: Use insecticidal soap or neem oil for treatment. Regularly check for signs of damage and treat early to prevent infestation.
Armyworms
Identification: Caterpillars that can quickly consume large areas of grass. They are typically green or brown with stripes.
Management: Apply a biological insecticide containing Bacillus thuringiensis (Bt) or conventional insecticides as needed. Monitor for their presence, especially in late summer.
Grubs
Identification: White, C-shaped larvae of beetles that feed on grass roots, causing patches of dead grass that can be easily lifted.
Management: Apply a preventive grub control product in early spring or fall. If grubs are present, use nematodes or a targeted insecticide for treatment.
Turf Caterpillars
Identification: Often confused with armyworms; they feed on grass blades, causing damage that looks similar.
Management: Use the same treatments as for armyworms, monitoring closely for outbreaks.
2. Common Diseases
- Brown Patch
- Symptoms: Circular brown patches on the lawn, often with a darker edge. This disease thrives in warm, humid conditions.
- Management: Improve drainage and avoid overwatering. Fungicides can be used as a preventative measure in high-risk areas.
- Dollar Spot
- Symptoms: Small, round, straw-colored patches about the size of a silver dollar. This disease is prevalent in hot, humid weather.
- Management: Apply nitrogen-rich fertilizers to promote growth. Fungicides may be used if the problem persists.
- Leaf Spot
- Symptoms: Dark lesions on grass blades, often leading to overall thinning of the lawn.
- Management: Increase air circulation through proper mowing and watering practices. Fungicides can help manage severe cases.
- Pythium Blight
- Symptoms: Water-soaked, slimy patches that can rapidly spread, especially in warm, humid conditions.
- Management: Improve drainage and avoid excessive moisture. Apply fungicides as necessary.
3. Prevention Strategies
- Cultural Practices:
- Maintain a healthy lawn by following proper watering, mowing, and fertilization practices. Healthy grass is more resilient to pests and diseases.
- Aerate your lawn to improve air circulation and reduce compaction.
- Monitoring:
- Regularly inspect your lawn for signs of pests or diseases. Early detection is key to effective management.
- Keep a close eye on areas that tend to hold moisture or experience poor drainage, as these are often hotspots for disease.
- Encouraging Beneficial Insects:
- Attract beneficial insects like ladybugs and lacewings that prey on pests. Planting flowers and herbs can help create a habitat for these beneficial species.
- Resistant Varieties:
- When establishing a new lawn, consider using disease-resistant cultivars of St. Augustine grass, which may help reduce the risk of certain issues.
4. Chemical Treatments
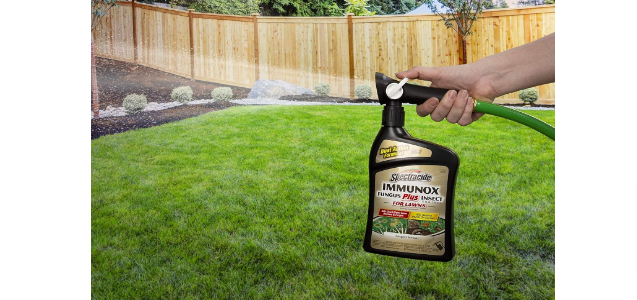
- When to Use: Only use pesticides and fungicides as a last resort or when you have identified a specific pest or disease problem. Always follow label instructions for application rates and safety precautions.
- Integrated Pest Management (IPM): Consider adopting an IPM approach, which combines cultural practices, biological control, and judicious use of chemicals for a more sustainable management strategy.
Seasonal Care Tips
Maintaining a healthy St. Augustine grass lawn requires attention to seasonal changes and specific care practices tailored to each time of year. Here are seasonal care tips to ensure your lawn thrives throughout the year:
Spring (March – May)
- Soil Preparation
- Conduct soil tests to determine pH and nutrient levels.
- Amend the soil as needed with lime or sulfur based on test results.
- Fertilization
- Apply a slow-release fertilizer high in nitrogen to promote green growth as the grass begins to wake up from dormancy.
- Follow up with regular applications every 6 to 8 weeks during the growing season.
- Mowing
- Begin mowing when the grass reaches 3 inches in height, setting your mower to the appropriate height of 2.5 to 4 inches.
- Mow regularly to maintain an even height.
- Weed Control
- Apply pre-emergent herbicides in early spring to prevent weed germination. Monitor for any emerging weeds and manage them accordingly.
- Watering
- As temperatures rise, adjust your watering schedule to ensure the grass receives 1 to 1.5 inches of water per week, including rainfall.
Summer (June – August)
- Fertilization
- Apply a second round of fertilizer in early summer to support vigorous growth during the peak growing season.
- Consider a balanced fertilizer with a higher nitrogen content.
- Watering
- Increase watering frequency if experiencing hot, dry weather, ensuring the lawn receives adequate moisture to prevent stress.
- Water deeply and infrequently to encourage deep root growth.
- Mowing
- Continue mowing regularly, maintaining the recommended height of 2.5 to 4 inches.
- Change mowing patterns to prevent soil compaction and promote upright growth.
- Pest and Disease Monitoring
- Keep an eye out for common pests like chinch bugs and armyworms. Treat infestations promptly.
- Watch for signs of diseases such as brown patch or dollar spot, and manage them with cultural practices and fungicides as needed.
- Aeration
- Consider aerating your lawn in mid to late summer to relieve compaction and improve water and nutrient absorption.
Fall (September – November)
- Fertilization
- Apply a light fall fertilizer to help prepare the grass for winter. This promotes root growth and improves overall health before dormancy.
- Mowing
- Continue to mow until the grass stops growing. Gradually lower the mowing height as the season progresses, but avoid scalping.
- Watering
- Monitor moisture levels, as rainfall may decrease. Water as necessary, especially if temperatures remain warm.
- Weed Control
- Apply post-emergent herbicides to control any stubborn weeds that have appeared during the growing season.
- Prepare for Winter
- Rake leaves and debris to prevent them from smothering the grass.
- Ensure proper drainage in your lawn to avoid waterlogging during winter.
Winter (December – February)
- Minimize Foot Traffic
- Avoid walking on the lawn as much as possible during the winter dormancy period to prevent damage to the grass.
- Monitoring for Issues
- Keep an eye out for potential problems, such as snow mold or ice damage. If any issues arise, address them promptly.
- Planning for Spring
- Use the winter months to plan your spring lawn care routine, including any necessary purchases like soil amendments, fertilizers, or pest control products.
Conclusion
Caring for St. Augustine grass requires a proactive and informed approach to ensure a lush, vibrant lawn that enhances the beauty of your landscape. By understanding the specific needs of this warm-season grass and implementing the appropriate practices throughout the year, you can achieve optimal growth and resilience against pests and diseases.
From soil preparation and proper planting techniques to effective watering, mowing, and fertilization, each aspect of lawn care plays a critical role in promoting a healthy environment for your grass. Seasonal care tips further guide you in adjusting your practices to meet the changing demands of your lawn, ensuring it thrives in all weather conditions.
Moreover, staying vigilant against pests and diseases and employing integrated management strategies will help maintain your lawn’s health and beauty. With dedication and the right knowledge, you can cultivate a thriving St. Augustine grass lawn that provides enjoyment and enhances the overall aesthetic of your outdoor space for years to come. Embrace the journey of lawn care, and watch as your efforts transform your landscape into a lush, green haven.


