A neatly edged lawn instantly elevates the curb appeal of your property. While power edgers offer convenience, manual edgers provide a satisfying level of control and precision, perfect for achieving that crisp, professional look. This beginner’s guide walks you through the process of using a manual lawn edger, from preparation to storage, ensuring you achieve stunning results.
Contents
- Preparing for Edging Your Lawn
- Selecting the Right Edger Type
- Assembling Your Manual Edger
- Measuring and Marking Your Edges
- Creating the Initial Edge Cut
- Maintaining a Straight Edge Line
- Dealing with Curves and Obstacles
- Edging Around Trees and Flowerbeds
- Cleaning Up After Edging
- Storing Your Manual Lawn Edger
Preparing for Edging Your Lawn
First, you need to ensure your lawn is ready for edging. This means mowing your lawn to your desired height. A freshly cut lawn makes the edging process significantly easier, allowing for a cleaner cut and better visibility of the edge line. Furthermore, removing any tall grass or weeds before you begin prevents them from interfering with the edger’s blade and provides a more uniform appearance once you’ve finished.
Next, consider the weather conditions. Avoid edging on extremely hot or wet days. Dry conditions provide optimal cutting, while wet grass can clog the blade and make edging more difficult. Similarly, scorching sun can make the work more strenuous. Ideally, choose a slightly overcast day or work during the cooler parts of the day for a more comfortable experience.
Selecting the Right Edger Type
There are several types of manual lawn edgers available, each with its own advantages. The most common type is the wheel edger, which features a rotating wheel with a blade. This design offers good control and is relatively easy to maneuver. Alternatively, you might find a flat-blade edger, which requires more physical effort but delivers a clean, precise cut. Consider your physical strength and the size of your lawn when making your selection.
Ultimately, the best type of edger depends on personal preference and the specific needs of your yard. Wheel edgers are generally preferred for larger lawns due to their efficiency, while flat-blade edgers are often favored for intricate designs or smaller areas where precise control is paramount. Read reviews and compare features before making your purchase to ensure you choose an edger that suits your needs.
Assembling Your Manual Edger
Before you begin edging, carefully assemble your manual edger according to the manufacturer’s instructions. This usually involves attaching the blade or wheel to the handle. Ensure all parts are securely fastened to prevent accidents during use. Pay close attention to any safety warnings or precautions outlined in the manual.
Proper assembly is crucial for safe and effective operation. Loose parts can lead to uneven cuts, damage to the edger, or even injury. Take your time, double-check your work, and refer to the diagrams and instructions provided with your edger if you encounter any difficulties. If you are unsure about any aspect of the assembly process, seek assistance from a knowledgeable person or contact the manufacturer for guidance.
Measuring and Marking Your Edges
Before you start cutting, define the area you want to edge. Use a garden hose, string, or even a long piece of wood to outline the desired edge of your lawn. This helps you maintain a consistent and straight line. Marking the edge provides a visual guide and prevents accidental encroachment onto flowerbeds or walkways.
Precise marking is key to achieving a professional look. Take your time to carefully position your guide, ensuring it follows the contours of your landscape. Consider the overall aesthetic of your yard, and adjust the line as needed to create a visually appealing edge. This preliminary step is crucial for a successful and satisfying edging experience.
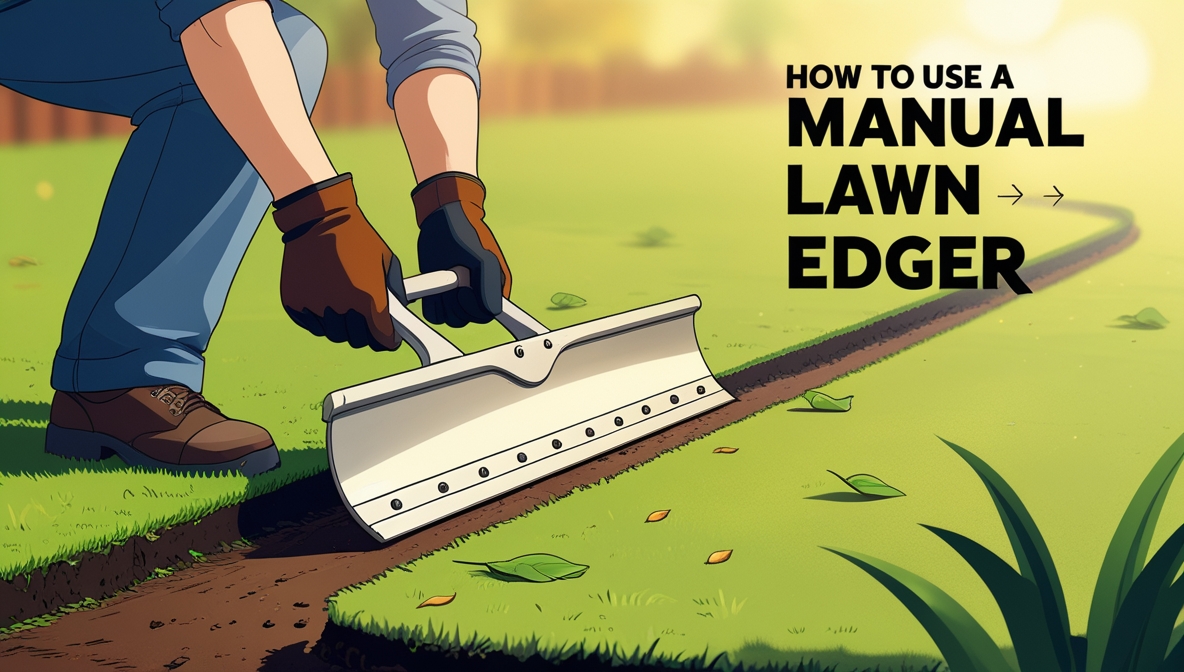
Creating the Initial Edge Cut
Begin edging at a corner or a clearly defined starting point. Place the edger’s blade or wheel at the edge of your marked line and apply gentle but firm pressure. Push the edger smoothly along the line, maintaining a consistent pace. Avoid jerking or forcing the edger, as this can lead to uneven cuts or damage to the tool.
The first cut establishes the foundation for the rest of the edging work. Focus on maintaining a consistent depth and width, and try to avoid overlapping your cuts. If you encounter particularly tough patches of soil or grass, use a little extra pressure, but be cautious not to overexert yourself or damage the edger’s blade. Regularly check your progress against your marked line to ensure accuracy.
Maintaining a Straight Edge Line
To maintain a straight edge, use your marked line as a constant reference point. Periodically glance down to ensure the edger’s blade is following the line accurately. Keep your body posture upright to maintain balance and control. A straight line is the hallmark of a professionally edged lawn.
If you find yourself drifting from the line, gently adjust the edger’s direction. Don’t be afraid to stop and reposition yourself if necessary. Practice makes perfect, so don’t be discouraged if your first few attempts aren’t perfectly straight. With consistent effort and attention to detail, you’ll quickly improve your technique and achieve a crisp, clean edge.
Dealing with Curves and Obstacles
When edging around curves, use short, controlled strokes, adjusting the angle of the edger to follow the curve smoothly. Take your time and work slowly to avoid making jagged or uneven cuts. For obstacles like rocks or sprinkler heads, carefully maneuver the edger around them, adjusting your technique as needed.
Flexibility and patience are key when negotiating curves and obstacles. It’s often better to make several smaller cuts rather than trying to force the edger around a tight curve in a single motion. Remember to always prioritize safety and avoid forcing the edger, which could lead to damage or injury.
Edging Around Trees and Flowerbeds
When edging around trees and flowerbeds, proceed with extra caution. Maintain a safe distance to avoid damaging the plants or their roots. Use short, controlled strokes, carefully maneuvering the edger around the base of the tree or flowerbed. Take your time and focus on precision to create a neat and defined edge.
Consider using a smaller, more maneuverable edger for tight spaces. It’s advisable to use hand tools such as a trowel or small hand rake to clean up any loose soil or grass clippings. This will ensure a clean, professional finish around delicate plants and improve the overall appearance of your landscaping.
Cleaning Up After Edging
Once you’ve finished edging, collect any grass clippings or debris left behind. Use a broom, rake, or leaf blower to clear the area. Dispose of the clippings appropriately, either by adding them to your compost pile or bagging them for removal. A clean workspace enhances the overall appearance of your newly edged lawn.
This final step ensures your hard work is fully appreciated. Remove any lingering grass clippings from the edger itself, ensuring it is clean and ready for storage. Cleaning the edger after use will prevent rust and extend its lifespan.
Storing Your Manual Lawn Edger
After cleaning your edger, store it in a dry, secure location, preferably out of direct sunlight and moisture. This helps prevent rust and corrosion, extending the life of your tool. If the edger has removable parts, disassemble them and store them separately in a safe place to prevent damage or loss.
Proper storage is essential for maintaining the condition and longevity of your manual edger. Consider using a protective cover or case to further safeguard it from the elements. By following these simple storage tips, you will ensure your edger is ready for use next time you need it.
With practice and attention to detail, using a manual lawn edger becomes a straightforward and rewarding task. Remember to always prioritize safety and take your time. The result – a beautifully edged lawn that enhances your property’s curb appeal – is well worth the effort.


